

How to Prepare a Room for Painting

A room properly prepared and ready to paint. After years of having the same color scheme, a fresh coat of paint can be just the thing a room needs to liven it up. But before you break out the brush and start painting, the room getting the paint job needs to be properly prepared.

Clear Out Obstructions Before starting, clear out space as much as possible. This means removing all bulky objects that might get in the way, such as posters, or any expensive items. Main items you will want to make sure to remove include armoires, bed frames, tables, expensive technology, lamps, wall hangings, and drawers.

Protect Surfaces You Don’t Want Painted Firmly apply masking tape around the features of the room that you want protected from drips such as light switches or door knobs; it’s very important that the tape is as tightly sealed as possible for maximum safety from dribbles. To avoid ruining the quality of your paint, clean out dust particles on all surfaces with a broom, duster, or swiffer. Next, cover the floor with a protective tarp or layers of newspaper to defend against potential splashes of paint and spreading paint throughout your home. Lastly, be sure to watch out for your windows because it’s an arduous process to scrape dried paints from the panes without scratching them; if you have any questions regarding, contact Wallside for help.

Tidy up the Walls & Ceiling If your walls or ceiling have jagged surfaces, old chipped paint, or accumulations of dirt, the quality of your paint job will inevitably suffer. Take these precautionary steps to spiffy up the walls before embarking on your paint job:

  • Caulk open holes or apertures
  • Wash all splotches of grease and dirt. Arm yourself with a grease remover and cloth for the most efficient results.
  • Smooth out rough surfaces with either a sander or drywall sander pole

Now that your painting space is properly armored, you should be set to start painting. Good luck!
Three Products that Make Window Cleaning Way Easier

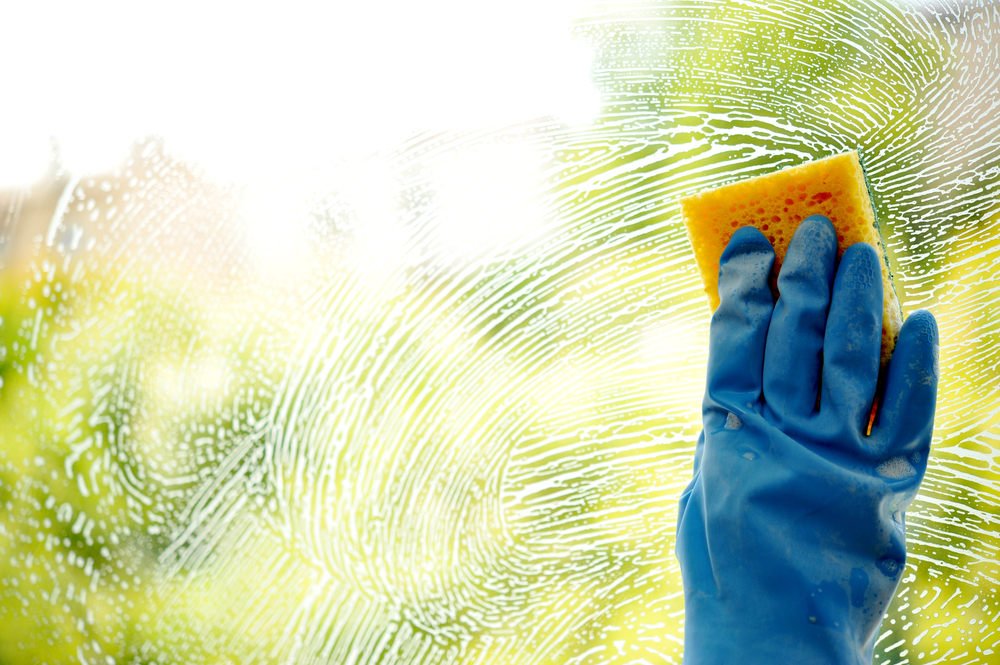
Window being washed with sponge. Ranging from replacement windows to car windshields, windows are used everywhere. In order for us to reap the maximum benefits of the views they provide - especially when in a car - it's imperative they maintain a consistently clean appearance. As we all know, this requires regular maintenance - and the best way to perform this upkeep is equipping yourself with the right tools.   Listed below are three of the market's best products when it comes to cleaning windows .

1.) The Windex® Outdoor All-in-One Glass Cleaning Tool Best for: elevated, outdoor surfaces You know those pesky hard-to-reach windows that you usually have to turn to a hose to wash? It's difficult with a hose, because you can only apply light pressure (in order to prevent damaging the window) - which means the glass might not receive the full rinse it needs. This extremely functional tool designed by Windex eliminates the hassle of washing windows that are difficult to wash with  its lengthy reach and built-in cleaning spray.

2.) Glass Wizard Best for: car windshields, mirrors, showers, general glass surfaces Customized with a firm grip and maneuverable cleaning head, the Glass Wizard is a top-rate tool to keep around for tough, sticky stains accumulated over time. Also, the Glass Wizard provides users with the option to apply either a store-bought cleaning solution or a homemade one.

3.) Miles Kimball Window Screen Cleaning Brush Best for: homeowners with delicate or fragile screen material Window screens have a tendency to build up with grime from insects and dust. Using a coarse brush or cloth poses a risk of wearing the screen. To prevent this yet still provide on a full cleanse, the expertly-crafted Miles Kimball brush provides a scrub that is more of a smooth glide, effectively removing dirt without weathering.

Six Awesome Entertainment Room Upgrades

An entertainment room with a television and movie theater seating. The entertainment  room is the one place fun and entertainment are focused on more than any other living space. Make the most of yours by considering introducing one of these all-around  fun additions to your home.

Projector & Projector Screen A projector adds a classic touch to whatever movie, show, or game you play on it. There is a large price disparity for both projectors and projector screens. This is largely due to factors such as image quality, aspect ratio (which affects the resolution), contrast, and whether you prefer the luxury of a ceiling mount or not.

Skylight or Casement Window If your game room is ground-level (many use the basement), adding a skylight or casement window may be just the touch you need. Game rooms tend to get stuffy, so installing a window to bring natural air, light, and ventilation in may be just what it needs.

Home Theater Seating A must-have for movie buffs, home theater seating reproduces the atmosphere and experience of a trip to the cinema. Similar to projectors, the pricing for these can greatly vary based on the look and features of each model.

Neon Signs & Wall Clocks Electrify the design of your basement or game room with one of these bright, animated signs or clocks. Often designed with a theme of America’s favorite brands, these act as visually-striking pieces of personal flair that showcase your personality in a fun, decor-based way.

Pinball or Arcade Cabinet Although there are numerous pinball and arcade game simulators on the computer, nothing quite beats the feel of using the actual hardware. Both are known to run quite large in size, eat up a decent amount of energy, and run fairly steep in price. Considering this, an investment in one of these hulks may only be worth it for those with a lifelong affinity for classic arcade era or longtime fans of a particular game. Foosball, Ping Pong, Air Hockey, and Pool Tables Nothing is better than some traditional head-to-head table game competition. These are staple game room additions due to their minimal learning curve and compatibility with friends and family.

Top Carpet Problems that Homeowners Face

Person cleaning a carpet stain. Home carpet faces constant exposure to stains, spills, and other accidents. After enough time has passed, these deleterious effects add up and can harshly decrease your home’s visual aesthetic and overall value. Listed below are the solutions you can take to common carpet issues homeowners encounter and the action you can take to fix them.

Beverage Spills Whether it be fruit juice, wine, or chocolate milk, spills from beverages require immediate action to prevent serious stains. Some people’s first reaction might be to take a cloth and scrub away - but this will just spread it. Instead, using either a damp paper towel or cloth, lightly dab the area so that the liquid is soaked up instead of shoved into the carpet fibers.

That Relentless Smell A golden rule trick to reducing odorous carpet is the application of baking soda. This technique is especially helpful to reduce the odor generated from general grease, oil, pet stains, and dirt from household traffic. First, vacuum the targeted surface areas that smell. Next, sprinkle the baking soda with a hefty coating so that sufficient coverage is met; also, it helps to take a cloth to the baking soda so that it’s ingrained in the carpet’s fibers. After waiting an hour or two, vacuum the area once again.

Surprise Pet Stains & Neglected Food Residue There are some stains that occur when you’re not available to promptly handle them (sometimes the dog just can’t wait). These splotches pose a threat of incurring discoloration, odor, and a serious reduction in the texture’s quality. Dispose of these by arming yourself with a carpet cleaning solution that fits for your carpet’s material; this also goes for pet waste or vomit, which there are powerful solutions specially designed for.

Maintaining a clean carpet is one of the many vital facets of a healthy, aesthetically-pleasing home. With another essential aspect of a home's value being windows, it's important to upholder frequent upkeep and repairs of them; if you have any questions concerning yours, contact Wallside to learn all about the replacement windows we build in our own factory and how we can help install them for you. 

How to Clean Window Tracks in Five Steps

Over time, window tracks build up with dust, insects, and multiple other sources of gunk that can hinder the window's slide performance; it’s important to take notice of this because the cleanliness of the track dictates how smooth and easy a window opens. Read our step-by-step instructions to learn how you can clean your window tracks and prevent future jams. 1. Remove the window sashes. If unsure how to remove sashes for sliding windows, check out our visual guide to get a better idea of how it’s done.

2. Use a dust vacuum to suck up large chunks of grime and pebbles of dirt collected along the frame. These are usually main sources of blockage and prevent fluid openings. Vacuum until all debris is removed; afterward, a brownish black layer of sticky crud should remain.

3. Grab a homemade or store-bought cleaning solution, cleaning rag, and worn-out toothbrush. Make sure to give the corners a thorough wash as these are hot spots for thick accumulations of grime. If the dirt is extremely thick and cannot be sufficiently scrubbed with the utensils listed above, use a q-tip or other tool lying around the house that can adequately reach the hard-to-reach crevices.

4. Arm yourself with a roll of paper towel and warm water to scrape up remaining residue until the surfaces are clean and dry.

5. Ensure a smooth opening by applying a silicone spray lubricant onto a wash rag; thoroughly scrub the track just as you did before. Go slow in order to not touch the silicone lubricant on anything but the slide. Once appropriately applied throughout the slide, re-attach the sashes and the job is done!

If you’re still having trouble sliding your windows even after following the above guidelines, there may be other issues at hand. The area between your window’s sash and jam could be coated with paint (a common occurrence); if this happens to be your situation, you're probably experiencing a window jam

For questions concerning window repair or installation, call or email Wallside Windows to speak to a professional to see how we can help and if it might be time for a window replacement.