Hand Washing vs. Dishwasher

Wallside-windows-dishwasher.jpg

dishwasher Round 1: Case for Handwashing

The old-fashioned way of washing dishes started way back before dishwashers came around.  It’s been proven that if you put in the right amount of time and effort into washing dishes by hand they’ll come out cleaner than if you use a dishwasher.  You also get to control the amount of soap used for the dishes as opposed to dishwashers where you can only insert a set amount of soap to wash the dishes which may not be enough.  Dishwashing also leaves streaks up and down glasses and plates that are noticeable if you don’t use enough of the right dish soap.  There are only a few dishwashing soaps that don’t leave streak so, it’s up to you to put in the time to research what soaps are best for dishwashers which can be different than soaps that you use for handwashing dishes.


Round 2: Case for Dishwashers

Dishwashers can compliment kitchens well and they can also be placed right under that fancy window that you just had installed by Wallside Windows.  They modernize kitchens nowadays along with cutting the work in half when it comes to cleaning up after a big dinner.  Even if you need to run the dishwasher twice, the amount of water used in dishwashing is much less than if you were to wash dishes by hand.  So, if you’re an environmental person it’s a no-brainer that you’d choose dishwashing over hand washing.  Dishwashers are also more efficient with the amount of soap it uses because it spreads the soap out equally among all the dishes where if you were to wash dishes by hand, a certain dish might get more soap than another.


Round 3: The Winner

Although you have more control when washing dishes by hand, it’s actually much more efficient and environmentally friendly to use dish washers because less soap and water is being used even if you have to run it more than once.  Using the dishwasher more than once will likely eliminate any streaks that are on the dishes.  It would only take minutes to see what kind of dish soap is the best to insert in the dishwasher just by going online.  So, while you look for a dishwasher to install in your house, look for new windows to put up in the kitchen as well as it would look great seeing a brand new dishwasher right under a brand new window.

The Right Time to Purchase New Windows

wallside-old-window.jpg

wallside-old-window 
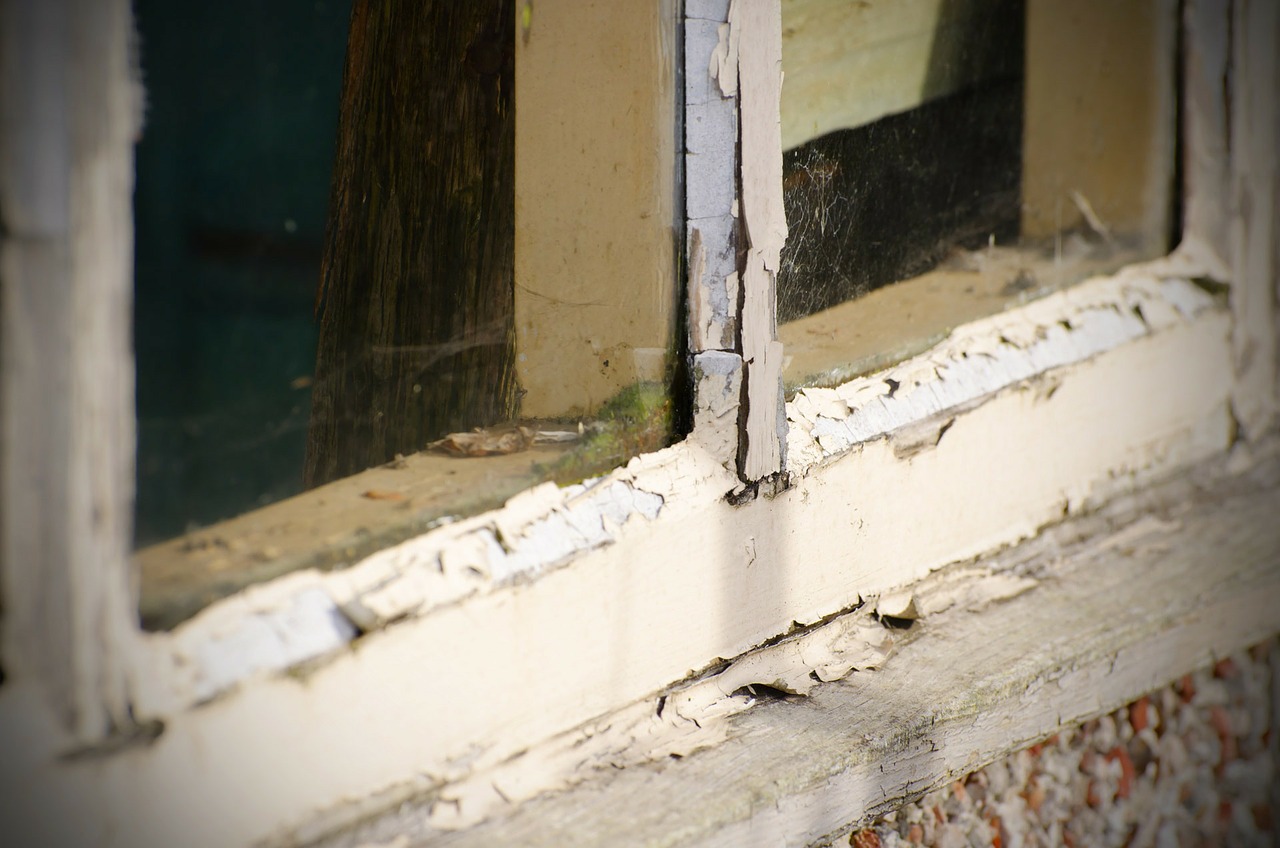
When is the Right Time to Purchase Windows?

Every homeowner has gone through the dilemma before of having to replace windows because you can see the sealer cracking, and you can feel the heat or cold from outside leaking through.  Nobody is ever prepared to purchase new windows because it usually happens when the old ones aren’t as beneficial any longer.  How much to spend? What kind of windows to buy? and what materials should be used? These are only a few questions asked after your windows give out and you're forced to replace them, but someone has to have an answer.


My Windows won’t Shut!

If you’re a homeowner you may have gone through the frustrations before of not being able to close your window once you’ve opened it.  This can be frustrating and may lead to you breaking your window out of anger.  If your window can’t open or close than this is another sign that you should start shopping around for new windows.  There aren’t many people who are window experts though, and that’s why there’s Wallside Windows so you can speak with an expert to help you choose the exact window you’re looking for.  Next time you’re having trouble opening or closing a window, just step back and take a deep breath because replacing windows is much easier than you think.


Why is my Energy Bill Getting So High?

You may have noticed that deep in the months of winter that your energy bill keeps rising and rising, and this could be because of the excessive heat that is needed to keep your house at a decent temperature.  Perhaps going around to all the windows and checking to see if cold air is coming through would be a good idea, or you can contact a Wallside Windows Specialist and ask for a free in-home estimate to take care of it all for you.  Don’t let your energy bill get any higher than it has and make a phone call to Wallside Windows right away.


Repair or Replace?

This is one of the most frequently asked questions when it comes to window maintenance.  People might think that repairing windows is the cheaper option, but it’s unsure whether that’s the right choice until you have an expert inspect the situation.  It could save you money in the long run by replacing your windows all together because you could go through five more repairs to the same window in the same span of time that a new window could save you all those repairs. All in all, window maintenance can be a tiring process, but if you handle it properly as soon as the issue rises then it shouldn’t be a problem finding a solution so, you’ll have the most comfortable house on the block once again.

Top Three Dog Training Tips

Wallside-windows-dogs.jpg

dog playing in park in owner You’re the Master

We’ve all had that neighbor with that noisy dog that never stops barking at every squirrel, other dog, person, or bird that crosses its path.  Then you hear the dog’s owner yell at it to “Be Quiet!” Does the dog ever listen though? It’s astonishing thinking about how many times you’ll hear the owner yell at the dog, and the dog never listens.  When a dog is part of a family, either the dog is the master of the house, or you’re the master of the house.  When a dog barks it’s their way of showing their power off to you.  When a dog stays silent it recognizes that you’re the master, and to obey you.  It also only takes one time telling a dog a command for them to cooperate.  You can show your power simply by ignoring the dog when he starts barking.  If the dog doesn’t get a reaction out of whoever it’s barking at, it will likely stop after a few times.  It’s important to act friendly when you realize that your dog isn’t barking as much, and perhaps give him a treat.

Training Takes Time

As the saying goes “practice makes perfect.”  The same goes for dog training.  If you take an hour or two everyday for a month to train your dog and repeat steps taken to go outside and go to the bathroom, asking for food, go for a walk, or practicing not barking, you’ll have one of the best behaved dogs on the block.  It takes much effort and just by meeting dogs for the first time, you can tell if the owner has put time into training or if all their time goes into yelling at it to stop misbehaving.  The last thing you want to have happen is for your dog to go to the bathroom on one of your windows, in which you may have to replace by going to Wallside Windows and investing in a vinyl replacement window.

Consistency is Key

While putting time into training your dog is important, all that time goes to waste if the dog is being told inconsistent things to do.  For example, if a dog were to jump up on the couch and you tell him “off!” while your significant other says “no!”, and you have a friend that stops by that doesn’t say anything to your dog, what is the dog supposed to think?  it takes a keen eye and ear to make sure everyone is on the same page with your dog. So, when you set out to add a new K-9 to the family just make sure to follow these easy steps, and your dog should be on it’s way to being a nice obedient friend that you’ll love to have around.

Back-to-School Home Renovations

School supplies 
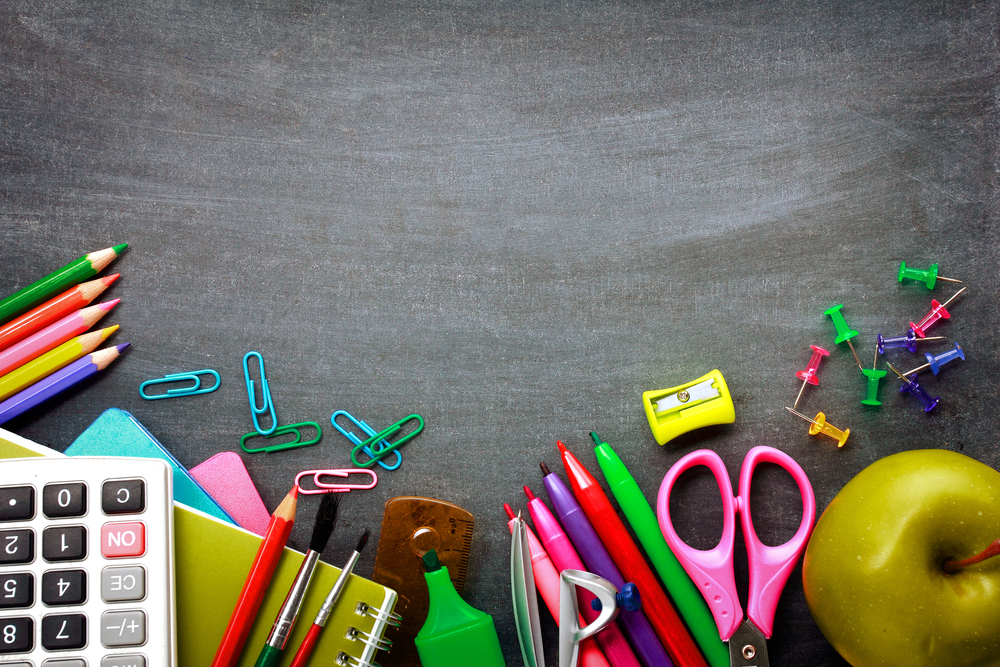
As summer inches towards its final days, we grow closer to the upcoming school year. Adjust to the approaching school year with ease by trying these ideas to your home.

Buy a Dry-Erase Board Whether you still help your children with studying or not, it’s beneficial to surround them with pro-studying utensils. Facilitate greater studying by adding a dry-erase board or chalkboard for them to practice math equations, work on spelling, or do homework with friends.

Check Computer Performance In both the office and classroom, computers are becoming a staple tool. With the school year around the corner, you will want to make sure yours is functioning to full capacity so that your kids are able to sufficiently accomplish their homework. Another important area to inspect is to make sure your printer is working properly and to evaluate the level of ink in cartridges; this is especially important for school assignments such as take-home essays and other similarly-themed projects. Lastly, if your home internet signal has been unreliable in recent days and you think it might need to be updated, consider relocating your router to a spot with better reception or even replacing it.

Get Organized We’ve all seen it before. A backpack overflowing with papers, folders, books, and random other school materials. Purchase a set of folders from the store, label them based by subject, and instruct your children to organize their take-home assignments and other important papers in these. Also, maintain a designated spot for backpacks and a bookcase to store their textbooks.

Designate a Study Room Maintaining a quiet, spacious living space in your home can work wonders for catering to your children’s study habits. If you don’t have one, find a room away from the home’s main area of traffic and furnish it with ample study materials. You may want to consider adding a window so that there’s ample lighting and ventilation. Likewise, include these supplies listed below so that work can be done without having to be interrupted by searching for a certain item:

  • Desk(s)
  • Ruler
  • Calculator
  • Graph paper
  • Notebooks
  • Pencils and pens
  • Geography Map
  • Resource books

Build a Mini Pond in Your Backyard

Backyard Pond Among the many types of DIY projects involved in beautifying one’s backyard, constructing a mini pond is one of the most popular. Due to the tranquil atmosphere and lush visual appeal provided by them, mini ponds have become an extremely popular addition to backyards; read below to learn how to install one in yours.

Find the Right Spot Allocate a place that will be best to see and enjoy your pond. Try to use an area that isn’t under a large tree where leaves and other debris are likely to fill it; if this is ever an issue, there are nets or screens to apply over the pond to protect it. Also, make sure that there are no cables or wires underneath the ground that you choose to use. Lastly, to be safe, contact your local government to ensure there are no specific precautions you should take before digging in your backyard.

Decide Size, Volume, and Depth Estimate how large of a pond you want. Once this is decided, you will want to find pond liner that will be able to cover the size you have set on. Just as important as the liner, though, is the underlayment; this will be used beneath the pond liner and help defend the liner against wear. Next, acquire a pump to keep the pond water fresh and flowing. The model of pump you use will be determined by the volume of your pond; read this guide for choosing the proper pond pump for a better idea of the specs that you will need.

Get Digging Now that you have a visualized plan of how you want it to look, it’s time to mark the blueprint of the pond. This can be done with spray paint or whatever tool works best for you. Next, get digging until you have created enough space and have the correct dimensions that you had in mind. Smooth out the bottom and walls; dislodge any sharp or jagged rocks.

Apply Underlayment and Liner Once measured to the size needed, ready your underlayment and liner. First, apply the underlay evenly throughout the surface of the hollowed out ground. Afterward, do the same with the liner by securely spreading it atop the underlay. Before moving onto the next step, make sure that your pump is set up and ready to go. If unsure how to install a pond pump, give this quick guide a look to learn.

Outfit the Perimeter Once completed, surround the perimeter of the pond with rocks, stones, and plants. These should offer a natural touch while also matting down the previously-set liner.

Add Water Now that the foundation of your pond is ready and everything is in place, it’s time to fill it up. As you add water, be sure to not fill the pond with too much at a time; observe the liner and rocks to make sure they stay in place. Lastly, turn on your pump and you’re ready to go!