
Getting Your Home Ready for Fall Weather

Getting Your Home Ready for Fall Weather Now that the hottest days of the year are becoming a thing of the past and the kids are back in school, it’s time to start planning ahead for colder weather. Although fall weather can still be very nice, it’s an ideal time of year to make sure your home is prepared for the colder weather that lies ahead. By acting now, you can be sure your home will be nice and warm when you need it to be and if you find any issues that need to be addressed, you won’t be stuck dealing with them on an unpleasantly cold day. Here are a few of the best things you can do to get your home ready for cooler weather.

Furnace Inspection

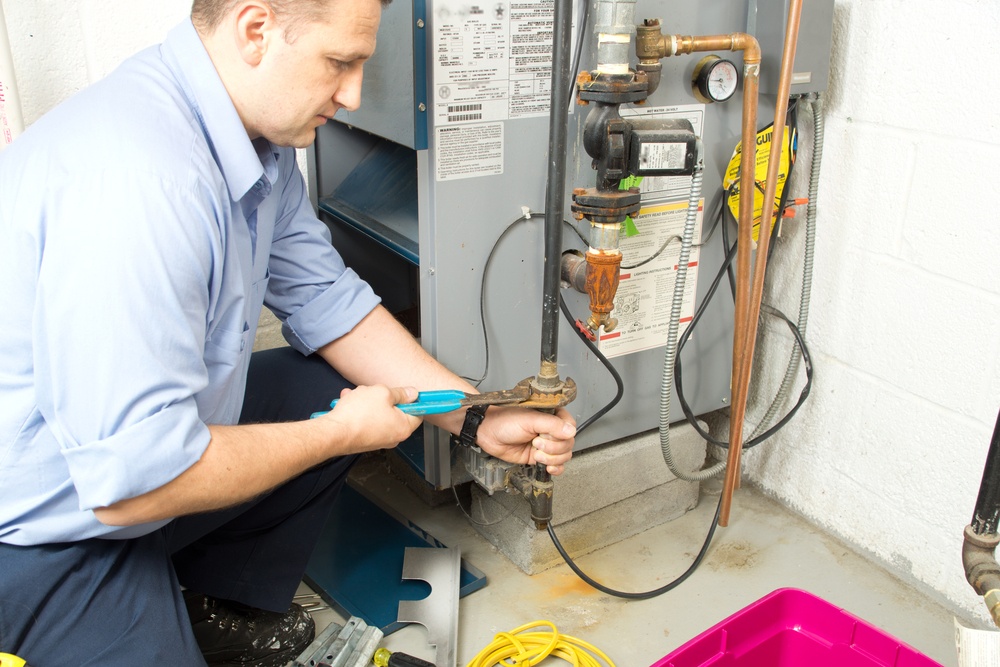
If you want to avoid any unwelcome surprises when the weather turns cold, the best thing you can do is call a professional to give your furnace an annual inspection early in the fall. According to Angie’s List, many furnace repair experts say the majority of emergency calls they get during the winter months could have been prevented with routine maintenance. Not only will routine maintenance help you avoid being left in the cold with a big emergency repair bill, it will keep your furnace running more efficiently.

During a basic furnace inspection, the technician will make sure your furnace can start up properly and that its control system is working, inspect its electrical components, check the burner, make sure its moving parts are in good condition, and check to make sure its drain pipes and vents aren’t blocked. Air filters should be replaced every couple of months and if it’s time for your filter to be replaced, the technician can certainly do that for you, but it’s very easy to change those without the help of a professional.

Make Sure Heating Vents are Clear

Have you made any changes to the rooms around your house over the summer? Maybe you got some new furniture or decided to rearrange things. If this is the case, you may want to look around just to make sure none of your changes are blocking your vents. When vents are blocked, they prevent heat from circulating around the room and force your furnace to work harder, which can increase your energy bills.

Check Windows and Doors

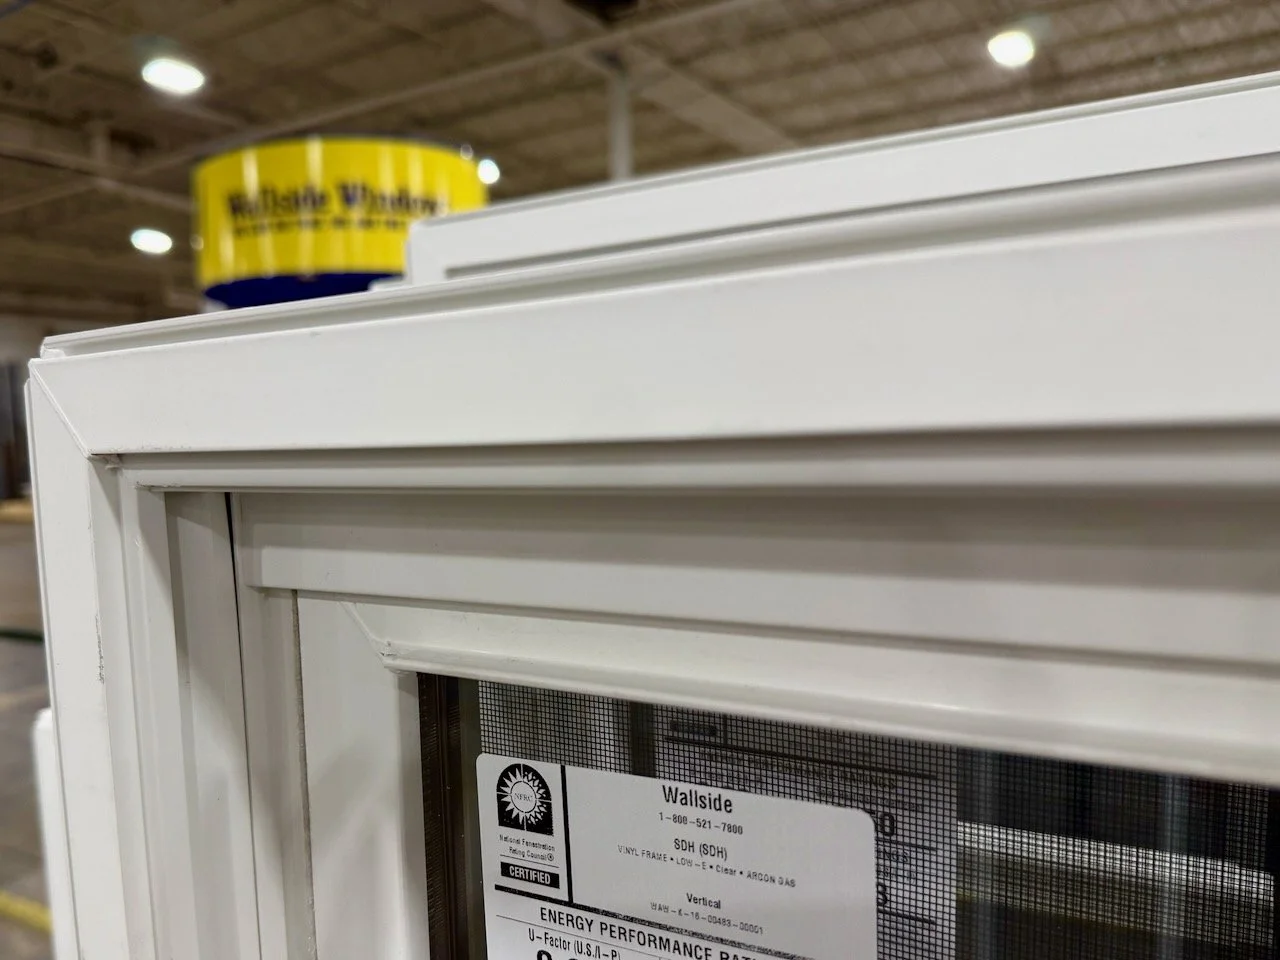
It’s never a bad time of year to check your exterior doors and windows to look for problems like drafts, worn weatherstripping, and caulking that needs to be touched up. The sooner you’re able to catch these sorts of problems, the better off you’ll be because they can make your house uncomfortable and drive up your energy bills if they’re not taken care of. If you have older windows and your energy bills are consistently higher than you think they ought to be, having vinyl replacement windows installed can help bring your heating and cooling bills down.

Inspect Your Chimney and Fireplace

If you have a fireplace, now would be a good time to inspect it and your chimney to make sure it’s safe and ready to be used. Even if everything was perfectly fine last year, birds have been known to build nests in chimneys and branches and leaves can fall in and cause blockages. If you see signs of soot buildup, call a professional to have your chimney cleaned because a buildup of soot can be a fire hazard. Check to make sure the damper on your fireplace is still working properly. From the outside of your home, make sure there aren’t any signs of physical deterioration on the chimney, like missing or crumbling bricks, or flashing between the chimney and your house that has become unsecure.


Taking Care of Window Condensation

Taking Care of Window Condensation If you’ve ever lived in a home that had windows in it, you’ve probably seen condensation form on them at one time or another. While condensation is always caused by one basic reason -- warm, humid air coming into contact with a cooler surface -- there can be different factors that lead to it forming on a window. Sometimes, window condensation and the way it forms can tell you important information about your home and the condition of your windows.

In many cases, window condensation is only temporary and isn’t anything major to worry about. Typically, it’s simply a sign the humidity levels in your home are a little too high. Condensation can form on windows when you’re doing things like cooking or taking a shower, or just because the inside of your home is much warmer than it is outside. You’ll most commonly see this type of condensation forming along the outer edges and corners of the pane of glass. Although this type of condensation is only temporarily, it can still be annoying and if you have wood windows, you’ll still want to keep it under control so the moisture doesn’t damage your frames. If you notice condensation forming during certain activities, like bathing or cooking, try running the exhaust fan while you do them. If you don’t have an exhaust fan, you can always try leaving doors or windows open just a little to get rid of some of that warm air. If you have a humidifier or a dehumidifier, you could try adjusting those to see if they help.

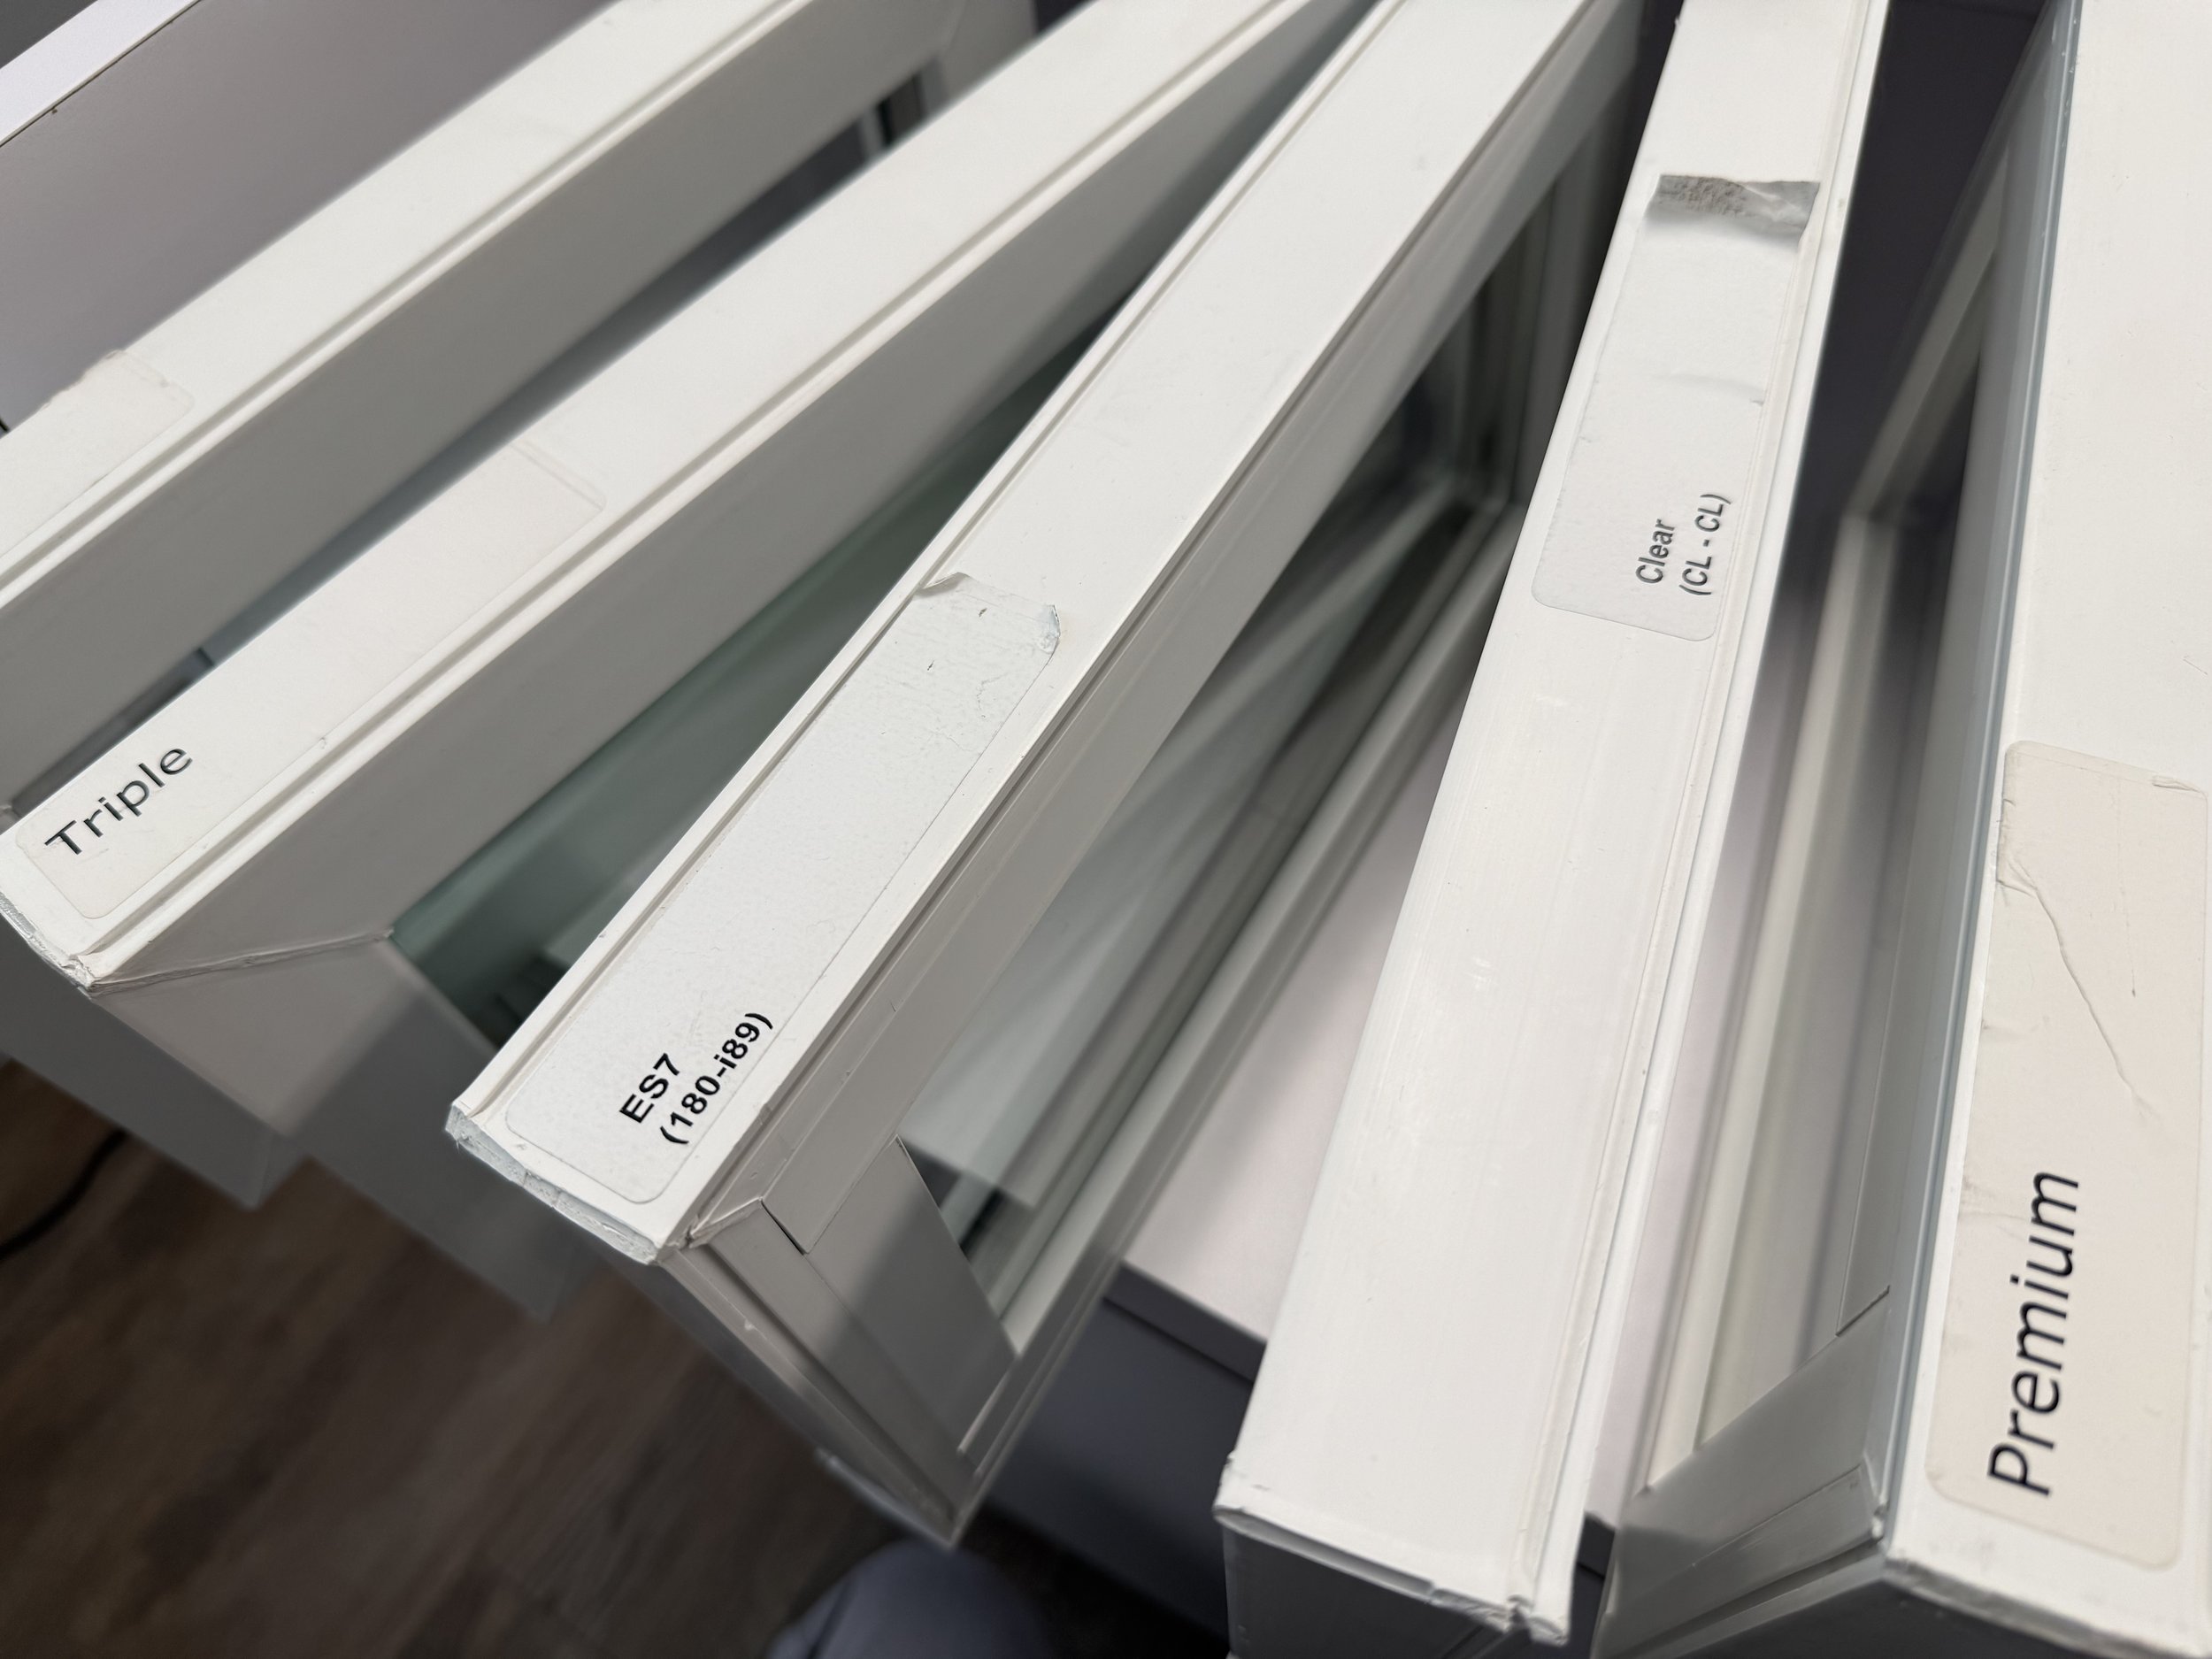
While condensation often isn’t a big deal, other times, it can be a sign there is a problem with your window. For example, are you seeing condensation forming in the center of the interior side of a window? If you have double or triple pane windows insulated with argon, this is most likely a sign that the argon has leaked out. Over time, the seals that keep the argon in can fail, causing the window to become less effective at insulating your home. If this is what’s happened, you might also see some distortion in the window’s glass. When this happens, you will have to get new vinyl replacement windows.

Another sign your window’s seals may be deteriorating is seeing condensation form between the panes of your window. This type of condensation can be particularly annoying since it’s so difficult to get rid of. The good news is that in many cases, this problem can be fixed without having to replace the entire window.

Choosing the Right Paint Color

Choosing the Right Paint Color Few home improvement projects can make a large impact for a low price the way painting can. All you need to completely change the look of a room is a can of paint, some brushes and rollers, and some time. While actually painting a room can take quite a bit of energy, one of the most difficult things about getting ready to paint is choosing the right color. It’s not quite as simple as deciding you want to paint your walls a certain color, you have to settle on the exact right shade of your desired color.

Once you know what general color you want to paint a room, you’ll go to the store to look at their paint samples and be confronted with a wall full of thousands of different shades of that color. Trying to figure out which shade is right for you can take a lot of time and guesswork. Here are a few helpful hints to make the process a little bit easier.

Decide the Mood of the Room

The color you choose to paint a room with can change more than the room’s appearance, it can change the entire mood of a room. Some colors are very calming to look at while others give off a more energized vibe, so the purpose of a room is something you’ll want to keep in mind. For example, if you’re painting a room you’ll spend a lot of time resting or relaxing in, such as a bedroom or a home library, you may want to consider cool, soothing colors. On the other hand, if you’re painting a room that sees a lot of activity, like a kid’s playroom, rec room, or a kitchen, you might feel like checking out some brighter or bolder colors.

Bring Items from the Room You’re Painting

When you go to the store to look at paint samples, it can be helpful to take a couple of things from the room you’re planning to paint. Things like throw pillows, cushions, swatches of fabric used on your upholstery or curtains, or even a leftover piece of your flooring can be nice to have with you since you’ll be able to see how they look next to various colors of paint.

Take Paint Samples Home

One very common mistake people make when choosing a paint color is buying the paint without bringing the sample home and seeing how it looks in their room. Even if you absolutely love how a paint sample looks in the store, there are a few very good reasons why you should always bring it home before buying a gallon of it. First of all, the color might look great in the store’s lighting, but the lighting in the room you’re painting will very likely be different, which can change how the color looks.

Secondly, bringing paint samples home with you will give you a chance to see how it looks with everything in your room. Even if you take things from the room with you when you go to the store to look at samples, there are lots of things that make a big difference in a room’s appearance that aren’t exactly portable. Furniture, rugs, and other types of flooring materials all make a big difference in how a room looks, but you can’t bring those sorts of things to the store with you and taking pictures of them isn’t always the most reliable way to get a true color representation.

Test It Out

Once you’ve decided on a color you like, have the store mix up a small sample size of the paint for you and use it to paint something like a piece of white paper or poster board. That way, you’ll be able to have a decently-sized sample to put on your wall for a few days. You’ll have the chance to see how it looks throughout the day in various lighting conditions. This can be a particularly smart step to take if you’re planning to completely change the color of a room or want to experiment with bright, bold colors.

Remember the 60-30-10 Rule

The 60-30-10 rule is a guideline designers use when planning a room. This means that 60% of a room’s color scheme should be the dominant color, 30% should be your secondary color, and 10% should be an accent color. Since walls are such a large focal point of your room, you’ll probably want to have those account for the 60% and let the 30% and 10% come from other things in your room like furniture and accessories.

The Facts About Home Burglaries in the United States

The Facts About Home Burglaries in the United States The one place a person should always feel safe and secure is in their own home. Unfortunately, too many people in the United States have that peace of mind taken away from them every single day. The FBI estimates that 1 out of every 36 homes in the United States are burglarized every year. That works out to be about one burglary every 15 seconds.

While we often envision burglars as being transient, professional criminals who prefer to work at night under the cover of darkness, the reality is actually quite different. Over 80% of all burglaries are committed by non-professional criminals and in many cases, they target homes that are within a few miles of their own home. In fact, 65% of all violent home burglaries in 2010 involved victims the burglar already knew. Most home burglaries also tend to occur between the hours of 10:00 AM and 3:00 PM, when people are more likely to be at work.

Although the holiday season surrounding Christmas is a popular time of year for burglars to strike, the summer months typically have the highest rates of burglaries.

Not only do home burglaries cost billions of dollars in property loss every year, the emotional effects can be even more profound. If you’re not used to locking your doors and windows before you leave the house, here are a few good reasons why you should start trying to get in the habit:

Wallside Windows Home Burglary Infographic


Infographic Transcription:

Home Burglaries in the United States

States with the highest occurrences of burglaries (per 100,000 people):

  • New Mexico
  • Arkansas
  • Louisiana
  • Alabama
  • Mississippi
  • North Carolina
  • Washington
  • Nevada
  • Oklahoma
  • South Carolina

Burglary Facts:

  • 30% - The percentage of burglaries in which the burglar entered through an unlocked door or window
  • 28% - The percentage of burglaries that occurred where at least one household member was home
  • $2,185 - The average dollar loss per burglary in the U.S.
  • 10 minutes - The average amount of time a burglar stays in the home

Top Items Stolen in Home Burglaries:

  • Bicycles
  • Cell Phones
  • Power Tools
  • Laptops

Most Common Ways Burglars Break In:

  • Front Door
  • Windows
  • Secondary Doors
  • Garage

States With the Lowest Occurrences of Burglaries (per 100,00 people) :

  • New York
  • Virginia
  • Wyoming
  • Vermont
  • South Dakota

Reference:

Safewise

United Locksmith

World Atlas

Home.bt.com

The Fitzpatrick Group

Protecting Your Belongings from UV Damage

Protecting Your Belongings from UV Damage As a homeowner, you’ll take a lot of steps to protect your home and your belongings. You do things like lock your doors before leaving, keep an eye out for signs that water might be getting in your home, keep batteries in your smoke detector, and make sure you get a great homeowner’s insurance policy. But one type of damage homeowners often forget to protect themselves against is damage caused by the sun.

Many people don’t think of sunlight being a potential source of home damage, but the sun’s UV rays can indeed cause a remarkable amount of damage to the things in your home. Unprotected window glass can let in as much as 70% of UV rays from the sun and it’s estimated that heat and visible light are responsible for causing approximately half of all indoor home damage.  

If you’ve ever been to a garage sale, flea market, antique shop, or a house full of older things, there’s a good chance you’ve seen something that looks remarkably faded. This happens when things are exposed to too much sunlight over time. Not only can colors fade, UV rays can also cause things to weaken and become brittle. Anything can become damaged if it’s exposed to too much sunlight over time, but pictures and other artwork hanging on walls, furniture, carpeting, and anything made of wood are all particularly susceptible to UV damage. Here’s how you can keep your belongings safe from the damaging effects of sunlight.

Window Treatments

Think of window treatments as being like sunscreen for the things in your home. Since windows let so much light into your home, they’re the best place to start when you want to limit how much UV radiation gets into your home. Many window treatments like curtains and blinds can be very effective at keeping the sun out, but they might not let in the ideal amount of light for you. Since most people don’t want to keep their curtains and blinds shut all day long, there are other options to consider that don’t aren’t as obstructive.

If you’ve been considering getting new windows, one of the best things you can do is get vinyl replacement windows with low-E glass. Low-E glass helps filter out a large portion of the sun’s UV rays without visibly limiting the amount of light a room gets. Windows with a low-E coating can also help keep your home warm in the winter and cool in the summer, so these windows are very beneficial to have.

If replacing your windows isn’t practical for you, a more affordable option to consider is  UV-filtering window films. These window films are very effective, inexpensive, can be cut to fit any window, and are easily found at many hardware stores.

Awnings

Your options for window treatments aren’t just limited to the kinds that go on the inside of your home. Exterior window awnings help shield your windows from the sun, controlling the amount of light that comes in. Not only do awnings help protect your belongings from damaging UV rays, they can help keep your heating and cooling costs down, too.

Picture Frames With UV-Filtering Glass

One of the most popular types of home decorations is photographs. Photographs are extremely vulnerable to UV damage, but when you have a collection of nice photos, you want to show them off, not hide them away in a dark room. To safely display your favorite photos, look for picture frames with UV-filtering plexiglass or acrylite instead of regular glass. You may not even have to completely replace your existing picture frames, you may be able to just replace the glass. Many stores that sell archival storage materials sell these UV-filtering glass alternatives as individual sheets, so you could simply replace the glass already in your picture frames with the new UV-filtering panes.