

Blog

Tips for Painting Your Kitchen Cupboards

Tips for Painting Your Kitchen Cupboards Cupboards are a major focal point of any kitchen, so if they’re starting to look dated or worn out, they can really drag down the appearance of the rest of the room. But completely replacing cupboards with new ones isn’t always an affordable option. In full-kitchen renovations, new cupboards alone cost an average of 30% of the entire project’s budget.

Rather than spending thousands of dollars on brand new cupboards, many homeowners prefer to revamp the ones they already have and one of the most popular ways to do so is by painting them. Although painting your cupboards may seem like an easy project in theory, many people have learned the hard way that it’s not quite as simple as it sounds. Before you grab a paintbrush and get to work, here are a few tips to make the process as easy as possible.

Give Yourself Plenty of Time

First and foremost, be sure you have plenty of time to do the job properly. Painting your cupboards is a more time-consuming project than many people realize, so it’s not the sort of thing you’ll want to start doing if you’d need to have it done within a couple of days. The exact amount of time it will take depends on how many cupboards you have and how much time you have to dedicate to the project, but with all steps considered, it can easily take anywhere from a week to several weeks.

Don’t Skip the Prep Work

As tempting as it may be to skip the prep work and get right to painting, prep work is extremely important when it comes to painting kitchen cabinets. Cabinets can easily accumulate a layer of grease and oils from being near the stove and if you don’t clean your cabinets before painting them, that grease will make it impossible for paint to dry properly. Don’t just clean the cabinet doors, either, be sure to get the frames of the cabinets, too. For the best possible finish, fill in any nicks and dents your cupboards have and sand down all the surfaces you’ll be painting, then use a vacuum and a tack cloth to remove debris from the surfaces. Lastly, don’t forget to prime your surfaces before you start painting. All these steps may seem like a hassle, but they will pay off in the end.

Label Everything

Removing your cupboards for painting will make your job a lot easier, but as you do so, don’t forget to keep track of where everything originally came from. Label each door, where each door came from, and keeping the hardware for each door in a labeled bag. Once you’re done painting, the last thing you’ll want is to be stuck trying to guess where everything was in the first place.

Choose the Right Paint

Matte finish paints may be less expensive than glossier finishes, but when it comes to cabinets, spending a little more for a satin, gloss, or semigloss paint is worth it. The glossier the paint finish, the more durable it is and the easier it is to clean, which are exactly what you need in a room like a kitchen.

Don’t Rush to Hang Them Up

Once your cupboards have been painted, it’s totally understandable that you’d be very eager to get your cabinets hung back up again. But make sure to give your cupboards plenty of time to fully dry, at least a day or two, before you try putting them back. Even if they seem dry, they might not be completely dry yet and if you’re in a hurry to put them up, your paint job could get messed up and you might have to repaint that cabinet all over again.

Save Money on Electrical Bills Through Lighting

Save Money on Electrical Bills Through Lighting Electrical bills are an important part of any homeowner’s budget. It’s one of those expenses that you simply can’t avoid having to deal with, at least not if you want to live comfortably. The only thing you can really do is take steps to keep your electrical bills as low as possible.

Since there are so many things in our homes that use electricity, it can be hard to pinpoint exactly where your money is going each month. But since lighting accounts for an average of 10-20% of a home’s electric bill, evaluating your home’s lighting can be an excellent starting point.

First of all, one of the best ways to reduce your home’s electrical bills is by turning off your electrical lights and letting your vinyl replacement windows take care of the lighting for you. The more you’re able to use natural light, the less money you’ll have to spend on powering electric lights. Obviously, curtains, blinds, and shutters will help you control the amount of light that comes into your home, but the color you paint your walls can help reflect light and make the room brighter without using any additional lights. If you want more light in a room, look for a paint with a high light reflectance value (LRV). You can typically find the LRV printed on the back of a swatch of paint you get at a store. White and yellow are the most reflective wall colors while black is the least reflective. Mirrors are another way to help reflect light and brighten a room.

Have a room that simply doesn’t get much natural light through regular windows? Adding a skylight may be something you want to consider. Skylights let in about 30% more sunlight than regular windows, so they can provide you with more natural light without losing privacy in a room. However, skylights can be very expensive to install; so much so that it may take a long time to recoup the cost of the job through lower electric bills. But solar tubes are a much more budget-friendly option. Solar tubes are very effective at bringing much-needed light to rooms (even in spaces that are often difficult to light) but are much easier and less expensive to install than skylights.

No matter how much you rely on natural sunlight, there will still be times when you need to use electrical lights. But of course, there isn’t just one type of light bulb. Consumers have plenty of energy-efficient lighting options to choose from like compact fluorescent lights (CFLs) and light-emitting diodes (LEDs). These bulbs are more expensive than older styles of bulbs, but according to Energy.gov, these newer types of light bulbs can use anywhere from 25% to 80% less energy than older incandescent bulbs and can last 3-25 times longer.

CFL light bulbs are the type of light bulbs with a curly appearance and are perfect for many different fixtures around the house, like in lamps and ceiling fans. LED lights are more expensive than CFLs, but they have an extremely long lifespan. Although there are LED light bulbs that can be used in regular lamps, their very long lifespan makes them perfect for being used in places where changing bulbs isn’t always convenient, such as in recessed lighting, lighting fixtures located on high ceilings, and outdoor lighting.

By making changes like these to your home, you’ll be well on your way to seeing your electrical bills drop for good!

Benefits of Replacing Your Windows in Colder Weather

Benefits of Replacing Your Windows in Colder Weather Certain types of home improvement projects are best when done during specific times of the year. For example, spring is the best time of year to have a new deck installed because that’s when the ground is softest, making installation easier. On the other hand, the cold winter months are actually ideal for laying the new foundation for an addition to your home. But one project that many homeowners don’t realize can be done at any time of year is having vinyl replacement windows installed.

Spring and summer are the most popular times of year to have windows replaced, but there’s no absolutely no reason why window replacement should only be limited to those times of year. In fact, there are some great benefits to having your windows replaced during the winter or later in the fall.

Immediate Results

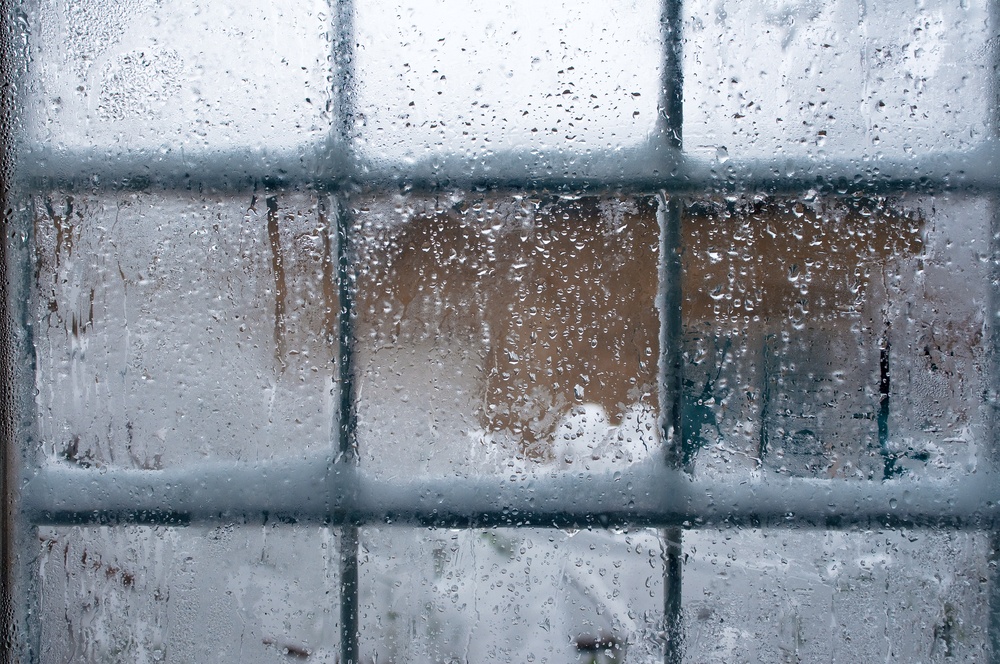
Sometimes, you might not realize just how drafty and inefficient your windows are until the temperature starts to drop. Once the cold weather starts rolling in, drafts suddenly become a lot more apparent. If you have windows that are so inefficient that you can tell how cold it is outside just by touching the glass, you certainly don’t want to spend all winter being uncomfortable in your own home and paying more than you should have to on your energy bills. By having your windows replaced right away, rather than waiting for next spring or summer, you’ll immediately be a lot more comfortable and you’ll see your energy bills start to go down right away.

Better Prices and Faster Installation

The fact that so many people are eager to have windows replaced during the summer can actually work in your favor. Since companies that install windows aren’t as busy during the colder months, they typically have special deals and sales during the off season. When you schedule your window replacement during the off season, you not only stand to save quite a bit of money on your new windows, you probably won’t have to wait as long for your new windows to be installed as you would if you replaced your windows during the summer.

Efficient Installation

Summertime can be a very humid time of year, which can cause the wood framing of your home to swell and expand a little bit. Waiting for the weather to cool off before having your windows replaced gives the wood framing a chance to return to its normal size, allowing for extremely efficient window installation.

Some of the most common reasons why homeowners prefer to wait for warm weather to have their windows installed is because they’re worried the job will make their whole house cold or that workers will track snow and water throughout their home. If you’re concerned about these sorts of things, ask your window company about what measures they’ll take to avoid them. A reputable company will do things like use protective floor coverings to avoid damaging your home or work with doors shut to prevent cold air from working its way elsewhere in the house.

What You Need to Know About Furnace Filters

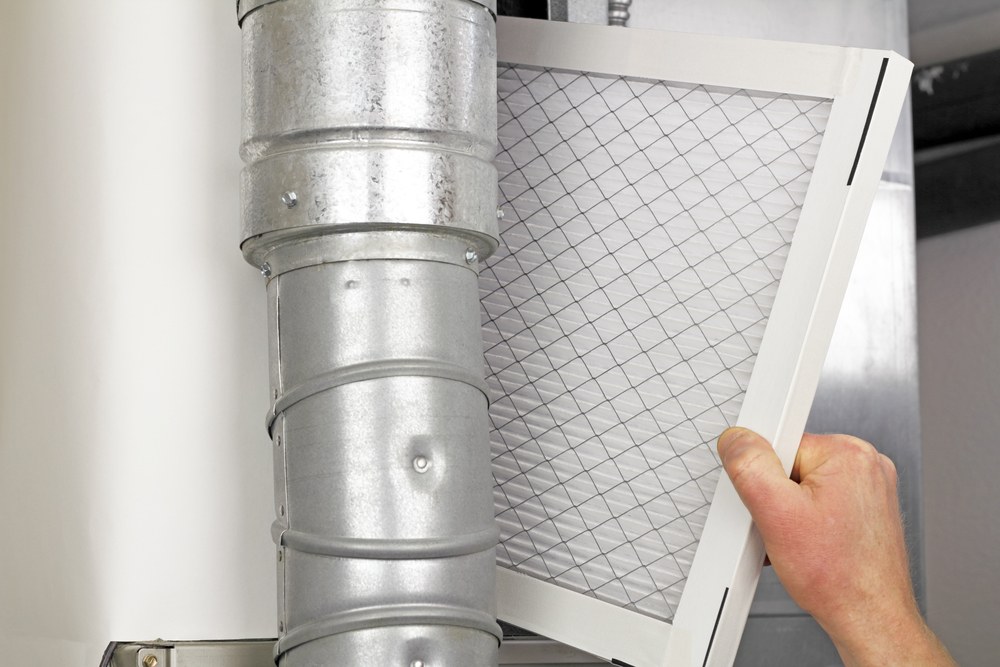
What You Need to Know About Furnace Filters If you want to keep your home’s furnace in top condition for years to come, one of the best things you can do is make sure its filters are changed regularly. Furnace filters aren’t expensive, they’re easy to change, and they play a very important role in how well your furnace runs. If a furnace filter gets too dirty, the furnace has to work harder to move the warm air throughout the house, which puts a greater strain on your furnace and drives up your energy bills. Dirty air filters can increase a furnace’s energy consumption by as much as 15% and when a furnace has to work harder just to operate, the more likely it is that you will have to deal with big repair bills.

When you have someone come out to your home to repair or inspect your furnace, there’s a good chance they’ll ask you how frequently you change its filter. Some people will say you should change your filter monthly, others will say every three or six months. So how often do you really need to change your furnace filter? It all depends on several different factors, such as whether or not you have allergies, if you have pets, if you’re a smoker, and the type of filter you use. If you have allergies, changing your furnace’s filter more frequently will help keep airborne allergens in your home under control. Smokers and pet owners may find that their furnace filters get dirty more often because of all the smoke and pet hair that makes its way into your home’s ducts.

Not all furnace filters are created equally. There are several different types of furnace filters out there and some types are more effective than others. As you’re looking for a new filter, look for filters with a higher minimum efficiency reporting value (MERV). The higher a filter’s MERV value, the more effective it is at trapping dust and other particles you don’t want circulating in your air. Filters with lower MERV values are less expensive, but they’ll typically need to be changed more frequently.

Fiberglass filters are one of the most inexpensive types of filters out there, but they do very little to improve the quality of air in your home. They usually only trap less than 10% of air pollutants in your home and will need to be replaced very frequently, sometimes as often as every month. Polyester or pleated filters are also inexpensive, but they’re much more effective than fiberglass filters at improving air quality, removing upwards of 45% of air pollutants.

To really improve the quality of air in your home, look for a filter with a MERV value of 9-12. There are filters out there with MERV values ranging as high as 16, but those are most commonly used in places like hospitals. Using a filter with too high of a MERV value can actually damage your furnace by slowing airflow down too much, but a MERV value of 9-12 is typically enough for an average household to keep allergens and debris out the air.

Not sure how often you should change your filter? Just take a look at it every month or so. If it appears to be clean, you should be able to continue using it for a bit longer. But if the filter is coated with dust and other debris, it’s time to get a new one.

Easy Ways to Stop Window Drafts

Easy Ways to Stop Window Drafts Simply put, drafts in your home are a nuisance. Windows are an extremely common source of drafts, but that doesn’t mean you have to live with drafts. The only things window drafts are good for are making your home uncomfortable and driving up your energy bills. If your windows are simply old, your best bet might be to replace them with something more energy efficient, like vinyl replacement windows. But if your windows aren’t very old, there are plenty of other things you can do to get rid of drafts without completely replacing them.

Looks for Signs of Damage

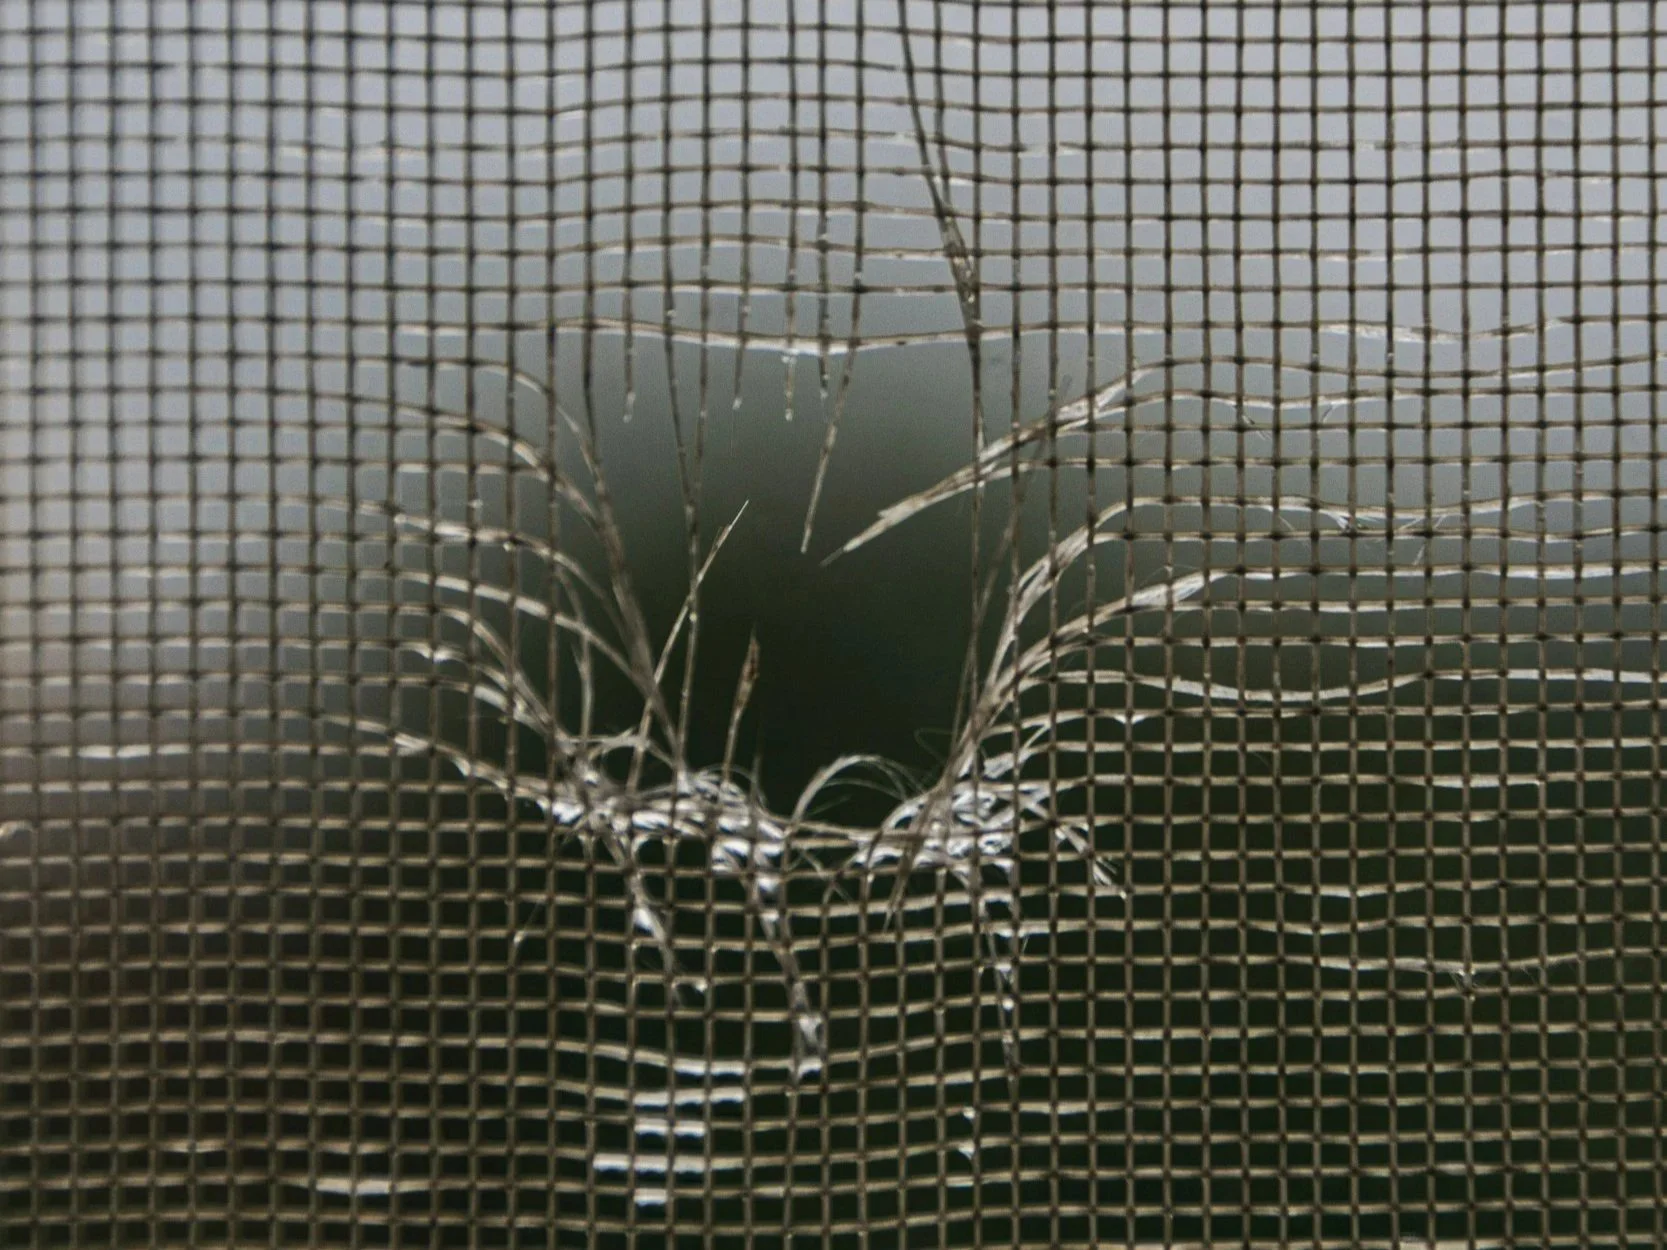
In many cases, drafts are caused by damage to the window. If your window has cracked glass or isn’t able to shut properly, having your window repaired may solve the problem.

Add Caulking

Caulk plays an important role in preventing drafts around windows, but over time, it can become brittle and fall out of place. If this seems to be the case, removing the old caulk and replacing it is a pretty easy and inexpensive task. All you need to do is remove the existing caulk, clean the area where you will be applying new caulk, and apply the caulk according to the manufacturer's instructions.

Weatherstripping

Adding weatherstripping to a window is another easy, inexpensive, but highly effective way to put an end to drafts. You can find weatherstripping at any hardware store and you’ll be able to install it in a matter of minutes. Just be sure to inspect your weatherstripping once or twice throughout the year to make sure it hasn’t gotten worn down because worn weatherstripping won’t be able to protect your home as effectively as it ought to.

Window Coverings

Window coverings don’t just help you add privacy or control the amount of natural light a room gets. Certain types of window coverings can also help keep rooms warmer. Things like honeycomb shades, insulated or quilted curtains, and other types of curtains made of heavy materials can all help shield you from drafts and keep rooms warmer.

Draft Snakes

Need a quick, temporary fix for a drafty window? If you can feel the draft along the bottom of the window, where the pane meets the window sill, a draft snake will do the trick. All you have to do is put it in front of the draft. You can buy ready-made draft snakes, or you can make your own by simply sewing a tube of fabric, filling it with uncooked rice, and sewing it shut. It won’t be a permanent solution, but it will at least help make your home more comfortable until you’re able to fix the problem for good.