
Making Your Water Heater More Energy Efficient

Making Your Water Heater More Energy Efficient When you’re looking for ways to cut down on your home’s energy usage, the first places you’ll probably think to look are your heating and cooling systems. Heating and cooling costs typically account for the largest percentage of a home’s utility bills. Doing simple things like turning the thermostat down in the winter, running the air conditioner less in the summertime, and replacing drafty windows with new vinyl replacement windows can help you save quite a bit of money in the long run. But once you’ve done that, the next best place to look would be your home’s water heater.

Water heaters typically account for 14% to 18% of a home’s total energy costs, so taking steps to help your water heater more efficient could help save you a good amount of money, too. Here are a few ways you could help bring that number down and keep more money in your pocket.

Adjust the Temperature

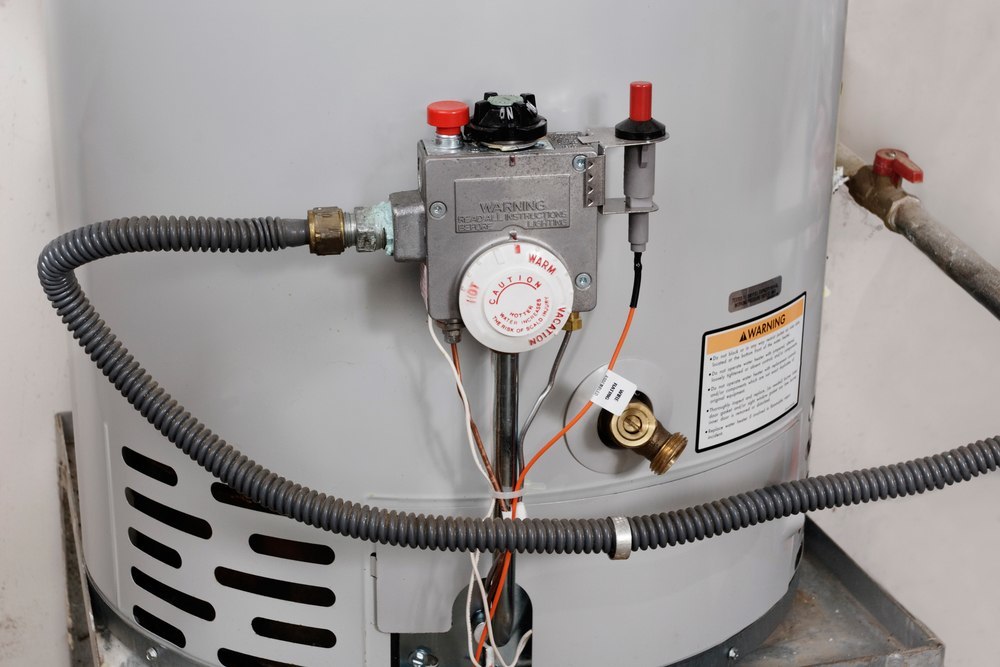
What temperature is your water heater set to? If it’s currently set to anything over 120℉, lowering the temperature is a great way to cut down on the amount of energy your water heater needs. For every 10℉ you lower your water heater, you could reduce the amount of energy your water heater needs by between 3% and 5%. Many water heaters are installed set at 140℉, but the Consumer Product Safety Commission and the Environmental Protection Agency recommend 120℉ for most households. This temperature helps save money while keeping your water warm enough to prevent pathogens and bacteria from growing, but not so hot that people will get scalded.  

However, there are a few circumstances where you might want to keep your water heater set at 140℉. If you have a chronic respiratory disease or a suppressed immune system, keeping set at 140℉ will more effectively prevent bacteria from growing in your water. If you have an older dishwasher that doesn’t have a booster heater, a temperature of 130℉ or 140℉ will help ensure your dishes are cleaned properly.

Insulate Your Tank

One way that your water heater wastes energy is through standby heat loss. As water sits in your water heater’s tank waiting to be used, it will naturally start to cool down, which will prompt your water heater to start heating the water up again. Many modern water heaters have a good amount of insulation to help keep the water in the tank warmer longer, but if you have an older water heater, wrapping it in an insulated blanket can help reduce standby heating losses. If you have an electric water heater, be careful your insulated blanket doesn’t block the thermostat. If you have a gas powered water heater, make sure the blanket doesn’t cover the burner compartment or thermostat or the top or bottom of the tank.

Drain the Sediment

Over time, water heaters often accumulate a sediment on the inside of the tank. When this sediment builds up, it can make it harder for water heaters to run efficiently. To prevent sediment from building up, it’s good to drain about a quart of water from your water heater tank every three months.

If you have an electric water heater, you’ll need to start by shutting off its power. If you have a gas powered water heater, set the burner to “Pilot.” Then, turn off the water heater’s water supply source. Go turn on the hot water faucet in a sink or bathtub in another area of the house and let it run to help prevent a vacuum from forming in the plumbing lines. Attach a garden hose to the spigot at the base of your water heater’s tank and let it run into either a bucket or the floor drain. Find the pressure relief valve on your water heater and adjust it to let some water out. Remember, you don’t need to drain very much water. A quart of water is plenty!

By following these simple steps, you should start to see a nice reduction in your home’s energy bills over time.
Properly Using Power Washers

Properly Using Power Washers Everyone loves the idea of being able to give something a very thorough cleaning, but without having to put a lot of effort into it. This is particularly true when you need to do something like clean the siding on your home, a deck or patio, a fence, or a driveway. Since these sorts of things spend a lot of time being exposed to the elements, they can really accumulate a lot of dirt and they’re definitely not small enough to want to wash by hand.

For these sorts of chores, power washers can be very helpful. The results they can give can be so awesome, you might be tempted to use a power washer for as many chores as you possibly can. However, remember that power washers are, indeed, powerful, and can cause damage or injury if they aren’t used correctly.

First of all, remember that not everything should being cleaned using a power washer. Water from a power washer has the potential to injure people, so it certainly can damage other things as well.  To give you an idea of how strong power washers can be, a lighter power power washer typically has a higher water pressure than you get by using the hose provided at a car wash.

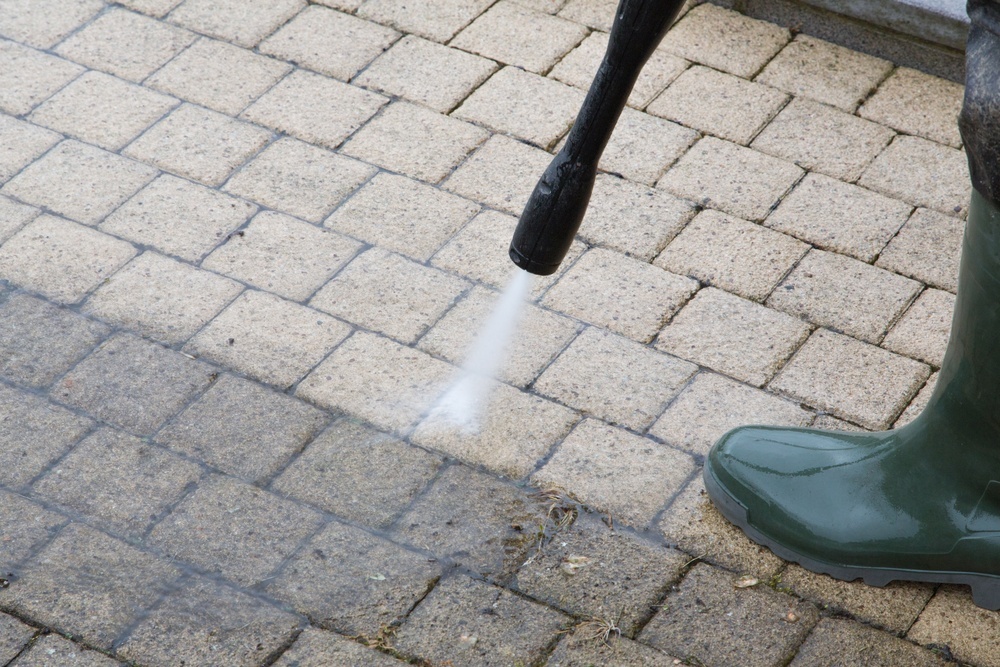
Although many people love to use power washers to clean their home’s siding, power washers do have the potential to damage vinyl and aluminum siding if you aren’t careful. Decks made of wood, a composite wood, or PVC have also been known to be damaged by power washers. Do not use power washers to clean things like outdoor umbrellas, plastic furniture, or cushions for outdoor furniture. Generally speaking, stick to using power washers on materials that are naturally very sturdy like concrete, brick, and stone. If you aren’t sure if something is good to use a power washer on, try testing it on a small spot that’s not very visible. To prevent damage, try to keep your pressure washer set between 1,500 PSI and 1,800 PSI, use the wide stream nozzle, and keep the nozzle at least 2 feet away from your target.

Before you start cleaning, make sure everything that could be damaged has been removed from the area and be sure there aren’t any young kids or animals nearby. Kids in particular might not realize that a power washer is a lot more powerful than a regular garden hose and could think it would be fun to play with it. Don’t forget to wear safety goggles, a long-sleeved shirt, and long pants to help protect yourself from any debris that might go flying. Boots with rubber soles will also help you keep you from slipping and falling on a wet surface.

Once you start cleaning, keep the nozzle at a 45 degree angle and keep it moving in a side-to-side motion. If you need to apply a detergent, apply it starting from the bottom and work your way up. To rinse your detergent, rinse starting at the top and working your way down. If you’re using a power washer to clean your siding, do not use the power washer while standing on a ladder. Use your power washer’s extension wand to reach those areas that are a little harder to get to.

When you’re all done, don’t forget to flush your power washer to get rid of any detergent you used. Check the user’s manual for more information on how to do that.

Used correctly, a power washer can help take a lot of work out of even the most daunting outdoor chores. By following these steps, your yard will be looking fantastic in no time!

Keeping Allergens Out of Your Home This Spring

Keeping Allergens Out of Your Home This Spring After a long, cold winter, few things can seem better than the arrival of warm, sunny spring weather. That is, unless you suffer from allergies. Springtime is a beautiful time of year, but it’s also when many people end up feeling absolutely miserable because of all the pollen and other allergens in the air. While it might sound like a great idea to open up those vinyl replacement windows and let some fresh air in, unfortunately, that also means letting in airborne allergens and once they get in, they can try to make themselves at home.

If you tend to suffer from allergies around this time of year, you don’t necessarily need to keep your windows shut all spring long. Pollen levels tend to be at their peak between 5:00 AM and 10:00 AM, so you might be able to enjoy some fresh air later in the day. You’ll also want to take some extra steps to make sure that any allergens that get into your home don’t cause any problems for you.

Change Air Filters Regularly

One of the best ways to keep airborne allergens under control is by making sure you change the filters on your home’s furnace or air conditioner about every 90 days. The longer an air filter stays in place, the more dust and debris it collects. When an air filter gets too full, it won’t be able to contain allergens as well, so they’ll just keep circulating in the air around your home.

Start Dusting From the Top

When you dust your home, it can be very easy to forget about dusting your ceiling fans since they’re not at eye level. Or in some cases, you might remember to dust your ceiling fan, but not until after you’ve already dusted everything else underneath it. When you suffer from allergies, your ceiling fan is actually one of the best places to start dusting. Dust and other allergens love to settle on ceiling fans and the longer you put off dealing with it, the more time allergens have to accumulate. When you dust, make sure you use something like a cloth rag or a disposable cloth instead of a feather duster. Cloths will help collect the dust while feather dusters will only kick dust back up into the air.

Vacuum Thoroughly

When you have allergies, you’ll definitely want to keep up with your vacuuming to get rid of allergens that settle into your carpet. Even if you don’t have carpet in your home, a vacuum cleaner can still be very helpful since the attachments that come with it can help you get dust that settles into very hard to reach areas like behind the refrigerator or the area where your wall meets your floor. Don’t forget to use your vacuum cleaner attachments to clean curtains and any fabric-covered furniture like couches and recliners!

Don’t Forget Your Bed

Anything made of fabric is a great place for dust and other allergens to settle and beds have a lot of fabric. Not only do you have sheets, comforters, and pillows, most mattresses also have a cloth cover. Be sure to wash your bedding weekly and use your vacuum cleaner and its attachments to clean your mattress. Mattresses can be a veritable breeding ground for dust mites since so many people completely forget to ever clean their mattresses.

Keep Your Closet Doors Closed

Since so many allergens love to settle on fabrics, your closet can be very attractive to allergens. You definitely don’t want to give allergens free access to the clothes you wear, so be sure to keep your closet doors shut as much as possible this time of year.

Trying to keep allergens out of your home might seem like a lot of work, but when you suffer from allergies, but it sure can help make springtime a lot more comfortable!

Creating a Welcoming Entryway

Creating a Welcoming Entryway We’ve all heard the saying that you only get one chance to make a first impression. As a person walks into your home, the entryway gives visitors a first impression of what the rest of your home is like. A well-designed entryway should create a warm, inviting atmosphere and set the tone for the rest of your home’s decor. But with so many different areas of your home to decorate, the entryway often gets treated as an afterthought. Or for many people, their entryway is so small, decorating it can be a challenge.

Livening up your entryway doesn’t have to be hard! Here are a few easy ways to help make your home’s entrance a little more inviting:

Hang It Up

One complaint many homeowners have about entryways is that they can seem like magnets for clutter. As people walk in, they’ll take off their coats, set down their bags, and leave their shoes behind, so it doesn’t take long for an entryway to start looking messy. Things like coat racks and wall-mounted hooks can be extremely helpful in keeping your entryway looking neat and tidy. If you don’t have much space to work with in your entryway, wall-mounted hooks can be particularly effective since they help keep clutter under control without taking up any of your floorspace.

Have a Seat

When a person walks into your home, there’s a good chance the first thing they’ll want to do is take off their shoes. Since not all shoes can easily be slipped off, it’s very helpful to have a place to sit down. A single chair will work just fine, but many people like to put benches in their entryways. Not only do they give people a place to sit down as they take off or put on their shoes, boots and shoes can easily be stored under a bench, keeping them from cluttering up the rest of the floor.

Rugs and Mats

Most people don’t intend to bring dirt, water, or mud inside with them as they come in the house, but it will inevitably happen, no matter how careful a person is. Having an absorbent mat with a rubberized bottom near your door will help prevent water, snow, and mud from getting tracked in through your house. If you have hardwood floors in your entryway, a mat like this will help prevent your floors from being damaged by moisture. Even if you don’t have hardwood floors, but do have floors that can be slippery, having a mat by your entryway will prevent people from slipping and falling.

While mats are more utilitarian, decorative rugs can serve a lot of purposes in an entryway. A long runner rug can help lead guests into your home. Rugs can also help to define your entryway as being its own distinct area, which is helpful if your home has an open floor plan and your entryway blends right into another area of your home.

Mirrors

One of the best things any entryway can have is a mirror. Before walking out the door, many people like to take one last look in the mirror before they leave, so having one in your home’s entryway is certainly something many people will appreciate. But if your entryway is pretty small or doesn’t have much lighting, mirrors are a great way to help make the space seem brighter, larger, and more open. Mirrors can also add a fantastic decorative touch!

How Vinyl Replacement Windows Compare to Wood Windows

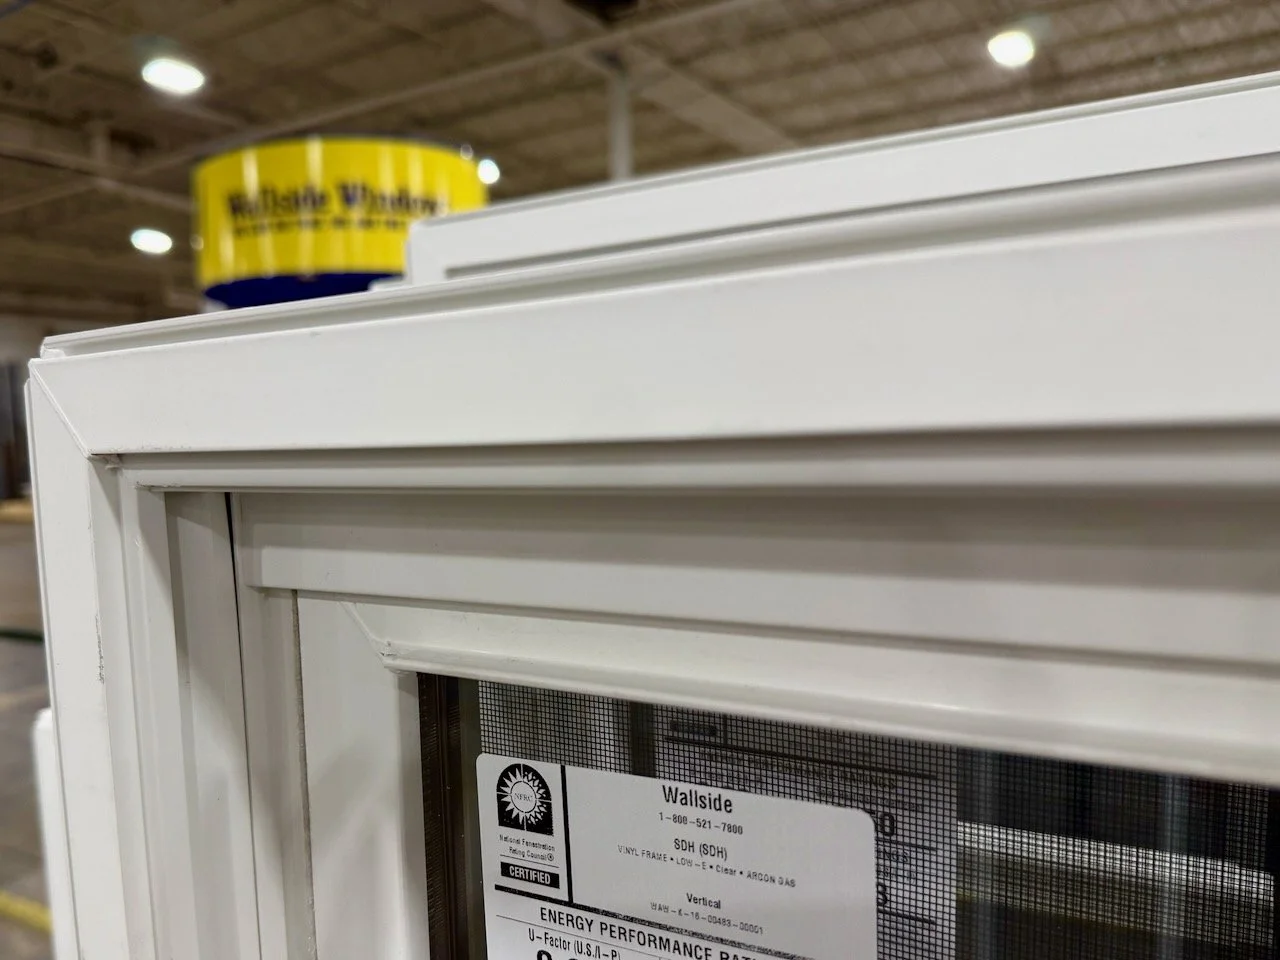
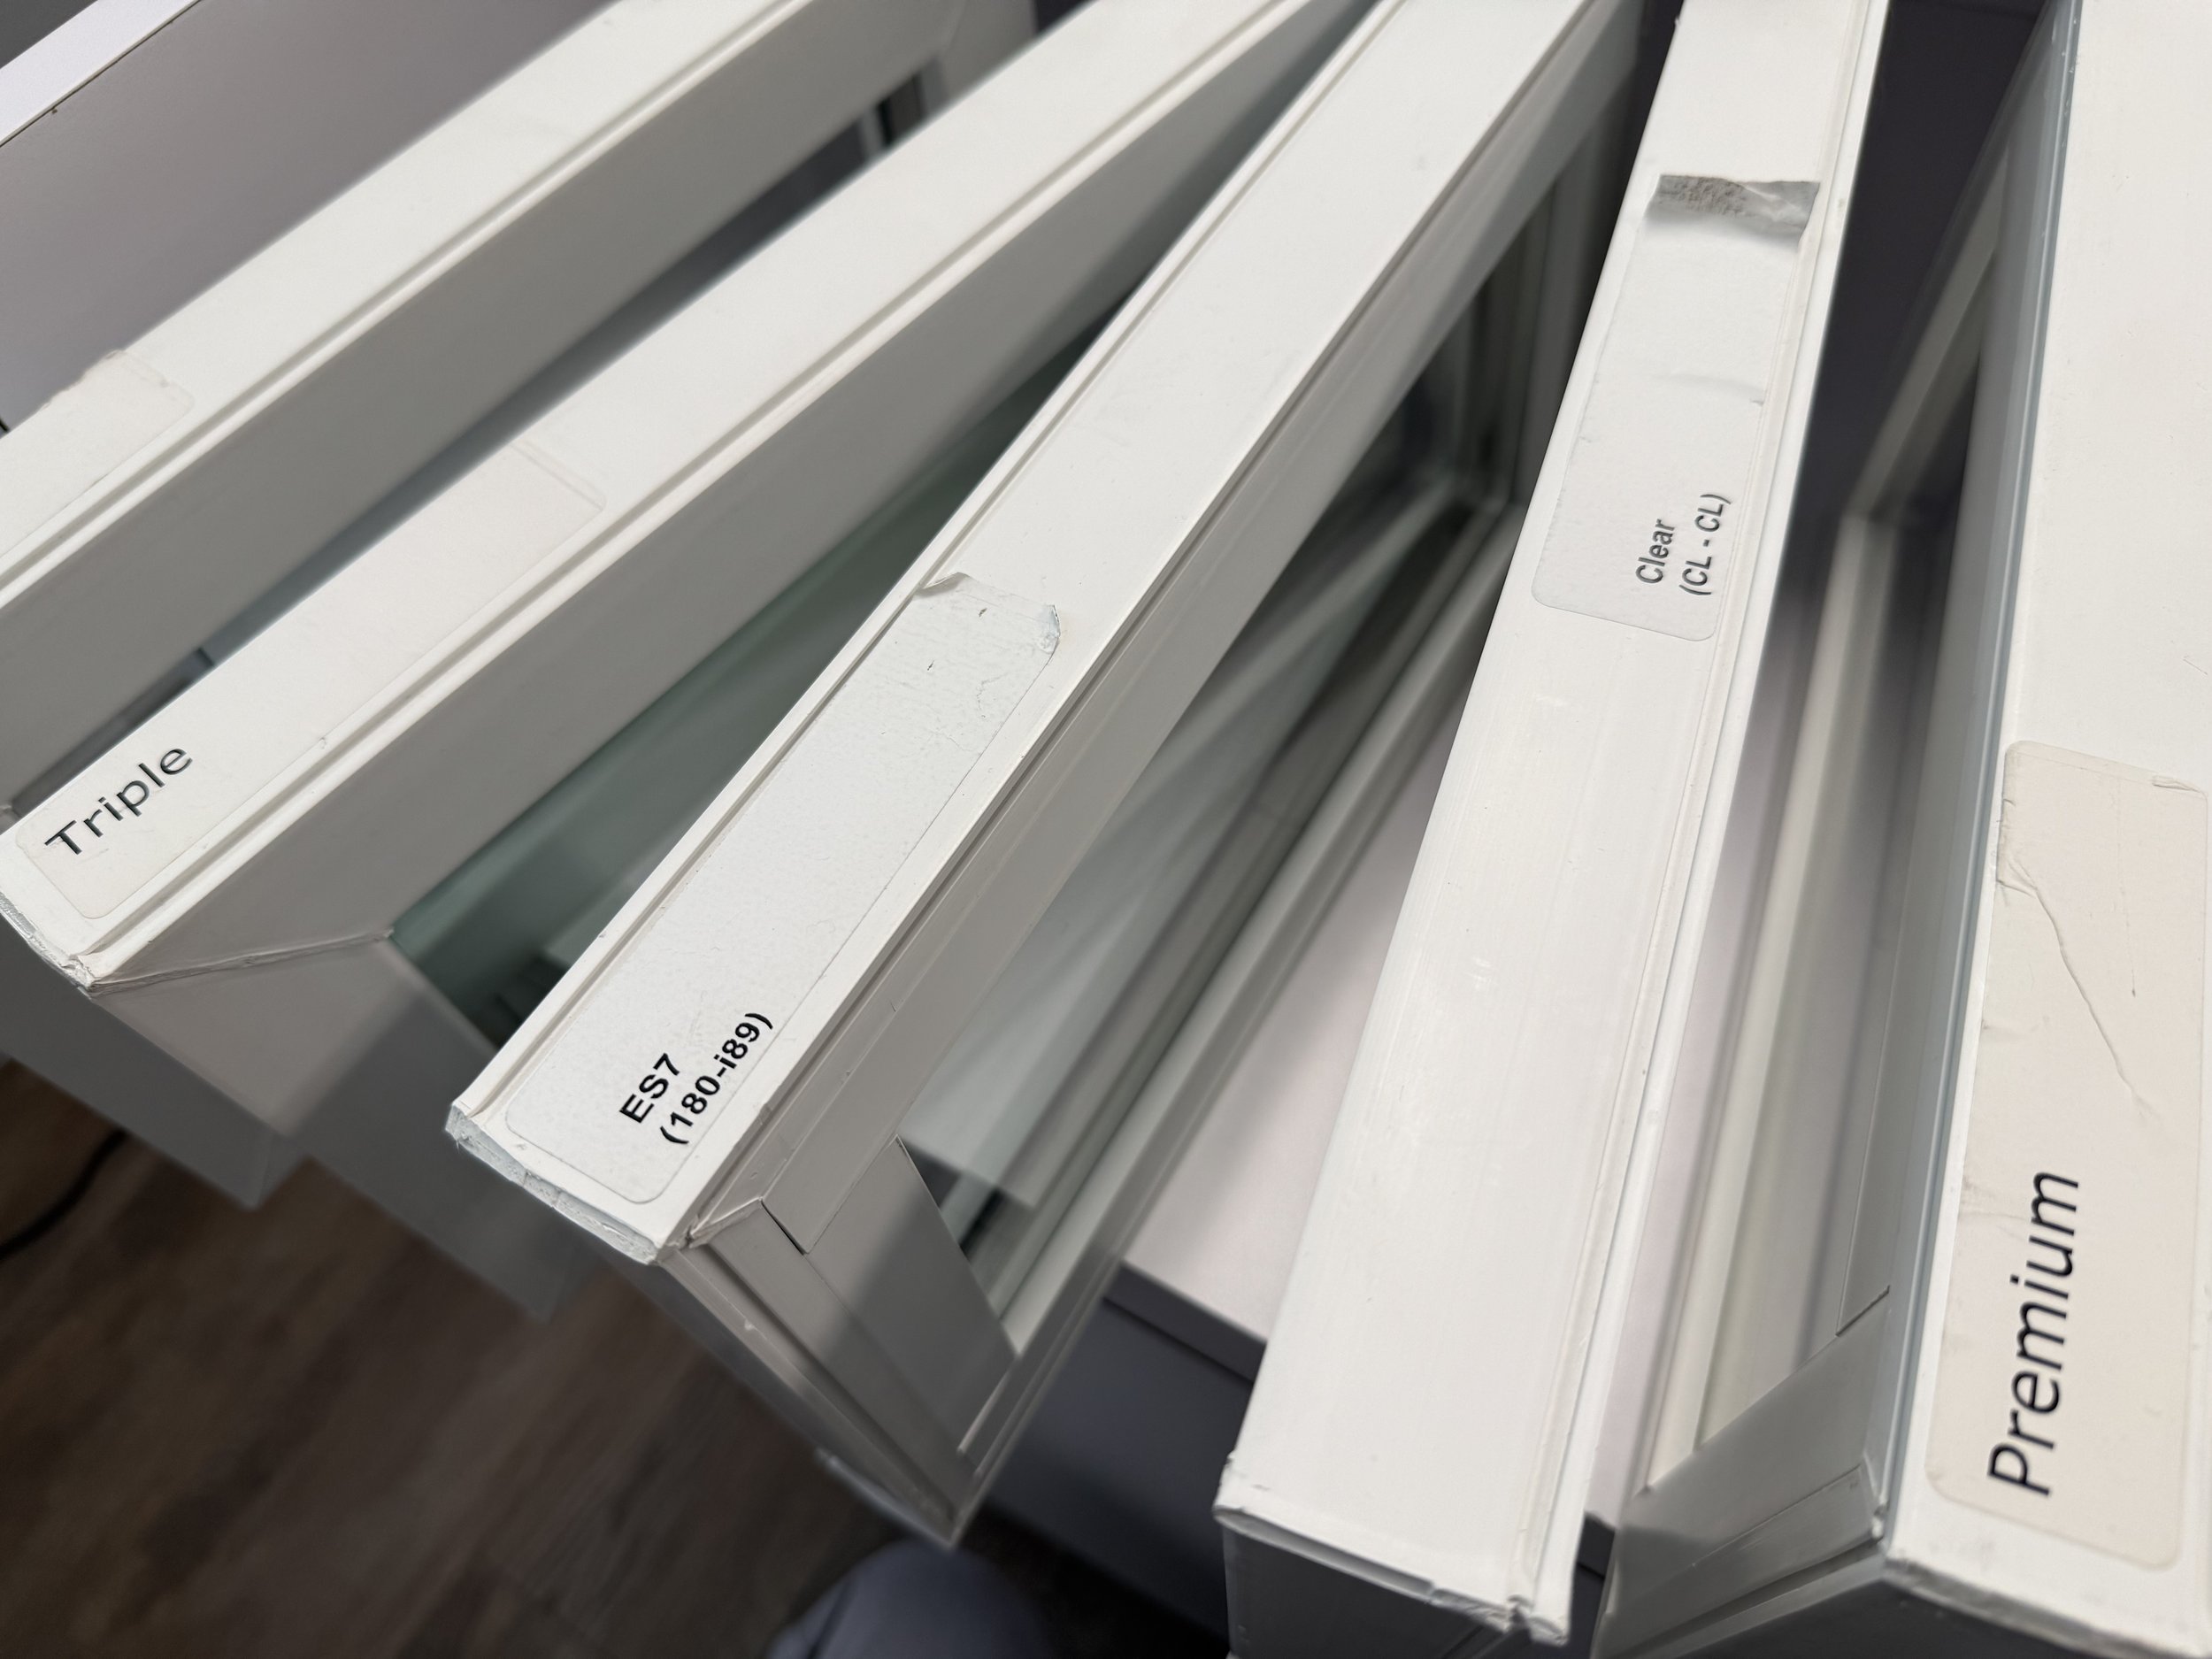
How Vinyl Replacement Windows Compare to Wood Windows When you’re looking for new replacement windows for your home, you might be surprised by just how many options are out there. Not only do windows come in a large variety of styles, you can get replacement windows in a variety of different materials. Wood windows have long been a favorite with homeowners who love the classic, traditional look. But over the years, vinyl replacement windows have become the top choice for homeowners. All types of window materials have their pros and cons, so how do vinyl windows compare to wood windows ?

Cost

The number one reason that so many choose vinyl for their new replacement windows is because they are so much more affordable than other types of windows. Wood windows, on the other hand, are one of the most expensive types of replacement windows on the market. The exact price of windows, no matter what type of window it is, varies depending on the size of the window and the manufacturer, but wood windows consistently cost considerably more than vinyl replacement windows.

Maintenance

A lot of people love the look of wood windows, but one of the biggest downsides that come with them is how much effort you have to put into taking care of them. Wood windows need to be scraped and painted or stained every now and then to protect the wood and prevent wood rot. When you paint window frames, you have to be very careful about how you paint them, otherwise the window can get stuck shut as the paint dries. If you end up with a small section of wood that has been damaged or started to rot, you’ll need to have that taken care of to prevent the damage from spreading.

Vinyl replacement windows require virtually no maintenance. You don’t need to paint them, so that’s one less chore for you to worry about. Since you don’t have to paint vinyl windows, you’ll never have to worry about them starting to peel or chip over time. If your vinyl windows start looking a little dirty, good old fashioned soap and water can help make them look as good as new again.

Appearance

Since so many people like wood windows because of the way they look, they can be quick to dismiss the idea of getting vinyl replacement windows because they think vinyl windows only come in two colors: white or beige. While you can absolutely get vinyl replacement windows with white or beige frames, those are hardly the only options available. Vinyl replacement windows can come in a variety of colors and faux wood finishes, so it is possible to get the look of wood windows, but without the expense or having to deal with the maintenance.

With their budget friendly prices and how little maintenance they require, it’s easy to see so many homeowners are choosing vinyl replacement windows!