
Blog

Tips for Washing Second Story Windows

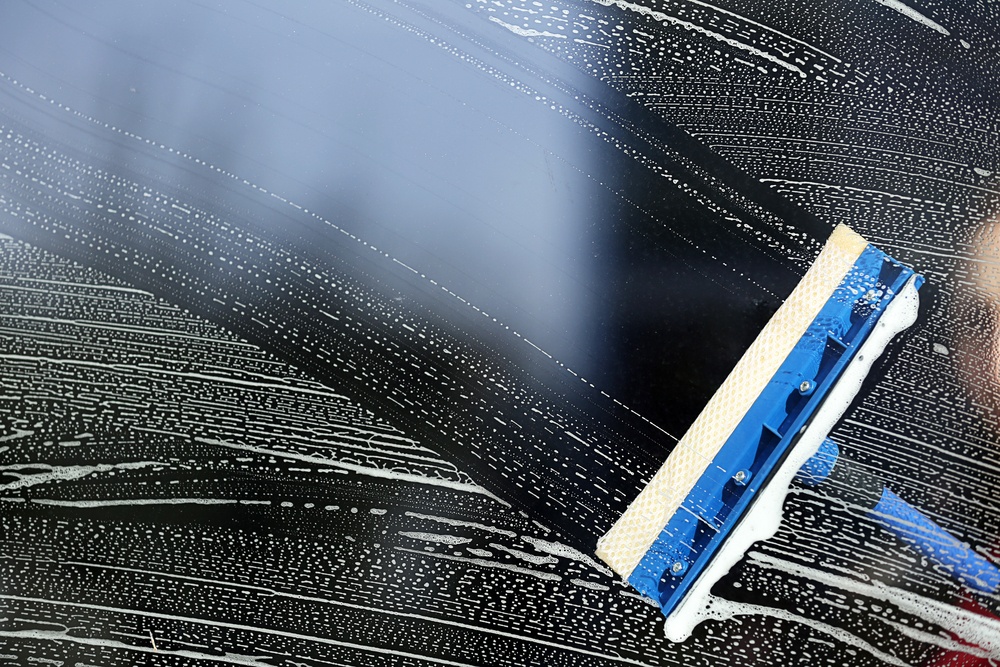
Tips for Washing Second Story Windows Washing windows is a chore many people have a hard time with. Many homeowners struggle to get the panes of their vinyl replacement windows looking crystal clear and streak free, even when the windows are easy to reach. Trying to wash the windows on the second story of a home from the outside is even more challenging. If you’re lucky, you might have windows that tilt inward or can easily be removed from the frame, making it no problem to clean those windows without having to get the ladder out. But if you aren’t able to wash your windows in those ways, here are a few ways to make your job a little bit easier.

First of all, don’t just choose any day to wash your windows from the outside, particularly second-story windows. Try to choose a day that’s either cloudy or overcast. When you try washing windows on a sunny day, the heat from the sun can cause your cleaning solution to dry before you have a chance to properly rinse and dry them, which can create streaks on the window. When you’re dealing with second-story windows, the last thing you want is to go through all that effort and not end up with the results you want.

Before you try to start washing your windows from the outside, clean your windows from the inside first. Sometimes it can be hard to tell which side of the pane of glass a spot is on so it’s best to start by washing the side of the window that’s easiest to clean. That way, if you encounter any stubborn spots or streaks when you try washing the window from the outside, you’ll know which side it’s on.

Since the exterior side of your windows are obviously going to be exposed to a lot of dirt, grime, and cobwebs, getting rid of these things first will help make your job much easier. Trying to wash your windows without doing this can cause the dirt to just get smeared around your window, creating more work for you. All you have to do is take a broom or soft brush and use it to brush off any loose dirt and debris that may be stuck to your window.

Now that you’ve done all your prep work, it’s time to really start washing those windows. Since you’re dealing with second-story windows, of course, you’ll need to be able to reach them. Climbing on ladders can be dangerous if not done properly, so if it’s possible for you to reach your windows using things like an extension wand for your squeegee, that’s definitely the safest option. There are also window cleaning solutions available that can be attached to your garden hose, so that’s another way to reach those higher windows without using a ladder.

If using a ladder is absolutely necessary, be very careful to use it safely. Make sure the ladder is placed on solid, level ground. If your ladder is still just a little bit too short, never try to place it on anything like cinder blocks or boxes to get the extra height you need. Before you get on the ladder, check to make sure the locks on the ladder are secured. Also, don’t try doing this chore alone. Make sure you have someone to help you with things like holding the ladder steady and handing you supplies as you need them.
Steps to Take Before Finishing Your Basement

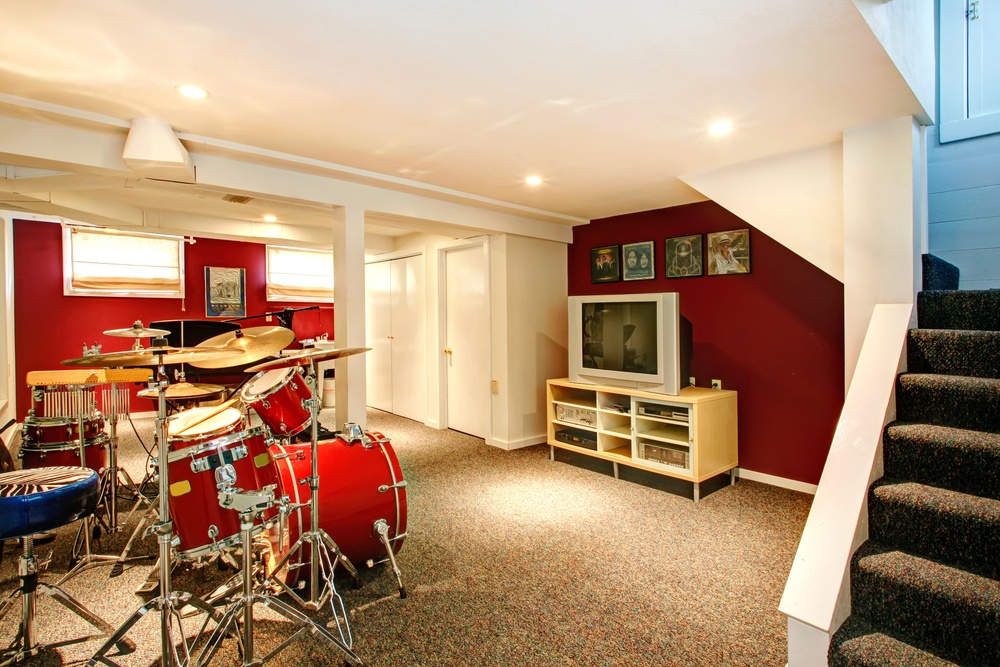
Steps to Take Before Finishing Your Basement When you need some extra space around the house, moving isn’t always an option so you need to find ways to make the most of the space you already have. When homeowners run into this predicament, one of the most popular ways they decide to maximize their space is by finishing their basement, transforming it from a drab, utilitarian space into a stylish, functional living area.

There are endless possibilities for how you could potentially use a finished basement: a rec room, a media room, a fun playroom for the kids, a home office, a second living room, a fitness room, or another bedroom, just to name a few. With so many different ways to use a finished basement, it’s easy to see why finishing a basement is such a popular project. But just like any other type of home improvement project, it’s easy to run into problems when you’re trying to finish a basement. Before you get started, here are a few steps to take to successfully plan your project.

Decide How to Use Your Basement

It may seem obvious, but the first step in deciding whether or not you should finish your basement is to decide how you want to use the space. Finished basements can be used for so many different purposes, but all of them are going to have special design considerations you’ll need to keep in mind during planning. For example, if you want to turn your basement into a really nice media room or a space to practice music in, you’ll want to include soundproofing in your plans so you can keep the rest of the house quiet. If you want to put something like a pool table in your basement, you’ll need to make sure you’ll have enough space on all sides of the table to be able to play comfortably.

Evaluate Your Basement

Once you have an idea for how to use your basement space, take a look at your basement for any problems you might run into. Remember that basements need to meet certain building code standards in order to be used as a living space. For example, many building codes require rooms to have a minimum floor-to-ceiling height of around 7 feet and having your floor excavated to lower it can be expensive. If you want to add an extra bedroom in the basement, you’ll need to make sure you have appropriate egress windows and window wells to provide a way out in case of emergency.

Take Care of Problems With Moisture

Basements have a reputation for being prone to flooding. Water damage can be very expensive, especially when you have things like furniture, carpeting, TVs, toys, or fitness equipment in it. The last thing you’ll want is to go through the process of finishing your basement, only to have all that hard work get damaged the next time there’s a heavy rainfall. If your basement has a tendency to flood, call a contractor to see about what can be done to waterproof your basement before you do anything else.

If your basement doesn’t tend to flood, you might still have problems with humidity. If this is the case, install a dehumidifier in your basement. Even if you have a waterproofed basement with no humidity problems, you’ll still want to choose materials that handle moisture well, just in case. Instead of using regular drywall, use a type of drywall that’s designed to prevent mold growth. When deciding on a type of flooring, things like engineered wood, linoleum, many types of cork, and ceramic tiles are all pretty moisture tolerant.

Don’t Forget the Ceiling!

No matter what you’re planning to use your basement for, finishing your basement ceiling can make a huge difference in making a basement feel more like a regular room in your house. But since basement ceilings often have things like pipes, ductwork, and wiring running close to them, it’s important that you’ll still be able to access those things as needed. Although some people like to use drywall to finish their basement ceilings, drop ceilings are popular because they make it so easy to access those sorts of things. If you’re worried about a drop ceiling not being very stylish, rest assured that there are many more decorative styles of ceiling tiles available nowadays.

Benefits of Bay Windows

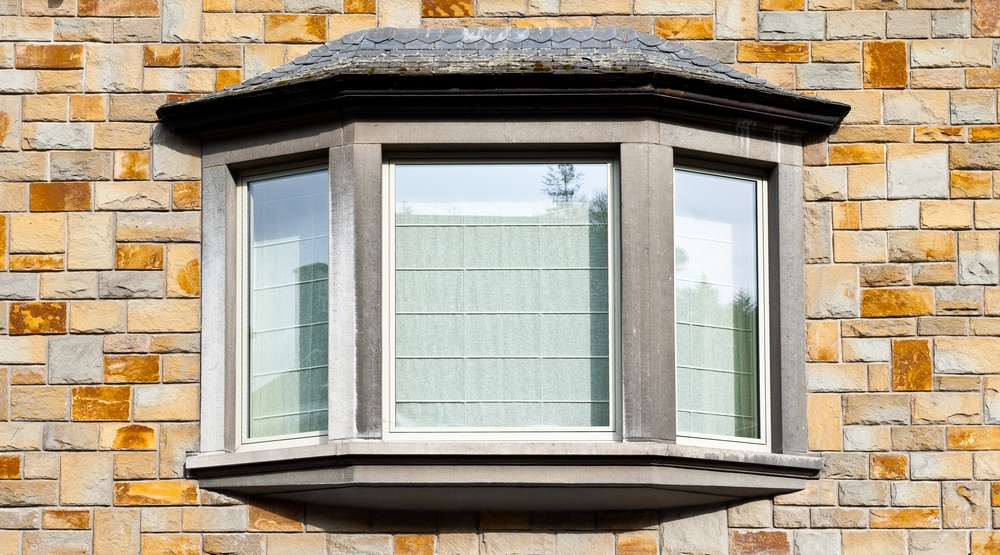
Benefits of Bay Windows It’s no secret that replacing your windows can have a dramatic impact on your home’s appearance. Replacing old, worn-out windows with new vinyl replacement windows will help make your home look great both inside and out. If replacing a regular picture window can make such a big difference in your home, imagine the difference getting a different style of window would make.

When you’re looking to make a really big difference in how a room looks, one option you might want to consider is replacing a picture window with a bay window. Bay windows can have a lot of great benefits to offer, such as:

Versatile Style

Since bay windows have a very classic look, they can fit very nicely into homes of any age. Whether your home is 100 years old or a more modern build, a bay window will look great with all sorts of different architectural styles and styles of decor. They also look great in many different rooms of the house, including living rooms, dining rooms, hallways, and bedrooms.

Improved View

While a nice, big picture window can absolutely provide you with a nice view of your yard, imagine what a great view you’d get with more than one window pane. Since bay windows typically have at least two sections of windows on either side of the center section, they give you the chance to enjoy a more panoramic view of the outdoors.

They Make a Room Feel More Open

When you have a room that feels small and closed in, a bay window can work wonders in making that space seem larger and more open. Since bay windows protrude outward, they create the illusion of a room being bigger than it actually is. Not to mention that all the extra light they let in will work wonders in helping make even the smallest, most cramped room in the house feel brand new.

Can Add Functional Space

Bay windows don’t simply make a room feel more open, they can help add some very functional space to your room, too. Many people like to turn the ledge area next to a bay window into a nice window seat, creating a comfortable place to rest, relax, enjoy the view, or read a book. If you could use a little extra storage space, you could potentially build a window seat that doubles as a storage compartment. Of course, you can always just keep your bay window as it is and use the ledge to display things like plants and pictures. No matter how you decide to use the space by your bay window, you’re putting it to a good use.

Keeping Wasps in Your Yard Under Control

Keeping Wasps in Your Yard Under Control During the summer, it’s nice to be able to spend a beautiful afternoon out in your yard, relaxing or watching your kids have fun playing. But few things can interrupt an otherwise nice afternoon outside quite like constantly being bothered by wasps flying around. At best, wasps can be a nuisance and at worst, they can sting. Insect stings cause thousands of people to seek medical treatment every year, so it’s completely understandable why so many people are afraid of wasps.

As annoying as wasps can be, remember they do serve a purpose to the environment. They help to pollinate plants and keep some types of insect populations under control, so seeing a couple of wasps around your yard might not necessarily be a bad thing. But if some wasps have built a nest on your property and are making it impossible for you to enjoy your yard in peace, there are steps you can take to get rid of them and prevent them from coming back.

First of all, make sure you’re dealing with a nest of wasps, not bees. Although wasps do help with pollination, they aren’t as good at it as bees are and the bee population has become threatened in recent years. If you have a problematic beehive in your yard, contact a local beekeeper to see if they can relocate the hive for you without harming the bees.

Next, determine where the nest is located. Wasps commonly build nests in areas like under the eaves of homes and in trees, but they also sometimes build nests underground. If the nest is located in a high location and you aren’t comfortable with trying to climb up that high to get rid of it, you can always contact a professional pest remover to get rid of it for you. If you know you’re allergic to insect stings, definitely hire a professional to take care of the nest for you.

If you’re going to try removing a nest of wasps yourself, make sure you use an insect spray that is designed to be used on wasps, including colony queens. Never try to spray a nest of wasps during the daytime when they’re most active. Save this job until the evening or nighttime, but if you need to use a flashlight, be very careful not to shine it right into the nest. Be sure your children and pets are kept out of the area when you do this and cover as much of your skin as possible. If you need to use a ladder to spray the nest, make sure you stand off to the side so you won’t be directly in the line with the entrance to the nest.

After you’ve sprayed the nest, leave it alone and check on it again the following day to look for signs of activity. If you don’t see any wasps in the area, use something like the handle of a rake or broom to remove the nest. Just make sure you have a way to get out of the area quickly in case there still some wasps lingering around. Once the nest is down, spray it with the same insecticide you used earlier and quickly dispose of the nest.

Do you prefer to avoid using harsh chemicals and poisons around the house? Or maybe you’d just like to prevent wasps from returning to your yard. In either case, there are a few things you can do to get rid of wasps naturally. If you still have a nest to get rid of, many people like to use their garden hose and a solution of dishwashing soap and water in a hose-end sprayer instead of insecticide. If you’re trying to keep wasps away, try planting things like mint, eucalyptus, and citronella in your yard. These plants are not only natural wasp deterrents, those are plants that can also be used for many other purposes.

Benefits of Installing Window Awnings

Benefits of Installing WIndow Awnings Window treatments don’t have to be limited to kinds that go inside your home. Exterior window treatments like window awnings can be an excellent way to help control the amount of light and heat that comes in through your windows and make your home a more comfortable place and help you get even more enjoyment out of your vinyl replacement windows. Window awnings can provide a lot of amazing benefits, both inside your home and out, such as:

Reduced Heating and Cooling Costs

Many homeowners want to be able to keep their homes cool on hot summer days without having to keep the air conditioner running all the time. One of the best ways to accomplish that is by blocking the heat from the sun before it has a chance to enter your home. Strategically planting trees in your yard is a great way to do that, but it can take years for trees to fully mature so they can provide the most shade. Installing awnings on windows that get the most direct sunlight can provide you with all the shade-providing benefits that trees offer, but without having to wait nearly as long. Window awnings can reduce solar heat gain by as much as 77%! If you decide to have retractable awnings installed, you can always close them in the winter so you can let the sun heat up your house naturally.

Improved Curb Appeal

Window awnings can be a great way to compliment your home’s exterior. Awnings are available  in all sorts of different colors and styles so you shouldn’t have a hard time finding something that looks great with your home’s decor. Your awnings wouldn’t even have to be a permanent fixture on your home if you don’t want them to be. Retractable awnings are very popular with homeowners, so you could only have them extended when you want them to be.

More Fresh Air

Even when it’s raining out, it can still be nice to have your windows open and get some fresh air in your home. Of course, you don’t want to have rain getting into your house, though. Window awnings can protect your windows by helping to direct rainfall away from your window, allowing you to get the fresh air you want while preventing water from getting inside.

Protection for Your Belongings

A room that gets too much direct sunlight can be very uncomfortable to be in, especially if it’s causing a lot of glare on TV screens or computer monitors. But the UV rays in sunlight can also cause things like carpeting, furniture, and pictures hanging on the walls to fade over time. Since window awnings help block light from the sun from entering your home, the things in your rooms will get an added layer of protection and stay looking nice.