Blog

What You Should Know About Building Permits

What You Should Know About Building Permits When you’re ready to start a home improvement or renovation project, it’s understandable that you might want to get started right away. But before you do any work on your project, one of the best things you can do is check to see if your project requires a building permit. Getting a building permit is just one of many steps in the home improvement process and the cost of getting one is something that many homeowners often forget to consider before planning a project. So when many people discover they need a permit, they’re often tempted to just skip the permit, do the work anyway, and hope nobody will notice.

Regardless if you’re doing a project yourself or hiring a contractor, building permits are required for many types of home improvement projects. As annoying as it can be to realize you need a permit for a project, it’s very important to get one. Building permits help to protect you and your family since the work being done will be inspected to ensure it meets local building code standards and that your home will still be safe and structurally sound.

Building codes vary from city to city and some cities are more restrictive than others. The only way to find out for sure whether or not you need a project for your job is to contact your local building department and ask. Generally speaking, you mainly need permits for anything that could have an impact on your home’s overall structure, involves altering your home’s electrical or plumbing systems, and some types of roofing changes. Cosmetic changes generally don’t require a permit since they won’t have an impact on your home’s structure.

There are many projects where you don’t need a permit in some circumstances, but need them in others. For example, having new vinyl replacement windows installed doesn’t typically require a permit. But if you wanted to enlarge a window, that would most likely require a permit since it  would involve making changes to the wall. Building codes can also change so frequently that even contractors have a hard time keeping up with all the changes. This is why it’s so important to contact your local building department before you start working.

The time it takes to find out whether or not you need a permit and to get one is time well spent. If your city finds out you’ve had work done without getting a permit, you may have to pay to get a permit retroactively, which can be expensive and difficult to do since you may have to do something like have walls opened up for work to be inspected. You may also need to have the work removed or pay to have the job done again correctly.

Even if you think you can get away with it, unpermitted work is very frequently discovered when a person tries to sell their home and a buyer has an inspection done. If you’re trying to sell your home and unpermitted work is found, it’s a bad thing for many reasons. The buyer might back out of the deal or you may need to have the job redone before you can sell the home. Or the buyer might still be willing to buy, but they might not be willing to pay as much for your home. In any case, getting the permits first will save you a lot of trouble in the long run.

Liven Up Your Walkway

Liven Up Your Walkway Whether you’re looking for a way to change up your front yard or want to add something new to your backyard, a new walkway or replacing an existing walkway with one in a different type of material is a great way to go. When you’re dealing with a walkway in the front of your home, a stylish new walkway can be a good way to boost your home’s curb appeal and make your home look more inviting. In a backyard, a walkway can be a very nice way compliment to a beautiful yard.

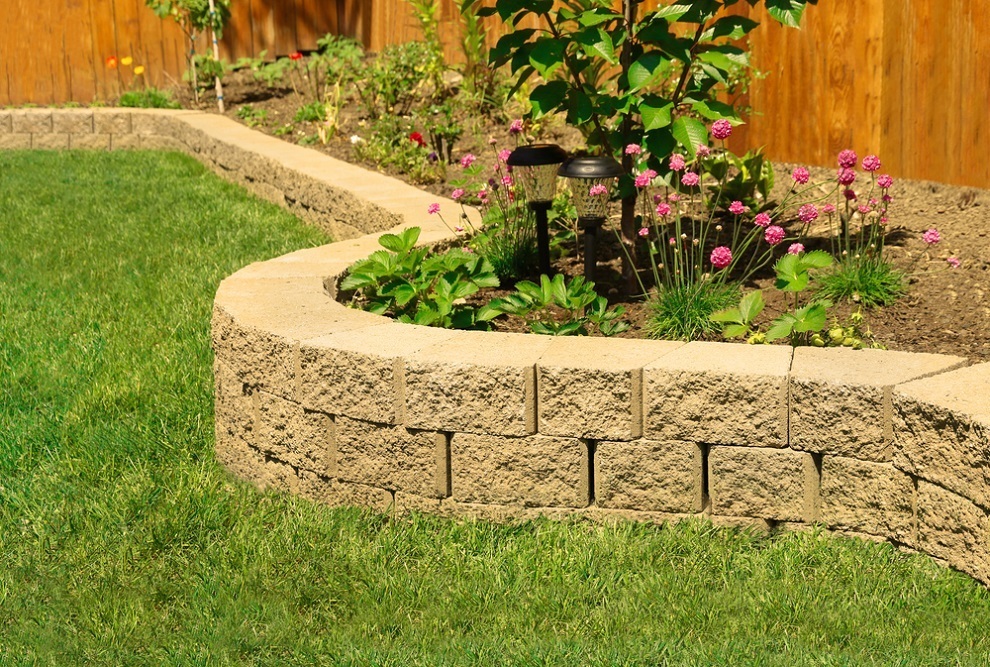
One of the hardest things about changing up your walkway is trying to decide which type of material you’d like to use There are so many different options available, so which one is best for you really depends on things like how much you’d like to spend and how much maintenance you’re willing to deal with. You’ll also have to consider how much traffic your walkway. A walkway leading to your front door is inevitably going to get a lot more traffic than one in your backyard, so you’ll want to go with something nice and durable like brick, concrete, or granite. Or if you’re dealing with a walkway that will get a lot of traffic from wheels, such as wheelchairs, strollers, or bicycles, you’ll want to choose a material that would be easy for wheels to maneuver over.

Brick

Brick has been a popular choice for walkways for a very long time. Not only are they very durable and easy to care for, they also add a very classic, elegant look to a home. Bricks can also be laid in interesting patterns to add more visual interest. If you want to go with a dry-laid brick walkway, you don’t even need to hire a professional to install it since all you need are sand and gravel to hold the bricks in place instead of concrete.

Concrete

Concrete is one of the most popular choices for walkways for good reason. It’s extremely durable, easy to care for, and isn’t as expensive as some other options. A poured concrete walkway will last for years to come and can easily be used in the most heavily trafficked areas of your yard. If you don’t want to hire someone to come out and pour a concrete walkway for you, concrete pavers, like you’d use to build a patio, are another great choice and can be installed without a professional. Or if you like the look of natural stone, there are stamped concrete pavers available that mimic the look of natural stone, but at a lower price.

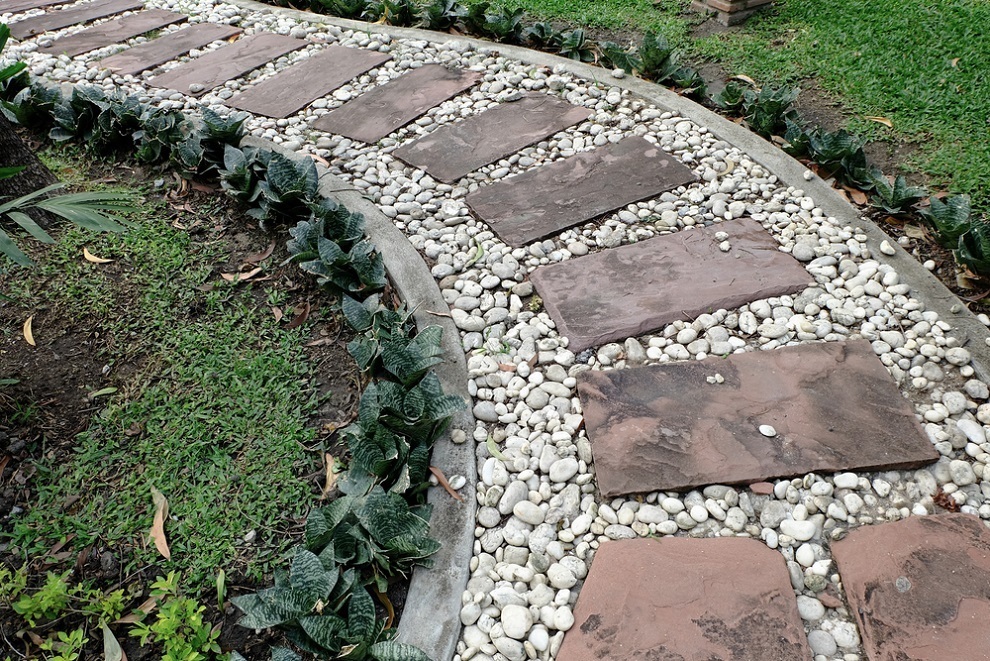
Gravel/Crushed Stone

When you live in an area that can have very snowy winters, gravel and crushed stone walkways aren’t the most practical choice for a walkway that you’d have to shovel frequently since it would be so easy to pick up the gravel with the snow. But it is an excellent choice for less heavily trafficked areas like in a backyard since it’s pretty inexpensive and easy to install yourself. You can easily use plastic edging to create a curved, winding gravel path around your yard or keep it straight. Just be sure to use plastic edging or another type of material like brick or larger stone to help keep the gravel contained in its intended area. Laying some landscaping fabric underneath the gravel will also help prevent weeds from growing through.

Natural Stone

With its natural good looks and durability, natural stone is an excellent match for a wide variety of styles of landscaping and homes. The color and pattern variations that naturally comes with stone is something that a lot of homeowners love, but lookalike materials never seem to get quite right. Unfortunately, natural stone is the most expensive material to use on a walkway. Many types of natural stone, like marble, limestone, and travertine, require sealing to prevent damage from moisture, so it’s not the most low maintenance option, either.

Remember, you don’t have to choose just one type of material for walkways. Many people like to mix and match materials, such as using gravel to outline concrete pavers or brick to edge a walkway made of natural stone, to create completely unique walkways.

Saving Money on Lawn Care

Saving Money on Lawn Care A beautiful lawn and yard can be a wonderful asset to any home. It can make your home the talk of the neighborhood, be very attractive to a potential buyer, and simply make your home more enjoyable. Unfortunately, maintaining a beautiful yard not only takes a lot of time and energy, it can also get rather expensive. Between the costs of buying new plants for your yard and the costs of watering your lawn on a regular basis, that beautiful yard can cost you a pretty penny.

With a little careful planning, you can easily have a beautiful yard without having to spend a small fortune. Here are some of the most effective ways to cut down on the cost of lawn care:

Water Wisely

A large percentage of the water a household uses goes to being used in the yard, so it’s important to make sure that water is being used effectively. On a very hot day, watering your lawn between the hours of 11:00 AM and 3:00 PM isn’t particularly effective since so much of the water will just evaporate. Ideally, lawns should be watered between 6:00-10:00 AM or between 4:00-7:00 PM. Watering at night can lead to mildew growth, but those times early in the morning or later in the afternoon or early evening will provide enough sunlight to prevent mildew while still being cool enough to prevent water from evaporating before it can do any good.

Another great way to keep your water bills down during the summer is by collecting water from your roof with a rain barrel and use it for watering your lawn. For a small upfront cost, a rain barrel could save you a small fortune on your water bills.

Keep Your Grass Tall

Keeping your grass the right length is a very important way to help cut down on the amount of watering you’ll have to do. While short grass looks fantastic on a golf course, it’s not the most cost effective option for homes. Shorter grass will dry out quicker than longer grass since longer grass has a larger leaf area to help provide shade for the soil and allows for roots to grow deeper. Ideally, you don’t want to cut off more than one third of your grass’s total length when you mow, so make sure your lawn mower blade is set at the highest level.

Choose the Right Grasses and Plants

Certain types of grasses and plants require more maintenance than others. If you find yourself needing to water your lawn a lot during the summer, you might want to consider re-seeding with a type of grass that’s native to your area, which could help cut down on the amount of watering you’ll have to do. Using perennials in your garden is another great way to cut down on the amount of money you spend on your yard. Since they perennials come back every year, you won’t have to spend so much on buying new plants every year.

Taking Care of Your Window Screens

Taking Care of Your Window Screens Now that winter is over, it’s time to start opening those vinyl replacement windows to let some fresh air in. Washing your windows may be part of your spring cleaning routine, but while you’re cleaning the panes of your windows, don’t forget about your window’s screens. Now that your windows are going to be open a lot more, the last thing you’ll want is to be looking at are dirty or damaged screens. If you’ve left the screens on your windows all winter long or didn’t clean your screens after you took them down last year, now would be a very good time to clean them and keep them and make sure they’re still in good shape.

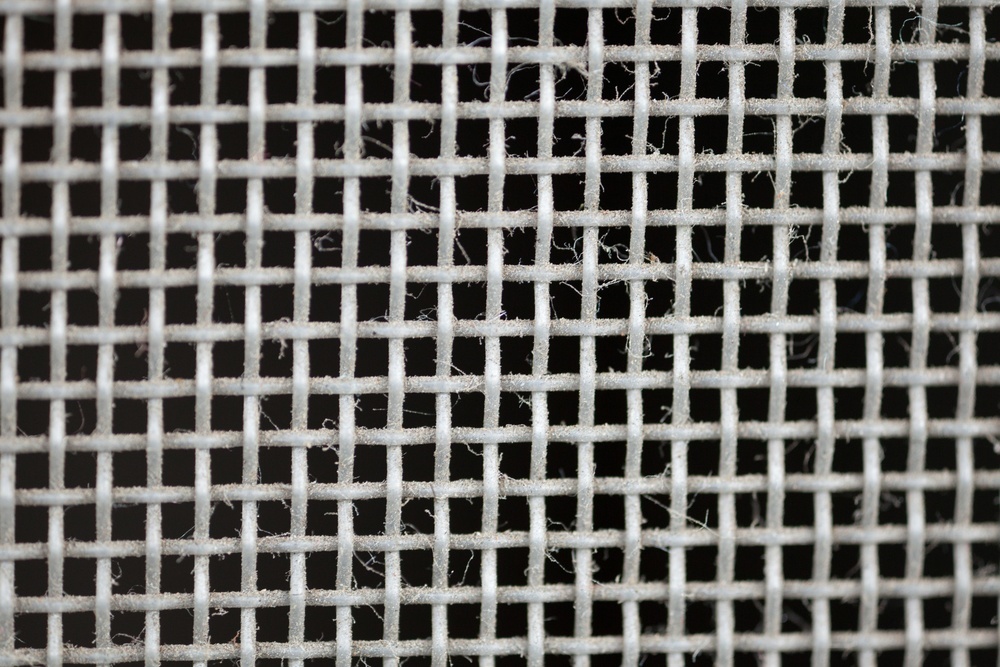
To clean your screens, start by removing them from the window if they haven’t already been removed. If your vacuum cleaner has a soft brush attachment, it can be a very helpful tool to get rid of a lot of the dirt that has accumulated on your window’s screens. Just be very careful to not put too much pressure on the window screen or you could damage it.

If your window screens are particularly dirty, you might need to take them outside so they can be more thoroughly cleaned. All you need to make those window screens look as good as new again is some dish soap and water, although some people like to use white vinegar instead of dish soap. Before you start cleaning with your screens, you might want to spray them with a hose to get rid of loose dirt and to make the screens easier to clean. Use a soft cloth or a sponge to gently apply your soap and water or soap and vinegar cleaning solution. Once you’re done, rinse the screens off with your garden hose. If your screens are extremely dirty, you may need to use something like a toothbrush to make sure you get all the dirt.

Once your window screens are clean, place them in an area where they can be propped up to dry without being damaged, like in a basement, garage, or an out-of-the-way spot outside your home.

Window screens can be rather delicate, so it’s very common for them to be damaged while in use, while being cleaned, or if they were mishandled while in storage. If this happens, don’t worry -- you probably won’t have to buy a completely new screen. For small tears, you should be able to get a screen repair kit from your local hardware store. With a larger hole or tear, you might want to try getting a piece of mesh just slightly larger than the hole/tear and using a fast-drying glue to attach it to the screen.

If a screen has been badly damaged or torn, but the frame itself is still fine, you could simply get some new screening material and replace the screen for just a few dollars. All you need to do is get some new screening material, some spline (the plastic cording that holds the screening material in place), a rolling tool for the spline, and some scissors or a utility knife. First, remove the existing spline and screening material and cut your new screening material to a size large enough to fit the window, plus a couple of extra inches on all sides. Lay the new screen over the frame so that the screen overlaps with the frame a little bit. Pull the screening material taut (you may need to use clamps or have someone else hold the screen for you to do this) and start applying the new spline, using the spline rolling tool to push it into the channel around the frame. Once you’ve done that, use your scissors or utility knife to trim the excess screen around the edges and you’ll be all set!

Keeping Your Home Cool Wihtout Using Your Air Conditioner

Keeping Your Home Cool Wihtout Using Your Air Conditioner While it might seem like you were just trying to find ways to keep your home warm without turning up the thermostat, the hot days of summer are already just around the corner and it’s time to start thinking about how you could keep your home cool without spending to do just that!

Become a Fan of Fans

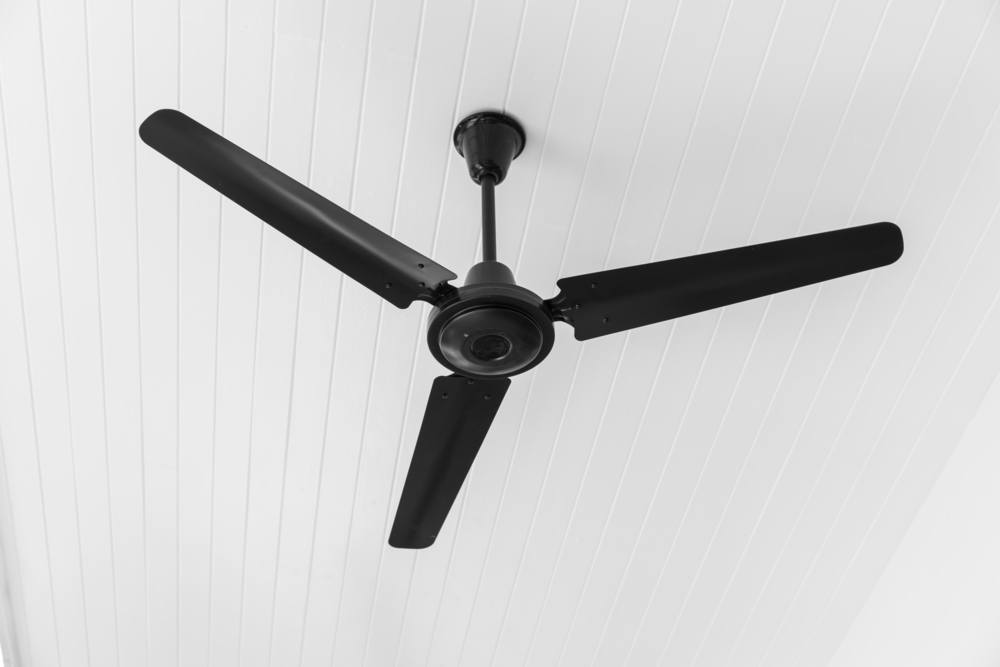
Ceiling fans don’t work by actually lowering the temperature of a room, but they help the air in a room circulate in a way that will help you feel more comfortable. When the weather is warmer, make sure your ceiling fan is set to rotate counterclockwise and that you run it at a higher speed. This will help direct cool air down where you’ll be able to feel it. Box fans placed in windows can also help direct heat out of your house.

Install Awnings on Windows

If you have windows that get a lot of direct sunlight, installing awnings on them is an extremely effective way to significantly cut down on the amount of heat that comes in through them. By installing awnings on windows that get the most sunlight can cut down on the amount of heat generated by the sun that comes in through those windows by up to 77%.

The cost of installing an awning will depend on things like how large of an awning you need, what material you want the awning to be made of, and how many windows you want to have them installed over. But considering how much heat they can prevent from getting into your home, awnings could absolutely be worth considering.

Be Careful About Opening Windows

When it’s hot out and you don’t want to turn on the air conditioner, it’s tempting to go ahead and open all the windows in the house. But on a very hot day, this can only make your home warmer, not cooler. Try to only open your windows when it’s cooler outside than it is inside your house, such as during the evening and early in the morning before the sun has a chance to heat things up too much. When you do open your windows, try to only open the ones that will allow a nice breeze into the house.

Although it can be tempting to open your curtains and blinds open during the day to let some sun in, if you really want to keep your home cool, it’s best to keep them closed during the warmest parts of the day. The type of window treatments you have on your windows can also help to keep your home cooler. Medium-colored curtains that are lined with a white, plastic material will help reflect the heat from the sun back out the window and cut down on heat gains by up to 33%. Reflective blinds can help cut down on solar heat gains by as much as 45%.

Check Your Windows and Doors

When you winterize your home, you typically do so with the purpose of keeping heat in. But many of the same things you do to keep your home warm in the winter will also help keep your home cool in the summer. One of those things is making sure there aren’t any drafts around your doors and windows. If it’s been a while since you last checked for drafts around your doors and windows, now would be a good time to do so since drafty doors and windows are some of the key ways cool air can escape from your home. Seal up any worn caulk and make sure your weatherstripping isn’t worn down. If your doors and windows are getting old, replacing them with a new steel door or vinyl replacement windows could help make your home more energy efficient and more comfortable all year round.

Watch Your Electricity Usage

Since many things powered by electricity generate heat, being mindful of how you use them is one way to help keep your home a bit cooler. Even if something is powered down or in standby mode, they are probably still consuming some amount of electricity and generating some heat. If you have a room full of things that are often powered down, but aren’t used all the time, like a TV, DVD player, cable box, computer, or video game system, plugging all of those things into a power strip and turning off the power strip when you’re not actually using any of them is an easy way to make sure they aren’t consuming any energy when you don’t want them to be. Even energy efficient light bulbs can still generate heat, so make sure you turn lights off when you’re not in the room.

Since many appliances have the intended purpose of generating heat, like your stove, dryer, and dishwasher, it’s best to use them as little as possible during the hottest parts of the day. If you have room in your backyard, you might want to hang a clothesline to let your clothes air dry. Not to mention, grilling can be a fun alternative to using the stove!

These are just a few very easy ways to keep your home cool during the summer without having to make too much of an effort. If you want to take things to the next level, you could also look into having more insulation installed to your home or planting more trees in the yard. Having mature trees in your yard on the side of your home that gets the most sunlight can help provide shade for your home and naturally reduce your cooling bills.