

Blog

All About Window Films

All About Window Films It’s no secret that windows can have a very drastic impact on the way a room looks. Simply replacing old, worn out windows with new ones can instantly give a room a whole new look. If getting new regular windows makes a huge difference, imagine the kind of impact windows with a specialized type of glass, like stained glass or frosted glass, would make!

The good news is that there is a way to change the look of the glass in your windows without having to get entirely new windows. Window films are very thin sheets of vinyl that can be applied directly to the window pane and can be purchased at many hardware stores. These window films come in many different styles and can offer some great benefits without having to spend a lot of money.

Easily Change a Room’s Decor

Do you like the idea of having stained glass windows in a room in your house, but don’t want to have to pay to have the real deal installed? Window films can give you the look you want, but for a fraction of the price. Best of all, if you decide to redecorate the room or you move out and the next homeowner wants to change them, window films can easily be removed without damaging the window or causing any extra expense.

Added Privacy

Want to create a little more privacy in a room? Many window films mimic the look of etched, frosted, and textured glass, which can make it more difficult to see into a room from the outside while saving you the expense of getting new glass for your windows or having to get blinds or curtains. While you may want privacy in a room, that doesn’t necessarily mean you want to drastically cut down on the amount of natural light the room gets. While these types of window films might reduce the amount of sunlight that comes in, they’ll still let in quite a bit of light while still giving you the privacy you need.

Reduce Solar Heat and UV Rays

If you’d like to cut down on how much time you spend running your air conditioner during the summer, many window films are designed to reduce the amount of heat from the sun that enters your home and filter out UV rays. Not only will these types of window films help make your home more comfortable, the UV filtering properties can prevent the colors in your carpet, furniture, and paint from fading.

Although window films do have their benefits, it’s important to understand they won’t fix larger problems with the window itself. If your heating and cooling bills are higher than you’d like them to be, a solar heat-filtering window film will only do so much. There may be a draft around your window or elsewhere in your home that needs to be addressed. Or if you have an older type of window, upgrading to vinyl replacement windows would be a more effective long-term solution because of their more energy efficient nature. It’s also important to note that window films that reflect heat shouldn’t be used on dual or triple pane windows since these films can cause heat to build up between the panes of glass and cause condensation to form.
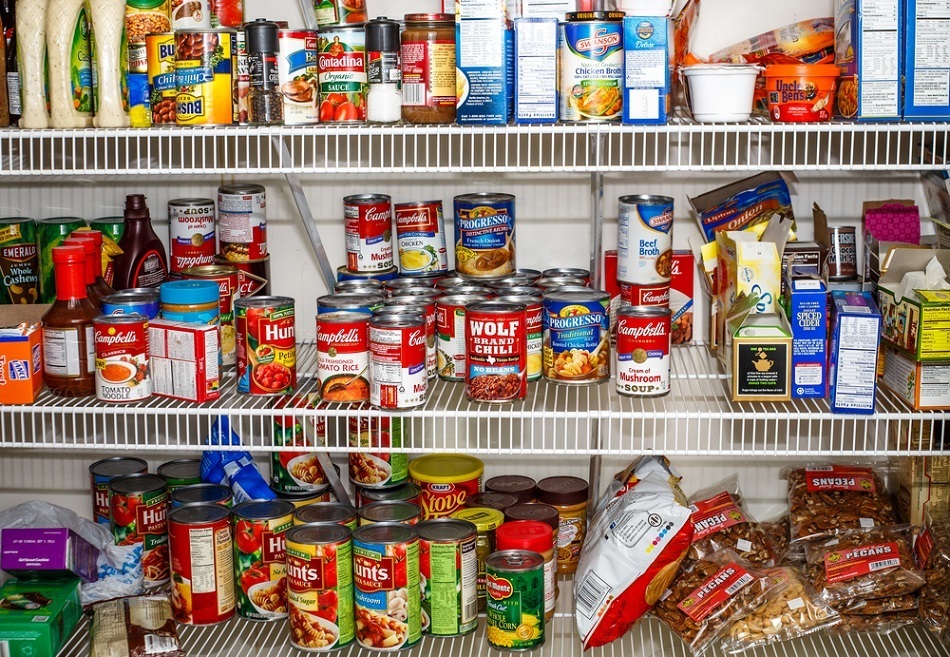
How to Organize Your Pantry -- And Keep it Organized!

Tips for Organizing a Kitchen Pantry -- Credit Darryl Brooks Shutterstock Image Credit: Darryl Brooks / Shutterstock.com

Pantries can be a pretty challenging area of the home to organize. Things get moved around in there so often and since pantries hold so many small items, it can be hard to get everything in order and keep it that way. The good news is that with a few simple organization methods, you can get your pantry nice and organized in no time and make it easy for you to keep it that way.

Start By Clearing Out Your Inventory

The best way to start getting your pantry in order is to start by taking everything out and getting rid of things you no longer need. Toss any food that’s past its expiration date. If you have food that’s still good, but you have more than you really need or you just don’t see yourself using before it expires, go ahead and donate some of it to a food drive or food bank. Once you get rid of the things you either don’t need or can’t use, you’ll have a much easier time organizing the things you do need.

Consider How Often You Use Things

One of the most important things to consider when organizing your pantry is how often you use certain things. Things that get that get used all the time should be kept within easy reach while things that aren’t used as frequently can be placed on the higher shelves. Larger, heavier items like bottles of cooking oil or big bags of flour should be kept at lower levels so that nobody hurts themselves trying to reach them.

Group Related Items Together

When you’re trying to get ready to make a meal, the last thing you want to do is spend a long time searching your pantry for the ingredients you need. By grouping related items together -- baking items, soups, snack foods, canned fruits and vegetables, drinks, etc. -- you’ll have no problem finding what you need and it’s easy to help keep your pantry organized when everyone has a general idea of where everything should go.

Maximize Your Available Shelf Space

Pantries are often full of small bottles, jars, and cans that don’t take up the whole height of the shelf in your pantry, leaving you with wasted space above those items. To make the most of your shelf space, you might want to consider getting small individual wire shelves to place on your existing shelves. That way, you’ll maximize your shelving space and make it easier to keep those smaller pantry items in order.

Use Trays and Baskets

Baskets and plastic trays can be extremely helpful in keeping your pantry organized. If you keep a supply of chips and pretzels in your pantry, trays and baskets can help prevent them from being crushed by heavier items. If you have kids who like having pre-packaged snacks in their lunches or for after-school snacks, keeping them all in a basket or tray makes it easy to grab them as needed. They can also be very helpful in keeping related items grouped together.

Put New Things in the Back

We’ve all had those moments where we’ve been cleaning out a closet and we find something we totally forgot we had because it got pushed all the way to the back. To prevent this from happening in your pantry, try to place newer items in the back and keep older items in the front. That way, the older items will be more likely to used first, before they expire, and newer items can be rotated forward as needed.


Vinyl Windows vs. Aluminum Windows

Vinyl Windows vs. Aluminum Windows Making sure you have good, high quality windows is one of the best investments you can make in your home. Good windows will protect your home from the elements, keep your home comfortable, and help keep your heating and cooling bills to a minimum. There are lots of different types of windows available -- vinyl, wood, aluminum, fiberglass -- and not all windows perform equally. When the time comes for you to replace the windows in your home, you’ll want to make sure you’re choosing the right type. But which windows are the best type for you?

Since most people do not have unlimited budgets to work with for their home improvement projects, affordability is a big factor homeowners have to consider when looking for new windows. It’s very important to get the best quality for the most affordable price. Vinyl replacement windows and aluminum windows are both known for being some of the more budget-friendly window options on the market, but how do they compare?

Energy Efficiency

In terms of energy efficiency, vinyl windows definitely have the edge over aluminum windows. Since aluminum is a type of metal, it conducts heat better than vinyl does. Not only does this make them less energy efficient, it also makes them more prone to causing condensation to form on and around your windows. Aluminum windows can come with thermal breaks to help make them more energy efficient, but these can drive up the cost of the windows.

Maintenance

Both vinyl and aluminum windows are very low maintenance when compared to wood windows, but vinyl windows still come out ahead when compared to aluminum. If you live in a very humid area, near a body of water, or are planning to put the window in a room that typically has a lot of moisture in the air, such as a kitchen or bathroom, you won’t have to worry about a vinyl window starting to rust. Aluminum windows can be painted with an anti-corrosion paint, but vinyl windows don’t need to be painted at all. If the paint becomes chipped on an aluminum window, the metal will be visible and the paint will need to be touched up. Aluminum windows also occasionally need to be treated with a lubricant to make sure they stay easy to open.

Appearance

Many homeowners prefer the look of vinyl windows because they feel like aluminum windows can look a little too utilitarian for the home. Aluminum windows can be painted to any color you like, but vinyl windows also come in a variety of colors, including wood finishes. Although aluminum windows can have a treatment applied to them to emulate the look of wood, many people believe the faux wood finishes available for vinyl windows have a more convincing look.

Overall Value

Vinyl and aluminum windows are both known for their affordability, but vinyl windows tend to offer the best value in the long term. Since vinyl is a better insulator than aluminum, vinyl replacement windows will help you save more money on your heating and cooling bills. Any added features that would help make an aluminum window more energy efficient will also make the window more expensive overall.

What to Consider Before Adding a Master Suite to Your Home

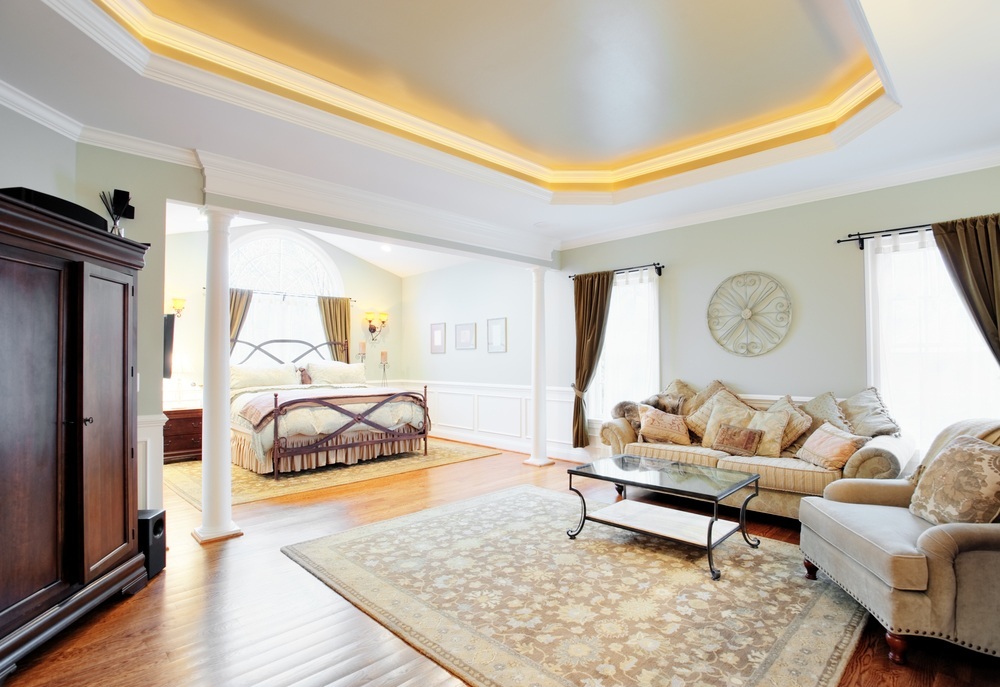
Adding a Master Suite to Your Home Do you ever feel like you just don’t have enough room in your master bedroom? Are your closets too small and you don’t really have any place to just sit and relax for a while? If this is the case, you might be considering turning your master bedroom into a master suite.

Master suite additions have become quite popular over the past few years. While they don’t have the best return on investment, typically only recouping 57%-64% of the cost of the project, homeowners who have master suites added to their homes typically get a huge amount of personal enjoyment out of it, so it could very well be a worthwhile project if you’re planning on staying in your home for a while.

The cost of adding a master suite can easily cost over $100,000, but the exact price will largely depend on what features you want it to have and whether it’s going to be on the first floor of your home or on a second story. To keep costs down, it’s best to take advantage of as much existing space in your home as possible, like unused bedrooms or underutilized attic or basement space. But if you need to expand outward or upward, it’s a lot simpler and less expensive to expand on a lower level than it is to add on to a second story.

In many cases, a master suite is a lot like a small, but luxurious, apartment or hotel room. In addition to having a space for a bed, they also typically have a walk-in closet and an en suite bathroom with dual sinks. However, many people also like to have features like radiant floor heating, a private patio or balcony, a luxurious bathtub, sitting areas, fireplaces, and built-in shelving in their master suites.

Before you get too carried away with planning the master suite of your dreams, talk to some contractors to get some estimates and to see if they have any feedback about your ideas. They may be able to give you some suggestions that would make your vision more practical to achieve. For example, if you have big plans for your en suite bathroom, they might suggest keeping it close to your existing plumbing since it’s much more expensive to run plumbing lines to a new area of the house. A contractor will also alert you to any potential problems you might encounter, such as zoning regulations

If it’s necessary to build an addition for your master suite, it’s important to remember that the cost of actually building your master suite is just one cost you’ll have to plan for. When you add on to your home, your energy bills will go up since there’s more space in your home to heat and power. It’s also possible that expanding your home will also increase your property taxes. Building an addition will also have an impact on the appearance of your home and you may end up wanting to take on extra projects to make the exterior appear more cohesive. For example, if you have older windows in the rest of your home, but have new vinyl windows in the new area, you might want to replace your old windows with vinyl replacement windows so your home will have a more uniform look.

Planning the master suite of your dreams can be a little overwhelming at first, but if you talk to anyone who has been through the process, they’ll probably tell you it’s worth it in the end. Just like you would with any other home renovation project, make sure to do plenty of research before you get started to avoid headaches and frustration.

Tips for Removing Old Wallpaper

Tips for Removing Old Wallpaper One of the main reasons why wallpaper fell out of favor for such a long time is because it was so difficult to remove. Older types of wallpaper typically had an adhesive that would seep into the wall, making it extremely hard to get rid of later on and trying to remove it could potentially damage the wall. Rather than remove the old wallpaper, many homeowners would either simply put more wallpaper over the old or try painting over it. As a result, many homeowners have bought homes and were horrified to find they’d have to remove not one, but several layers of wallpaper to get to the original wall.

Wallpaper removal is a chore that is so frustrating to many homeowners that they’d much rather pay a professional to take care of it rather than deal with it themselves. If you have some wallpaper you’d like to get rid of, don’t worry. Removing that wallpaper may not be so hard after all and you might not even need to use harsh chemicals.

To get an idea of what you’re dealing with, try removing a little bit of the wallpaper in an area that’s not too noticeable, preferably in a corner or along a seam. If the wallpaper comes off fairly easily and you can see the original wall underneath, you’re in luck. This means you only have one layer of wallpaper to worry about and that the walls were either primed before the wallpaper was applied or you have a type of wallpaper that was designed to be easy to remove. While some types of wallpaper will easily come off in one large sheet, other types only have facing that comes off easily and leaves backing behind. If backing is still clinging to your walls, remove as much of the facing as possible.

If the wallpaper isn’t coming off so easily, you have multiple layers to work with, or you have wallpaper backing to remove, don’t lose hope. Steam or hot water can be very helpful in making that wallpaper a thing of the past. Before you begin, turn off the electricity running into the room, cover the floor in plastic, cover light switches and outlets, and remove things like curtains, blinds, or anything else that could be damaged by moisture. If you’re trying to remove washable, waterproof wallpaper or wallpaper that has a glossy finish, you may want to use a scoring tool on the wallpaper first to make it easier for the steam/water to do its job.

Steaming machines used to remove wallpaper can often be rented from hardware and home improvement stores. If you’d rather spray your walls with hot water, make sure you use a compression sprayer, not a regular hand-held spray bottle or a damp cloth. A compression sprayer will be able to do its job much more effectively. Once your walls have been sprayed down or steamed, let them set for about 15 minutes before you start trying to remove the paper with a wide putty knife, being careful to not damage the wall. Keep repeating these steps until all of your wallpaper has been removed.

If you’re dealing with wallpaper that’s been applied to a wall with wooden paneling, do not use water or steam to remove wallpaper. Instead, use a gel chemical stripper that won’t damage your walls the way water would. A gel chemical stripper may also be helpful if you have a few very stubborn spots left that won’t come off with steam or hot water.

Once all of your wallpaper has been removed, spray your walls down one last time to get rid of any remaining residue and see what kind of shape your walls are in. If there are a few dings or gouges that may have been caused by removing the wallpaper, give your walls a day to dry completely, then go through and patch them up and sand them down when they’ve dried. That way, your walls will be in good shape for when you’re ready to start painting or apply new wallpaper.