
Blog

Benefits of Improving Your Home’s Energy Efficiency

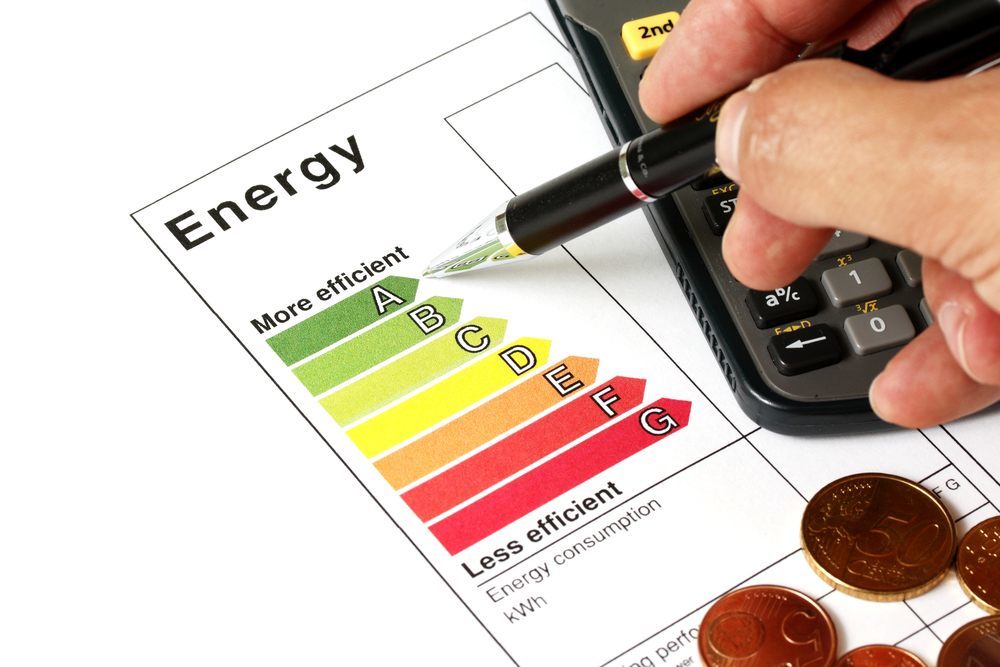
Benefits of Improving Your Home's Energy Efficiency Over the past few years, energy efficiency has become a hot topic among homeowners. Is your home energy efficient enough? What can you do to make it better? And, of course, why should you be concerned about energy efficiency?

Making your home more energy efficient has a lot of benefits that are not only great for you, but for the whole world around you. Here are just a few of the best reasons why you should take steps to make your home more energy efficient:

You’ll Help the Environment

By cutting down on the amount of energy your home consumes, you’re helping to reduce the amount of carbon generated by power plants and cut down on the amount of non-renewable sources of your home uses. When you keep these sorts of things to a minimum, you’re keeping pollution out of the air and making the world a healthier place to live.

You’ll Save Money

Who wouldn’t like to have a little extra money in their bank accounts? By reducing the amount of energy you consume in your home, you’ll be able to do just that! The average U.S. household often spends thousands of dollars on energy bills every year. The amount of money you can save depends on which specific steps you take, but any changes you make can really add up. For example, an Energy Star refrigerator can cost $165 less to run per year than a regular refrigerator. Using energy efficient CFL or LED lights can help you save between $50 and $100 on your energy bill every year.

You’ll Be More Comfortable

Old, worn out windows and drafty exterior doors are only good for two things: making your home more uncomfortable than it ought to be and driving up your energy bills. Nobody should feel uncomfortable in their own home. Having new vinyl replacement windows installed or getting a new front door requires a little bit of an upfront investment, but they will make your home so much more comfortable and the money they can help you save on energy bills will really add up over time. By making these sorts of changes, you’ll be better able to stay warm in the winter and cool in the summer without having to rely so much on your furnace or air conditioner.

You’ll Improve Your Home’s Value

If you’re thinking of putting your home on the market soon, it’s important to know what sorts of things homebuyers are looking for in a new home. Energy efficient features are definitely very desirable right now thanks to the fact that many people are looking for ways to lead more environmentally friendly lifestyles and that people like the idea of being able to save money on their energy bills. If a potential buyer takes a look at your home and sees things like Energy Star appliances, vinyl replacement windows, and lots of insulation, they’ll be more inclined to pay a bit more for your home.

Things You Should Know Before Buying a Foreclosed Home

Things You Should Know Before Buying a Foreclosed Home Owning a home is still a very important part of the American dream. Since buying a home is a very large investment and most of us don’t have unlimited amounts of money to work with, a homebuyer on a budget might be tempted to consider buying a foreclosed home. By buying a foreclosed property, you could be getting a great home for you and your family at a bargain price. Or if you’d like to own a property you could rent out, buying a foreclosed home could be a more affordable way to make that happen.

However, before getting too excited about the lower price of a foreclosed home, remember that it can be an overwhelming process. Many homeowners have ended up getting in over their heads when they realize some of the pitfalls involved with buying these bargain properties.

Be Prepared to Make Repairs

By far, one of the biggest downsides to buying a foreclosed home is the fact that you’ll be buying the home in as-is condition. Whether a foreclosed home is up for auction or is being sold by the bank, you’re not going to be able to get the seller to make repairs to a property before selling it to you. Even a foreclosed home that’s in pretty decent condition will still very likely need some degree of work done to it. Depending on the condition of the home, the cost of repairs could be a pretty significant expense for you to deal with.

Foreclosed homes are frequently vacant for a while before they’re sold, so a home might have problems caused by being empty and unused. If the previous owner was unable to keep up with payments, they also may not have been able to keep up with home maintenance. There’s also the chance that the previous owner may have vandalized the property before leaving. Broken windows are a very common problem in foreclosed homes, so you may need to pay to have the panes replaced or to have new vinyl replacement windows installed. You may also need to pay for things like roof repairs, a new furnace, or repairs to the plumbing or electrical system.

Auctions vs. REOs

There are two main ways foreclosed homes are sold: at auction or by buying them from a bank (called real-estate owned, or REO). Of the two options, buying at auction is the riskiest.  In many cases, you won’t be able to see the inside of the home or have an inspection done before the auction. If a home has a lien against it or has outstanding taxes that need to be paid, you’ll be on the hook for those if you buy it at auction. You’ll also have to be prepared to pay the full amount of the home in cash at the time of the sale.

Buying a REO offers buyers a lot more protection. Since the bank will have a real estate agent handling the sale of the home, you’ll have the chance to see inside and have an inspection before buying. You’ll also be able to get a mortgage from a lender instead of When you buy an REO, you’ll also have the assurance of knowing that you’ll be getting a clear title if you decide to buy; you won’t have to worry about outstanding liens or back taxes.

Although buying a foreclosed home has its risks, it can still be a great investment opportunity, especially if you find a home in a neighborhood with rising property values. Just by keeping the above facts in mind, you’ll hopefully be able to avoid getting in over your head.

Signs You Might Need a New Roof

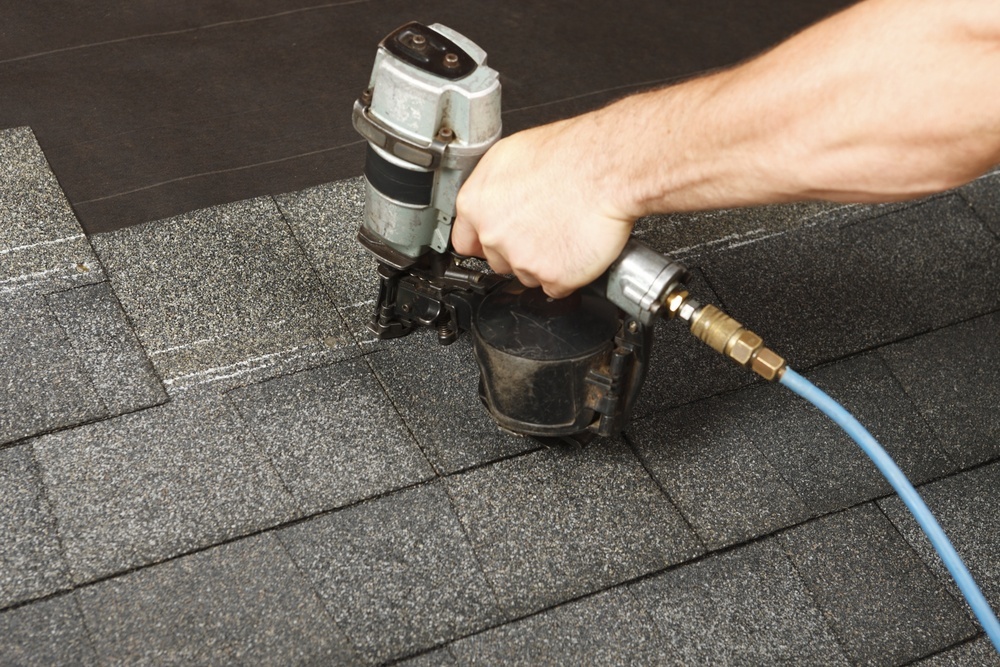
Signs You Might Need a New Roof One of the biggest lines of defense between your home and the elements is its roof. If your roof is in good shape, it will protect your home and help keep you and your family safe, warm, and dry for decades to come. But if your roof is damaged or falling apart, your home is vulnerable to damage.

No matter how good you are about staying on top of home maintenance, everything in your home has a lifespan, including the roof. Good maintenance can help extend a roof’s lifespan, but eventually, it will have to be replaced. While many roof problems can be fixed without having to replace the entire roof, there are some very big signs that you might need to have your roof replaced soon.

It’s Over 20 Years Old

How long a roof can last can depend on the material it’s made of, but many types of roofs will last between 20 and 30 years. Once you hit the 20 year mark, it’s usually a good time to start considering having your roof replaced in the not-too-distant future.

It Leaks

Every homeowner dreads having to deal with water getting into their home. If water is getting in through your roof, it can damage the underlying wood on your roof and the water damage can extend into other areas of your home. If you don’t see any signs of water getting in, it’s still smart to go up to your attic now and then to check if you can see sunlight coming in through any areas of the roof.

Shingles are Damaged or Missing

When roofing shingles are damaged or missing, your roof has less protection than it ought to. Over time, shingles can crack, start to curl at the edges, or curl in the middle while the edges stay flat. If just a few shingles are cracked or damaged or missing, you might be able to just replace the damaged or missing shingles. But if the damage seems to be more widespread throughout your entire roof or your roof is starting to get a checkerboard-type of look because of so many different repair jobs, you might be better off replacing your roof.

You’re Finding Granules

If you’ve been finding dark, sand-like granules in your gutters or on the ground around your home, they’re most likely coming from your roof. As roofing shingles wear down over time, they begin to shed these granules. Since these granules help to protect your singles, your shingles are at a greater risk for being damaged when the granules start to fall off. In addition to finding the granules around your house, you might also be able to notice a difference in color in sections of your roof where the granules have fallen off.

If you’ve recently had your roof replaced and you’re finding these granules around, don’t worry. It’s very common for new shingles to have some excess granules fall off at first.

Your Neighbors are Getting New Roofs

In many cases, the homes in neighborhoods were all built around the same time. If that applies to you, it couldn’t hurt to keep an eye on what sorts of repairs your neighbors are having done to their homes. Since the other homes in your neighborhood are encountering the same types of weather conditions as you are, there’s a good chance that if other people in your neighborhood are having their roofs replaced, it might be about time for your roof to be replaced, too.

Making Your Water Heater More Energy Efficient

Making Your Water Heater More Energy Efficient When you’re looking for ways to cut down on your home’s energy usage, the first places you’ll probably think to look are your heating and cooling systems. Heating and cooling costs typically account for the largest percentage of a home’s utility bills. Doing simple things like turning the thermostat down in the winter, running the air conditioner less in the summertime, and replacing drafty windows with new vinyl replacement windows can help you save quite a bit of money in the long run. But once you’ve done that, the next best place to look would be your home’s water heater.

Water heaters typically account for 14% to 18% of a home’s total energy costs, so taking steps to help your water heater more efficient could help save you a good amount of money, too. Here are a few ways you could help bring that number down and keep more money in your pocket.

Adjust the Temperature

What temperature is your water heater set to? If it’s currently set to anything over 120℉, lowering the temperature is a great way to cut down on the amount of energy your water heater needs. For every 10℉ you lower your water heater, you could reduce the amount of energy your water heater needs by between 3% and 5%. Many water heaters are installed set at 140℉, but the Consumer Product Safety Commission and the Environmental Protection Agency recommend 120℉ for most households. This temperature helps save money while keeping your water warm enough to prevent pathogens and bacteria from growing, but not so hot that people will get scalded.  

However, there are a few circumstances where you might want to keep your water heater set at 140℉. If you have a chronic respiratory disease or a suppressed immune system, keeping set at 140℉ will more effectively prevent bacteria from growing in your water. If you have an older dishwasher that doesn’t have a booster heater, a temperature of 130℉ or 140℉ will help ensure your dishes are cleaned properly.

Insulate Your Tank

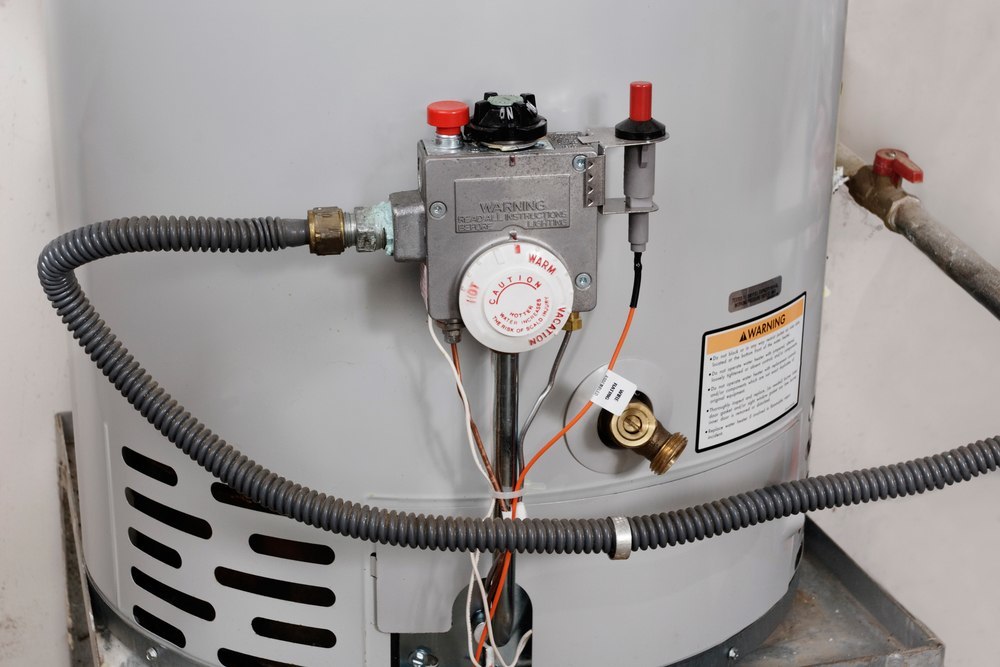
One way that your water heater wastes energy is through standby heat loss. As water sits in your water heater’s tank waiting to be used, it will naturally start to cool down, which will prompt your water heater to start heating the water up again. Many modern water heaters have a good amount of insulation to help keep the water in the tank warmer longer, but if you have an older water heater, wrapping it in an insulated blanket can help reduce standby heating losses. If you have an electric water heater, be careful your insulated blanket doesn’t block the thermostat. If you have a gas powered water heater, make sure the blanket doesn’t cover the burner compartment or thermostat or the top or bottom of the tank.

Drain the Sediment

Over time, water heaters often accumulate a sediment on the inside of the tank. When this sediment builds up, it can make it harder for water heaters to run efficiently. To prevent sediment from building up, it’s good to drain about a quart of water from your water heater tank every three months.

If you have an electric water heater, you’ll need to start by shutting off its power. If you have a gas powered water heater, set the burner to “Pilot.” Then, turn off the water heater’s water supply source. Go turn on the hot water faucet in a sink or bathtub in another area of the house and let it run to help prevent a vacuum from forming in the plumbing lines. Attach a garden hose to the spigot at the base of your water heater’s tank and let it run into either a bucket or the floor drain. Find the pressure relief valve on your water heater and adjust it to let some water out. Remember, you don’t need to drain very much water. A quart of water is plenty!

By following these simple steps, you should start to see a nice reduction in your home’s energy bills over time.

Properly Using Power Washers

Properly Using Power Washers Everyone loves the idea of being able to give something a very thorough cleaning, but without having to put a lot of effort into it. This is particularly true when you need to do something like clean the siding on your home, a deck or patio, a fence, or a driveway. Since these sorts of things spend a lot of time being exposed to the elements, they can really accumulate a lot of dirt and they’re definitely not small enough to want to wash by hand.

For these sorts of chores, power washers can be very helpful. The results they can give can be so awesome, you might be tempted to use a power washer for as many chores as you possibly can. However, remember that power washers are, indeed, powerful, and can cause damage or injury if they aren’t used correctly.

First of all, remember that not everything should being cleaned using a power washer. Water from a power washer has the potential to injure people, so it certainly can damage other things as well.  To give you an idea of how strong power washers can be, a lighter power power washer typically has a higher water pressure than you get by using the hose provided at a car wash.

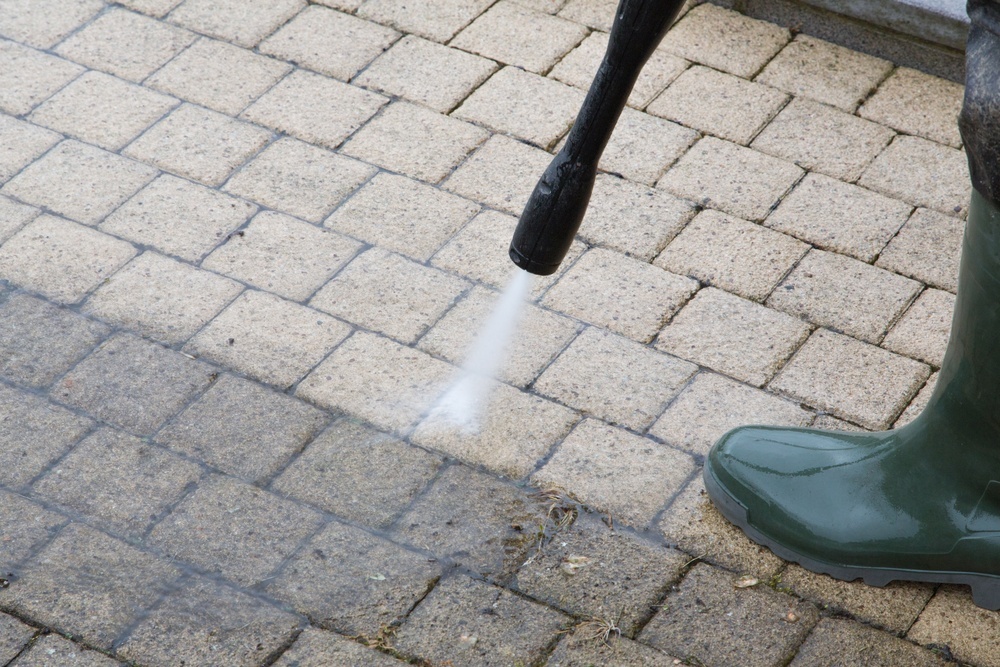
Although many people love to use power washers to clean their home’s siding, power washers do have the potential to damage vinyl and aluminum siding if you aren’t careful. Decks made of wood, a composite wood, or PVC have also been known to be damaged by power washers. Do not use power washers to clean things like outdoor umbrellas, plastic furniture, or cushions for outdoor furniture. Generally speaking, stick to using power washers on materials that are naturally very sturdy like concrete, brick, and stone. If you aren’t sure if something is good to use a power washer on, try testing it on a small spot that’s not very visible. To prevent damage, try to keep your pressure washer set between 1,500 PSI and 1,800 PSI, use the wide stream nozzle, and keep the nozzle at least 2 feet away from your target.

Before you start cleaning, make sure everything that could be damaged has been removed from the area and be sure there aren’t any young kids or animals nearby. Kids in particular might not realize that a power washer is a lot more powerful than a regular garden hose and could think it would be fun to play with it. Don’t forget to wear safety goggles, a long-sleeved shirt, and long pants to help protect yourself from any debris that might go flying. Boots with rubber soles will also help you keep you from slipping and falling on a wet surface.

Once you start cleaning, keep the nozzle at a 45 degree angle and keep it moving in a side-to-side motion. If you need to apply a detergent, apply it starting from the bottom and work your way up. To rinse your detergent, rinse starting at the top and working your way down. If you’re using a power washer to clean your siding, do not use the power washer while standing on a ladder. Use your power washer’s extension wand to reach those areas that are a little harder to get to.

When you’re all done, don’t forget to flush your power washer to get rid of any detergent you used. Check the user’s manual for more information on how to do that.

Used correctly, a power washer can help take a lot of work out of even the most daunting outdoor chores. By following these steps, your yard will be looking fantastic in no time!