
Blog

Tips for Planning the Perfect Patio

Tips for Planning the Perfect Patio What better way to spend a nice summer day than by spending it outside on your beautiful patio? Whether you want a place to entertain friends for a summer cookout or just a quiet place to relax with a nice book and a cool drink, a patio is the perfect place to be. If your home doesn’t already have a patio, adding one to your yard is always an option.

Patios tend to require less maintenance in the long run than decks. No matter which type of patio paver you decide to use, you’re not going to have to worry about things like wood rot or having to stain your pavers. And since patios are built into the ground and aren’t physically attached to a home the way decks are, you might not even need to get a building permit to build your patio. (Just be sure to call your city hall to make sure first. Specific ordinances can vary from city to city.) In many cases, patios can be the sort of project you can do yourself, although you can always hire a professional if you want.

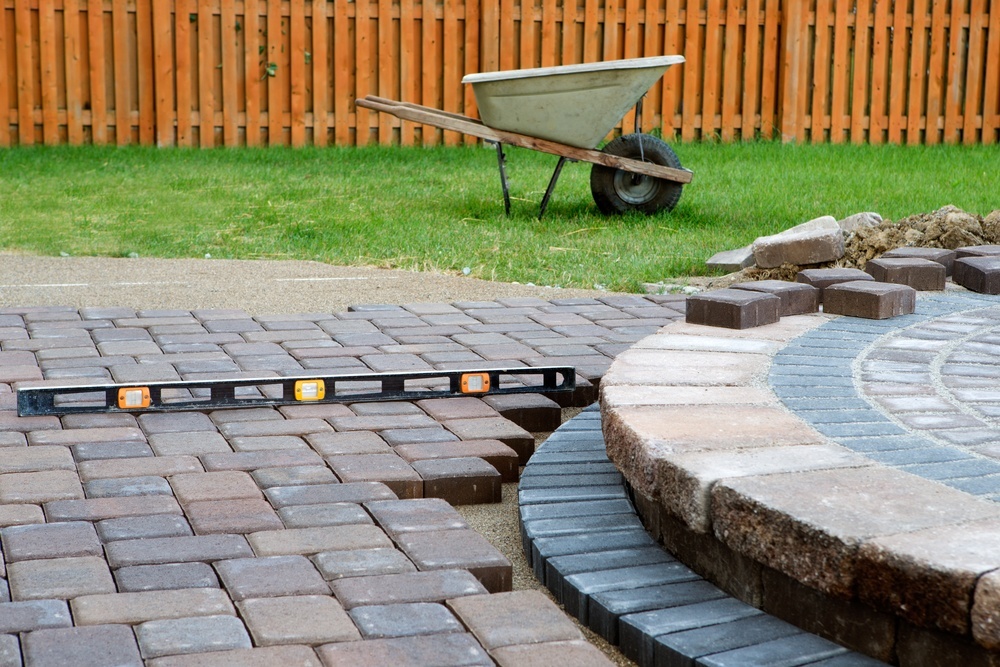
The first step to planning your new patio is to measure out exactly where you want it to be. Better yet, you might even want to take some string and use it to outline where you want it to be. Remember, patios don’t necessarily have to be square or rectangular in shape; circular patios are also very popular. Once you’ve measured out how big you want it to be, calculate the square footage and start figuring out which type of patio pavers you want to use.

Patio pavers come in many different varieties. Brick and concrete pavers are very popular options. They’re durable and come in many different shapes, colors, and finishes and are pretty easy to install. Flagstone and slate are other common choices. If you’re planning a specific pattern for your pavers, you may need to cut some pavers to make them fit, which may require renting a special saw that can cut stone or masonry. Remember, you don’t necessarily have to be limited to one type of paver; many beautiful patios use more than one type of paver. You may even be able to get a good deal on pavers if you live near a stone quarry or know someone who has some stone or brick left over after building a patio of their own.

The cost of pavers aren’t the only thing you’ll need to plan for. In addition to your pavers, you’ll also need some gravel and sand to put down underneath the pavers. You may also want to put down some landscaping cloth if you want to prevent weeds from coming up and growing between your pavers. Laying down a concrete slab is another option for your base, but hiring a professional might be the best choice if you go that route. You’ll also need some sand to fill in the gaps between pavers.

Before you start digging to lay down your patio pavers, contact your utility companies to come out and mark where any underground lines are located. You definitely don’t want to run into any problems by accidentally hitting a utility line.

Another important thing to remember is that you’ll need to build your patio so that it’s sloped just enough to allow water to drain away from your house. Although your patio should be relatively level, elevation should drop just a quarter of an inch for every two feet of distance.

By keeping these tips in mind you’ll be well on your way to having a lovely patio to spend your summers on for years to come!

Getting Your Cooling System Ready for Spring

Getting Your Cooling System Ready for Spring For many people, the arrival of spring means it’s time to start their annual spring cleaning spree. When you’re in the midst of your spring cleaning frenzy, one thing that’s easy to overlook is your home’s air conditioner. Cooling systems need some extra care and attention throughout the year, specifically during the spring and fall, to stay in optimal condition.

Every spring, it’s smart to call your heating and cooling specialist to set up an appointment for a spring inspection. When the first hot day of the year comes around, the last thing you want to discover is that your air conditioner isn’t working. By having your system inspected during the spring, you’ll be taking steps to avoid that headache. Even if your air conditioner was working perfectly fine last summer, there’s the chance that something may have come up during the off-season.

During a spring inspection, the specialist who comes out to your home will check your entire heating and cooling system to make sure all of its electrical components and connections are secure, and that there are no signs of rust and corrosion. They’ll also look for problems like improperly sealed ducts, signs that the equipment has been overheating, or that moisture has gotten into the equipment.

When the inspector gets to your air conditioner, they’ll clean the evaporator and condenser coils, make sure it has the proper level of refrigerant, that its condensate line is clear. They should also check your air conditioner’s blower to make sure it’s clean and adjusted properly. All of these things will help make sure your cooling system will be operating as efficiently as possible all summer long. When these sorts of problems aren’t dealt with, it means your air conditioner will have to work harder to do its job, which will drive up your energy bills and shorten the lifespan of your air conditioner.

Getting your air conditioner ready for spring also includes another very simple step: changing the air filters. Changing your filters on a regular basis helps to trap dust and other allergens in your air. A dirty air filter can cause your heating and cooling system to work harder, putting a strain on your blower motor. Air filters should be changed about every 90 days and if you’re due to have your filter changed around the time of the inspection anyway, the inspector might just go ahead and do that for you. But changing air filters isn’t the sort of thing you need to hire a professional to do for you.

We know -- it’s never fun to have to pay someone to come out to your home for any kind of repair or maintenance job. But making sure you always schedule a spring tune-up for your air conditioner can save you money on the long run by helping to cut down on utility bills and preventing the need for more expensive repairs later on.

Hidden Problems That Drive Up Home Renovation Costs

Hidden Problems That Drive Up Home Renovation Costs If you talk to enough people who have had renovations done on their home, you’ll inevitably hear a lot of stories about how a seemingly simple project ended up taking longer and costing more than originally expected. In many cases, these sorts of problems are related to things that are hidden behind walls, flooring, and ceilings and either the homeowner didn’t know there was a problem or the contractor couldn’t have known about it until they got in there and started working.

These hidden problems are so incredibly common that most guides to planning a home repair or renovation will advise you to allocate extra money to cover them. The older a home is, the more likely it is for hidden conditions to be found, but newer homes aren’t immune to them, either.

So, what are some of the most common problems that pop up and make home repairs more complicated?

Water Damage and Mold

If you see water getting into your home, your initial response is probably to contain the water and clean up the mess right away. If your roof leaks, you’ll try to contain the water as best you can and call a roofer. If a window leaks, you might check the window’s seals or even get a new vinyl replacement window. But once the source of the water has been addressed, there might be additional damage you didn’t realize was there. Water that gets in through leaky roofs and windows can easily cause more extensive damage to things hidden behind the walls or under the roof or lead to mold growth..

Hazardous Materials

When you live in an older home, there’s a good chance it contains something that is now considered dangerous, but was once commonly used in homes. In most cases, this is either lead or asbestos. Lead paint was commonly used in homes built before 1978 and asbestos was widely used for fireproofing and insulation purposes until the mid-1970s. If lead paint and/or asbestos insulation has been used in your home and you’re planning a project that would involve knocking down or opening up a wall, special steps will need to be taken to make sure these materials are properly dealt with. Your best bet would be to contact your local Environmental Protection Agency (EPA) to find a local contractor who is certified to handle these types of materials.

Termites

Rodents and insects of all types can easily cause lots of damage to a home, but damage caused by termites can be particularly devastating. Depending on how long a termite infestation has been going on, the amount of damage can range from being relatively minor and easy to fix to compromising your home’s structural integrity. Termite damage is one of the truest forms of hidden conditions. Since termites tend to eat wood from the inside out, it is entirely possible for wood to look perfectly fine on the surface, but be practically hollow because of termites.

Poorly-Done Previous Repairs

Unless you have a brand new home built for you, there’s a good chance that your home has been lived in by at least one other person before you. Unfortunately, that means you run the risk that one of your home’s previous residents either had questionable DIY skills or went the cheapest possible route on home improvement projects. Many contractors have started a job, only to realize someone else had done a pretty lousy repair job at some point before them, which can cause more work for them if they need to correct that previous repair.

Staging Your Home Like a Pro

Staging Your Home Like a Pro When you’re getting ready to sell your home, you might think to clean up your house and organize a bit before having someone come out and take pictures of it for a real estate listing or before people come over to look at it. But have you considered staging your home? By staging a home, you go a beyond ordinary cleaning and organizing to emphasize your home’s best features and make it easier for potential buyers to imagine themselves living in your home.

Staging your home can be an extremely effective way of helping your home sell faster and for a higher price. According to a survey conducted by Coldwell Banker Real Estate, homes that were staged stay on the market for about half the time of non-staged homes and sold for 6% above the original asking price.

If you don’t know the first thing about staging, one option is to hire a professional home stager. Of course, this will cost you some money, but hiring a professional stager is the type of investment that can pay for itself. The cost of hiring a stager typically costs between 1% and 3% of a home’s asking price, but generates an 8% to 10% return on investment. But if you’re on a tight budget or are a dedicated DIY-er, you could try staging your home on your own. If you want to try staging your home on your own, here are a few tactics professional home stagers use all the time:

Get Rid of Clutter

When you’re trying to sell your home, you generally want to create the illusion of spacious, open areas and clutter makes spaces look smaller and feel more crowded. If you’re having a few friends over for a little get together, you can always just hide some of the clutter that’s hanging around your house in a closet until your guests leave. But when you have potential buyers coming over to tour your house, you don’t have that kind of luxury since they’re going to want to open every closet and cabinet in your house.

If you’re planning to thin out some of your belongings before you move, you might actually want to do that before you have people start looking at your home. If you aren’t able to sell, donate, or otherwise get rid of some of your belongings, you could always rent a storage unit to keep them in until the house sells. Don’t forget to clear out some of your closets, too. Ideally, you want to have 20% to 30% of your closet space open. Removing some of your out-of-season clothing is a great way to free up some extra closet space.

Depersonalize Your Home

One of the biggest challenges of staging a home is making it look lived in, but somewhat generic. A professionally staged home will look something like you would see in a catalog: like someone has lived there, but you really can’t tell who lives there or what type of person that might be. If you have a lot of personal family photos, trade them out for artwork that’s less personal. It will be easier for potential buyers to imagine living there if they don’t feel like they’re

Make All Spaces Look Functional

As a rule of thumb, if something could be used as a functional space, buyers want to see it looking like a functional space. If you have a spare bedroom that doesn’t really get used for anything other than storage, making it look like an actual bedroom, home office, or a playroom would all more appealing to a potential homebuyer than seeing a room cluttered with random things. Even if they don’t plan to use that room for that purpose, it still looks more attractive than a room full of extra furniture and other things you can’t find a place for.

Paint

A fresh coat of paint can work wonders on a home. Since you want your home to appeal to a wide range of people, you’ll want to paint your walls neutral colors. Remember, neutral colors don’t necessarily mean white, off-white, or beige. Other colors can be great, too, as long as they’re warm, soothing, mid-tone shades.

Add Lived-In Touches

When a person is looking at a home, they want to be able to imagine themselves living there, but creating a completely blank slate isn’t necessarily ideal, either. It’s good to leave things out that would make sense to see in that space. For example, if you have a kitchen or dining room table, you might want to set the table nicely. A kitchen could benefit from having a bowl of fruit or some produce out on the counter. Leave a few magazines or books out on a living room coffee table. Those sorts of touches will add just the right amount of that “lived in” vibe.

Save on Your Cooling Bills With Solar Screens

Save on Your Cooling Bills With Solar Screens Summer isn’t too far away and many homeowners are already looking for ways to save money by using the air conditioner as little as possible during the warmer months ahead. If you’ve already taken the steps of replacing old doors, trading out drafty old windows for new vinyl replacement windows, making sure your weatherstripping is in good shape, and looking for air leaks around doors and windows, you’re off to an excellent start. Ceiling fans are also a great tool to help keep your house more comfortable during the warm summer months. But another great option worth considering is having solar screens installed.

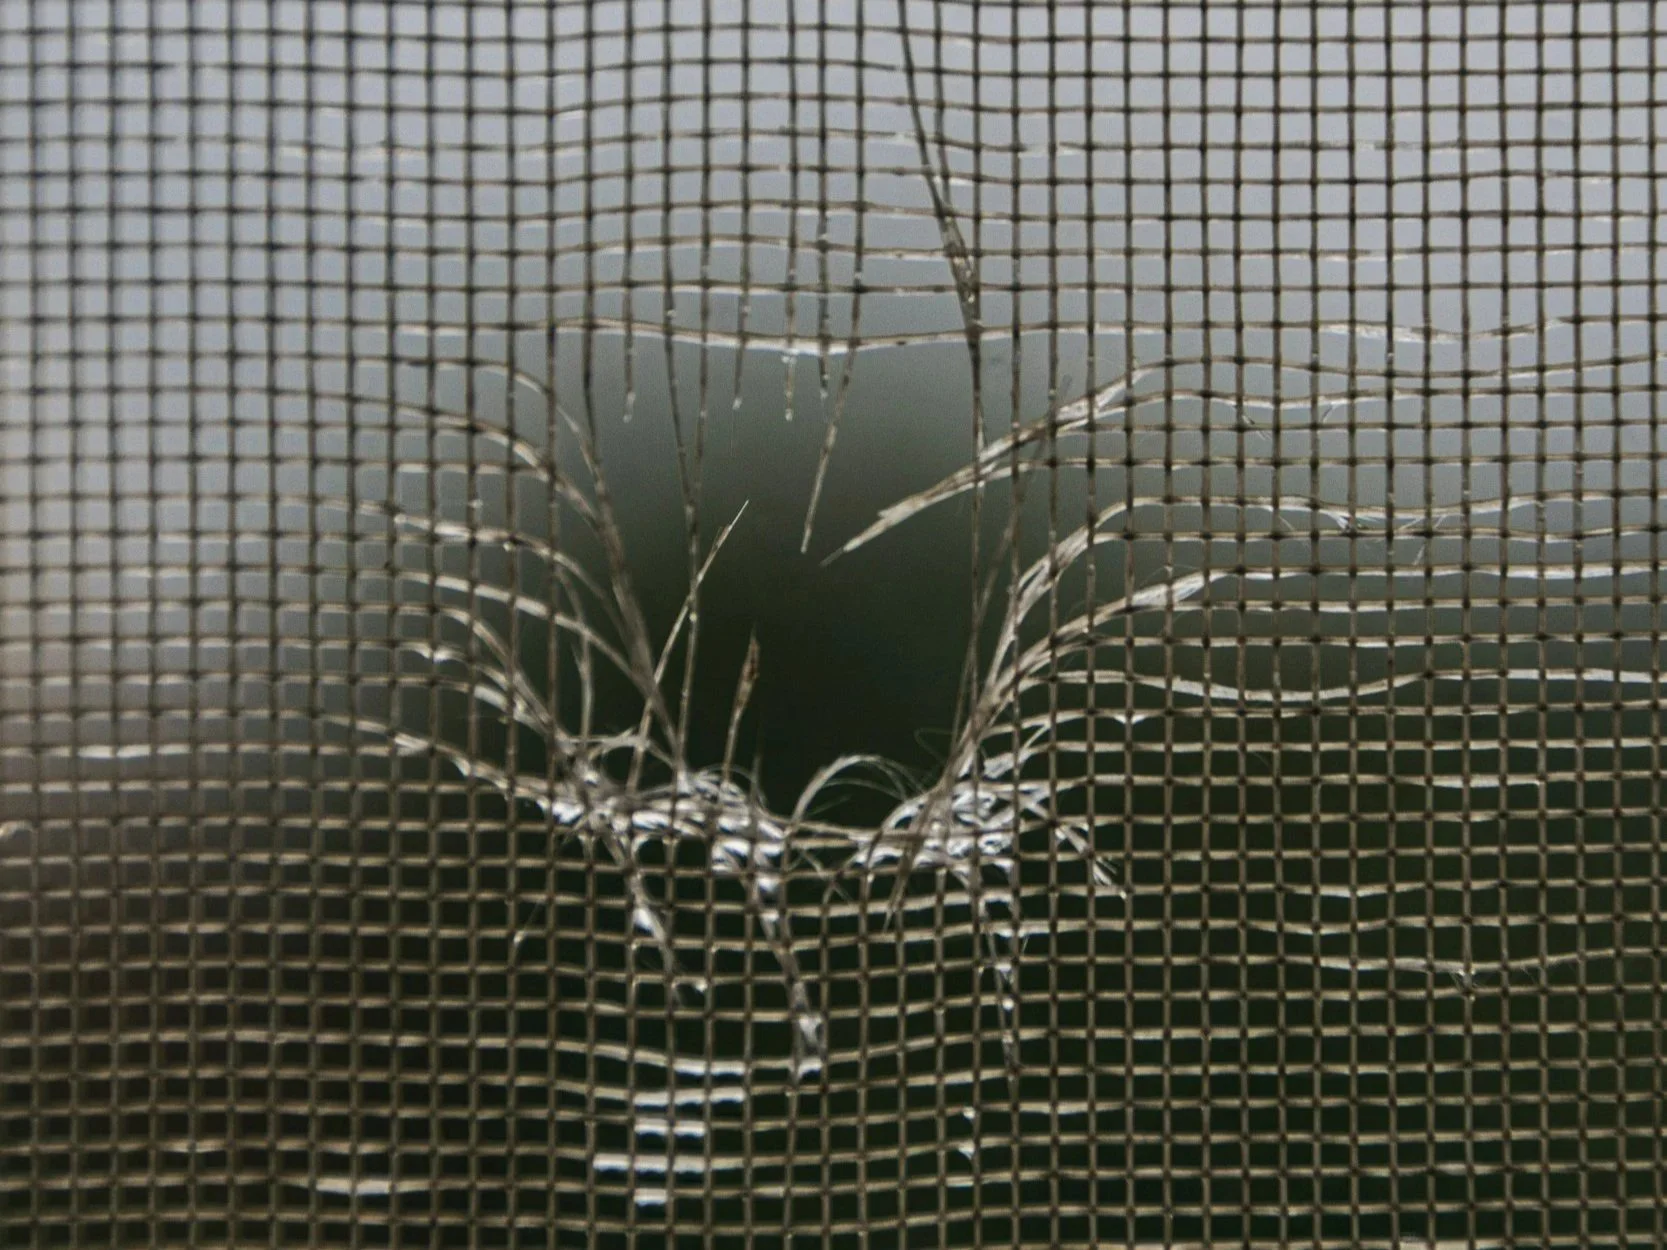
Solar screens are screens that cover your windows to help keep light from the sun and its heat from getting into the house. You can easily extend the solar shades during the daytime and put them up again at night or on days when it’s not so sunny anymore.

So what’s the difference between solar shades and other window treatments like curtains or blinds? After all, can’t you just close either of those when you want to cut down on the amount of sun coming in, too? Solar shades are unique in that, in addition to blocking out sunlight, they can provide you with extra privacy by making it hard to see into your home from the outside, but you can still see out from the inside of your home. You get to have the benefits of having your blinds or curtains shut, but without having them completely block your view.

Since solar screens help keep heat from the sun out of your house, they’re very effective at keeping rooms cooler without having to turn up the air conditioner. In fact, solar screens can help keep rooms up to 15 degrees cooler. On a hot summer day, those 15 degrees can really make a big difference. By putting solar screens on windows that are on the southern side of your home, you could save up to 35% on your cooling bills!

Solar screens also filter out the sun’s ultraviolet rays. Carpeting, furniture, and pictures that hang on walls can become faded and discolored over time if they’re exposed to a lot of sunlight. By installing solar screens, you won’t have to worry about encountering this problem. Solar screens are also a great way to cut down on that annoying glare the sun can cause on TVs and computer screens.

When the weather gets cooler again, you can always raise your solar shades during the day to let the sun help keep your home warmer without having to turn up the thermostat. Solar shades can be a great way to make your home more comfortable and enjoyable all year long. And with all they money you can save on your heating and cooling bills, they should pay for themselves within a matter of a few of years.