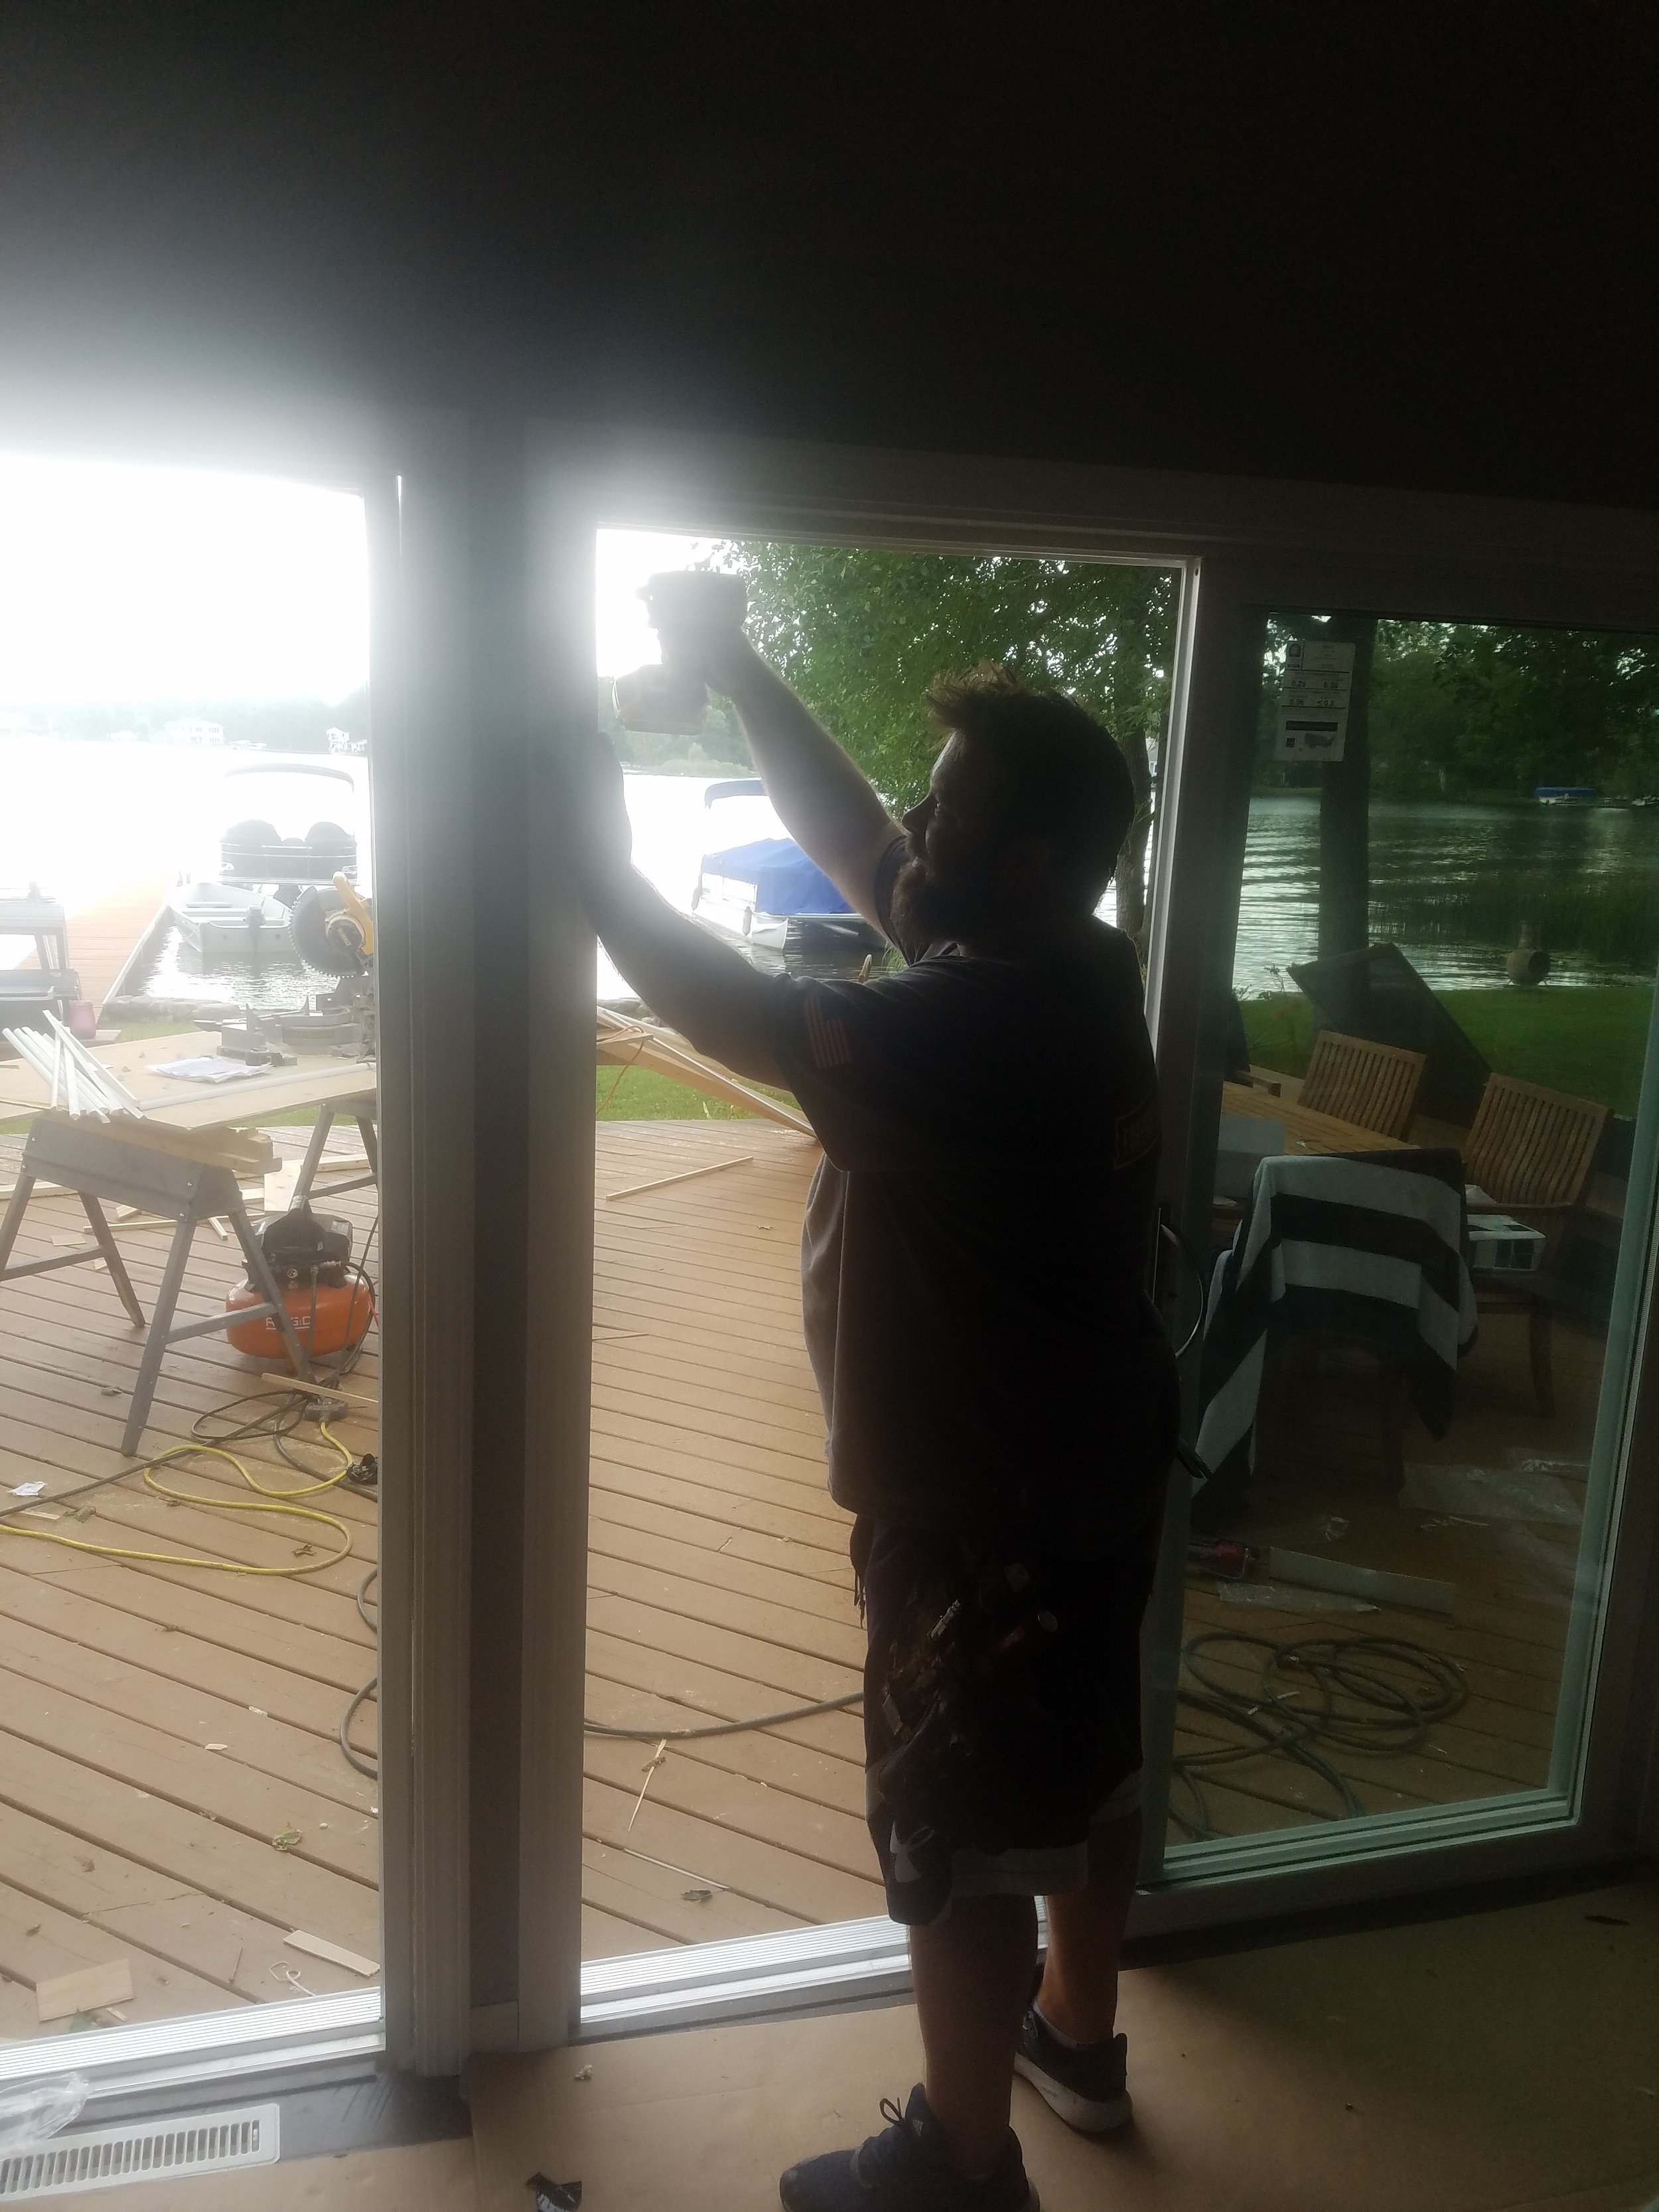
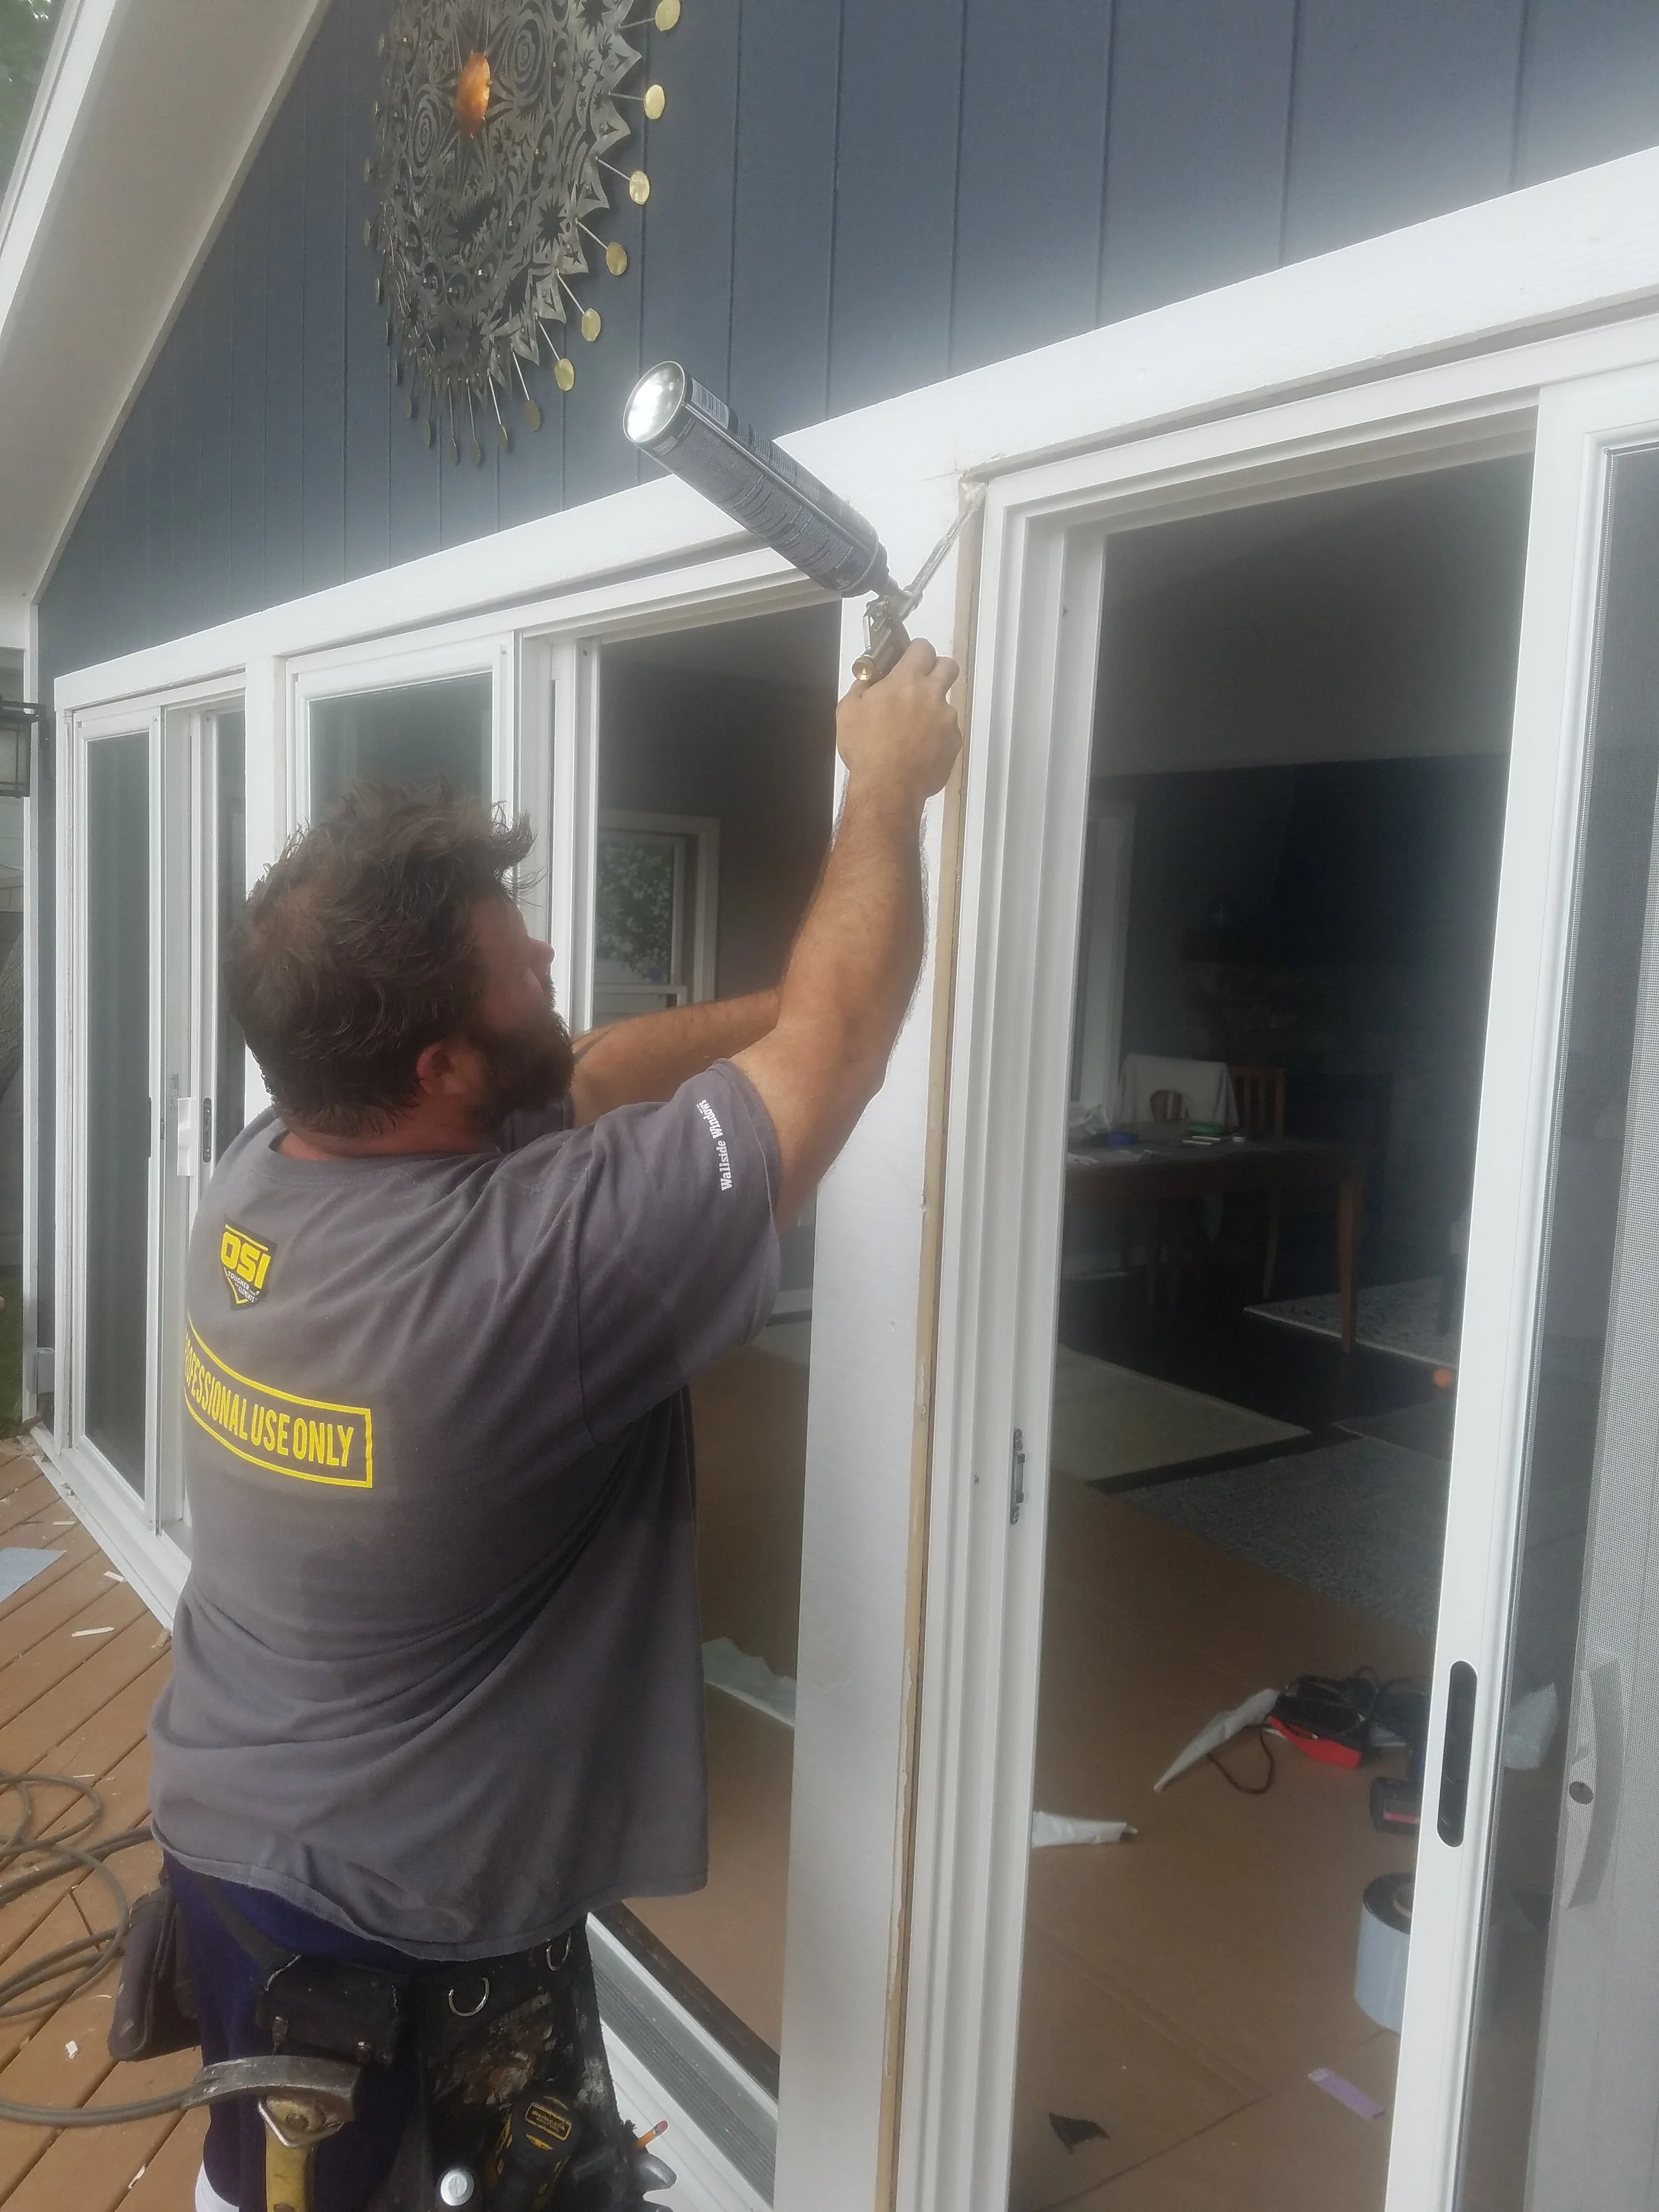
Justin Pustay has been installing Wallside Windows for 19 years. He says most homeowners don’t have the expertise or tools required to correctly install replacement windows.
Replacing your home’s windows can be a significant investment. To save money, some homeowners choose to replace them on their own rather than hiring professionals — but this doesn’t always result in savings in the long run. After decades in the window installation business, we’ve seen the issues that can result from DIY window installation.
Justin Pustay has been an installer of Wallside Windows for 19 years. Most homeowners don’t have the experience, tools or expertise required to replace their windows, said Pustay. “I know what steps need to be taken to ensure proper installation of windows, door walls and bay windows, and how to flash windows, ensuring they don't leak,” said Pustay. “Your average homeowner may not know these things.”
So what can homeowners expect when installers come to their home?
On installation day, the homeowner can expect to get a call between 7 and 9 a.m. letting them know when the installation crew will arrive. Upon arrival, the crew will cover furniture and floors in the workspace around the windows with tarp or plastic to protect them from dust and debris.
Wallside provides installers with all the tools and supplies needed to get the job done, including high-quality foam insulation and caulk.
“When we leave, it’s like we were never there, except they’ve got new windows,” said Pustay.
Removing the old windows is something of an art form in itself, a job most homeowners aren’t equipped to do without making a mess. “There’s a certain way to tear (old materials) out without destroying (anything),” said Pustay.
Our installers “flash out” windows and install sill pans under door walls to prevent leaking - techniques many DIY-ers tend to skip. “Lots of times we go into homes and tear out doorwalls, and (find) it’s rotted underneath because people didn’t do it right,” said Pustay.
After replacing the old windows and before putting the new moldings inside, installers insulate around the window with high-quality foam insulation. This is a step where homeowners might tend to skimp, said Pustay, but they may also pay for it later. Wallside uses a low-expansion foam and caulk made by OSI, “the best caulk on the market,” assured Pustay.
Another job well done. Our installers have decades of experience with a wide variety of window styles, including bay windows and door walls.
On the outside, the installation crew will bend the aluminum trim to fit the window, and then insulate using the same high-quality foam. The final step is to caulk inside and out around the sills and moldings.
One of the mistakes commonly made by DIY-ers is a misuse of products. “If not used properly, the wrong foam can bow and warp the frames of the windows, said Pustay, “and if you use the wrong caulk on the exterior of the home you could have major leaks.”
Other issues can arise from incorrect installation of trim. “We see lots of leaks because the exterior trim on the home is installed improperly, which can cause major structural damage to your home,” said Pustay. “We have lots of extremely talented installers who do great finish carpentry.”
In addition to lacking the expertise to install windows properly, homeowners often underestimate the time required to complete the project.
“We can usually finish the entire job in one day, start to finish,” said Pustay. “A homeowner is going to take days, maybe weeks to finish a window job.”
From the initial phone call to installation day, the entire process of upgrading to Wallside Windows typically takes 4 to 8 weeks. Wallside Windows are guaranteed for 35 years, no matter who owns the home, giving homeowners peace of mind and adding to the resale value of the home. If homeowners have questions or concerns, they can contact our service department at any time.
Want to know what other homeowners think of their Wallside Windows? Check out our customer reviews!


