
 Drip Drip Drip
We all know when the problem of a leaky faucet arises. We have to stare at the sink and watch water casually drip out as we try to tighten the faucet handles as hard as we can until the drip goes away, but it never does. A dripping faucet can lead to a major increase in your water bill, and can also cause a shortage in hot or cold water. Calling a plumber is too much money for just a leaky faucet, so you want to fix it yourself. Fixing a leaky faucet yourself can be done in an hour if done properly, and will be at minimum cost as well. Although it’s cheap and time efficient to do yourself, there are a list of steps that need to be taken in order to be done successfully.
Preliminary Steps
Before you start going to work on the sink it’s important to turn off the water supply in the house, and not just under the sink, just to be safe. Close the sink drain and cover it with a rag in case you drop any parts in the sink. Now although there are many different types of sinks, the leaky faucet is usually because of the same thing with each sink. We’ll take a look at the compression sink which consists of a separate cold and hot handle.
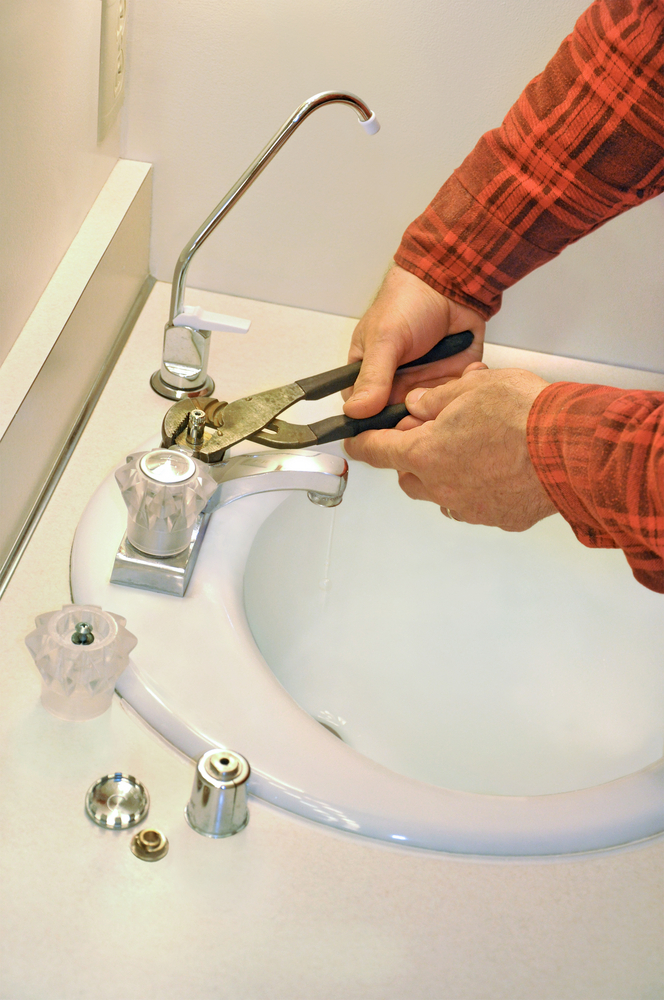
Taking Apart the Faucet
Before you disassemble your sink you might be intimidated because of all the different parts you have to take apart and remember where they go, but it’s simpler than you may think. After you remove the handle on one side of the sink, it’s simple to take a Phillips-head screwdriver. Before you remove anything though, make sure you’ve added padding to the pliers and wrench you’ll be using with electrical tape so you don’t scratch up or scuff the exterior of the sink. The one thing about leaky faucets is the problem always consists of worn out washers or O-rings. Whatever size O-ring you need, make sure you coat it with plumber’s grease to ensure that your handle will turn once you put it all back together. You can find any new O-ring or washer at your local hardware store at a minimal cost.
Putting it All Back Together
It’s important that you remember the order in which you took your sink apart because you're going to put it back together in the reverse order. It’s important to remember to apply plumber's grease to any new part that you installed. The last thing you want to have happen is get everything back together and then not be able to turn the handle. While you’re replacing things around the house it might be a good idea to check and see if your windows need replacing too. If your window needs to be replaced, contact Wallside Windows and we’ll send an expert out to do an estimate for you to see what kind of window you need, and how much it will cost you. After all your repairs are done, you’ll finally be able to relax, but don’t get too comfortable because the next malfunction might be days away.
