Does Your Home Have Enough Insulation?

Does Your Home Have Enough Insulation? The last thing anyone wants during the cold winter months is to constantly be freezing in their own home. Always having the furnace running on a high temperature can get expensive, but you might not want to always be wearing bulky sweaters when you’re just spending time at home, either. There are many different steps you can take to make your home more energy efficient, like sealing drafts, replacing your exterior doors, or getting vinyl replacement windows, but if you’ve done those things and you’re still not comfortable and your energy bills are still too high, you may want to look into having more insulation added to your home.

It’s estimated that about two-thirds of American homes don’t have enough insulation. Many homes built prior to 1970 were originally built with little to no insulation and while homes built after 1970 do have insulation, there may be room for improvement. Building requirements for insulation has continued to evolve over time and while your home may have been built to the appropriate standards at the time, it might be considered under-insulated by today’s standards.

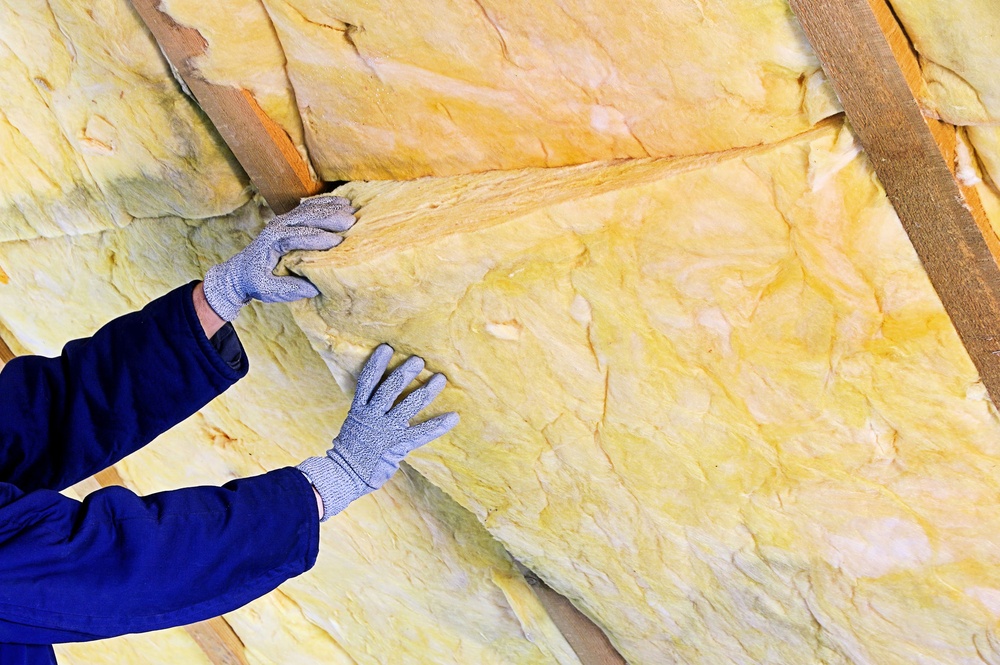
In many cases, homes built after 1970 have pretty well insulated walls, but lack insulation in the attic. Because of this, a common sign of inadequate insulation is ice dams forming on the roof. If you think you could benefit from more insulation, Energystar.gov says taking a simple look in your attic could give you your answer. If you look in your attic and are able to easily see the flooring joists because the insulation is either level with or below the joists, adding more insulation is definitely something you should look into. Also check that the insulation is evenly distributed throughout the entire attic. It’s not unheard of for attics to have thicker insulation in certain areas.

If you seem to have plenty of attic insulation or live in an older home, hiring someone to come out and give your home an energy audit may be very worthwhile. When you hire a professional to give your home an energy audit, they’ll use things like infrared cameras, other thermal imaging tools, and door blowers, to identify exactly where drafts and heat loss are occurring. They will also be able to get an idea of what the insulation is like in your walls. If you have a home built before 1970, there’s a good chance you don’t have very much wall insulation. There’s also a chance that your insulation wasn’t properly installed in the first place and has since fallen down. Some types of insulation can also settle over time, making parts of your walls under-insulated.

Having a professional give your home an energy audit may cost a few hundred dollars, but being able to know exactly where your home is losing heat will help you figure out which improvements to make so you can save a considerable amount of money in the long run. Adding insulation can help reduce your energy bills by upwards of 30% and, if you’re thinking of selling your home, that extra insulation could make your home more appealing to a potential buyer.

Improving Your Bedroom to Get Better Sleep

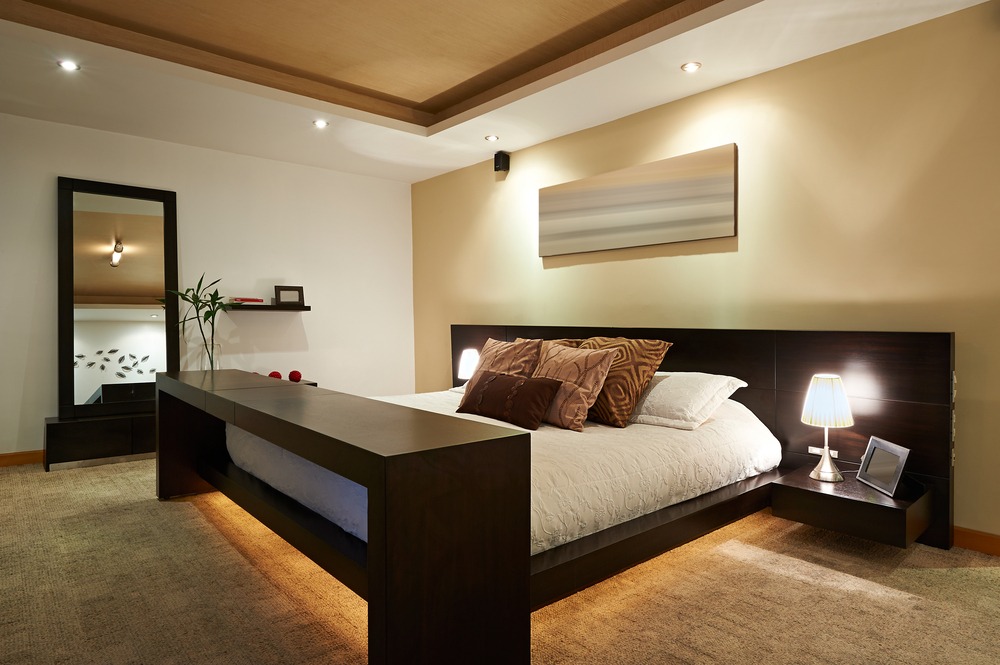
Improving Your Bedroom to Get Better Sleep It’s believed that we spend about a third of our lives sleeping, but getting a good night’s sleep isn’t always easy. Between the stress of everyday life and environmental factors of the room you sleep in, restful sleep can be remarkably difficult to get. Finding the right mattress plays an extremely important role in improving your quality of sleep, but there are plenty of other things you can do to make your bedroom more conducive to sleep.  

Block Out the Light

Nobody likes being woken up earlier than they need to be because the bright morning sun is shining in through a window. Blackout shades and curtains are an excellent window treatment choice for vinyl replacement windows placed in bedrooms since they’re more effective at blocking out sunlight than any other type of window treatment. They’re also a particularly important thing to have if you don’t work a job with 9-5 hours and need to sleep during the daytime.

In addition to controlling the amount of natural daylight your bedroom gets, it’s also important to evaluate the electrical lighting in your bedroom. Place individual lamps on each side of the bed so you’ll be able to see without disturbing your partner. You may also want to look into getting dimmable lights for your overhead lighting so that your room can have a nice, soft ambiance.

Get Rid of Clutter

Even if you aren’t awake to see it, clutter in your bedroom can make it more difficult to sleep well. Being around clutter can increase stress and anxiety, which aren’t going to help you get the restful sleep you need.

Remove Electronic Distractions

Although it might sound like a nice idea to lay in bed and watch an episode of your favorite TV show or catch up on your email before going to sleep, it’s best to keep electronics out of the bedroom all together. Electronic devices like TVs, smartphones, and electronic book readers give off a blue-tinged light that affects your body’s melatonin levels and can make it more difficult to fall asleep.

A Fresh Coat of Paint

Believe it or not, even the color of your bedroom can make a difference in the quality of sleep you get. Ideally, walls in bedrooms should be painted a soothing, relaxing color like blue or green. Red and yellow are often considered energizing colors, so those aren’t colors you’ll want to use in a space that’s intended for resting and relaxing.

Improve Air Quality

Better breathing leads to better sleep. Even if you don’t have problems with allergies or asthma, improved air quality still help you get a good night’s sleep. Make sure you dust your bedroom regularly and vacuum frequently if you have carpeting. An air purifier with a HEPA filter will help keep dust and other allergens under control. Keeping a few houseplants in the bedroom is another excellent way to improve your air quality.

5 Great Home Improvement Projects to Do During the Winter

5 Great Home Improvement Projects to Do During the Winter There are many reasons why homeowners often choose to start home improvement projects during the spring and summer. Some homeowners like to wait until they have their tax refunds before starting projects, while others just want to avoid as many weather-related delays as possible. In some cases, a person might need to accumulate vacation time at work so they can be at home to monitor the project. By the time fall and winter come around, many homeowners either feel like they can’t have certain projects done or they don’t want to start anything too close to the holidays. But there are quite a few home improvement projects you can absolutely do during the winter. In fact, there can be some big advantages to having those projects once the weather turns cold. Here are five projects that are ideal for the winter months.

Indoor Painting

The colder the weather gets, the more time you’ll probably be spending around the house. During a long, cold winter, it’s very easy for homeowners to start getting bored with their surroundings. If you need a little change of scenery, why not go to the hardware store and look for some new colors of paint? Winter is an excellent time of year to take care of those painting jobs you may have been putting off since you’ll probably prefer to be out enjoying the weather once spring comes around again. Painting is a relatively easy and inexpensive home improvement project to do, it helps keep you busy, and a new coat of paint can do a lot to brighten up your home during an otherwise dreary season.

Window Replacement

Thinking about having some windows in your home replaced? You don’t have to wait until spring or summer to have the job done. Since so many people choose to have their windows replaced during the warmer months of the year, many companies that install vinyl replacement windows offer excellent deals during the winter because they’re not so busy then. You’ll be able to get the windows you need at an excellent price and won’t have to deal with higher energy bills and drafty windows all winter long.

Home Additions

Planning to build an addition to your home? Winter is an excellent time of year to get the ball rolling on that. Additions to the lower level of a home that require digging and pouring a new foundation are actually ideal to start in winter because the frozen ground and drier air makes the job easier. The whole job might not be completed during the winter, but if workers are able to at least get the foundation down and the addition framed, they’ll be in a better position to keep working through the spring. As an added bonus, building supplies tend to be cheaper during this time of year since there is less demand for them.

Adding Insulation

Like replacing your windows, adding extra insulation to your home gives you the immediate benefits of making your home more comfortable and lowering your energy bills. It’s estimated that 90% of American homes are under insulated. So unless your home is a very recent build, the odds are good that your home could benefit from some added insulation.

Tree Maintenance

Believe it or not, many landscaping companies and companies that specialize in taking care of trees stay open during the winter. If you weren’t able to have your trees trimmed or removed during the summer or early fall, you’re definitely not out of luck. Some types of trees can actually only be trimmed during the winter and the fact that the leaves have fallen off the tree makes it easier for workers to see exactly what they’re dealing with. Since the ground is harder in the winter, it’s also easier for workers to get their equipment near the tree and their equipment will be less damaging to your yard since the ground isn’t soft anymore. The cost of having a professional take care of a tree for you will ultimately depend on the job, but many companies often do charge less during the off-season.

4 Ways New Windows Can Enhance Your Home

4 Ways New Windows Can Enhance Your Home Windows truly do play an important role in our homes. They keep rain and snow out, help keep us warm during the winter, and let us keep an eye on what’s going on outside our homes. But aside from those benefits, how else can vinyl replacement windows make your home a nicer place to be?

Improved Curb Appeal

Replacing the windows in your home can have a very drastic impact on your home’s exterior appearance. Windows are a major architectural feature of your home, so much so that many designers like to say that windows are the eyes of your home. Making what seems like it would be a subtle change can really do a lot to give your home’s exterior a lift.

More Natural Light

Want more natural light in a room? Replacing an existing window with a different style that will let more light in, such as a bay window, may be an option for you. Since bay windows extend outward, they create a greater view of your yard and help bring in more light. It may also be possible for you to have a window enlarged. The more natural light you get in your home, the less you’ll have to rely on electrical lights and the lower your energy bills will be.

Create a Cozy Nook

Bay and bow windows can have a lot of amazing benefits, such as improving your view and making rooms seem larger than they actually are. But one reason many homeowners love bay and bow windows is because they create the perfect space for a nook where you can sit and relax, read a book, or just enjoy your view while having a cup of coffee. You can also use the space by a bay window to display things like houseplants or family photos.

Unique Shapes

Although windows are most commonly square or rectangular in shape, those are hardly the only options for window styles. Windows are available in many different shapes, including circular, half-circle, hexagon, pentagon, octagon, triangle, and many more. Choosing a more unusual window shape is an excellent way to add some visual interest to your home in an unexpected way, particularly in areas like hallways. These types of windows can be used alone or to enhance other windows or doors in your home, such as by placing a half-circle window above an existing door or window.

Tips for Painting Your Kitchen Cupboards

Tips for Painting Your Kitchen Cupboards Cupboards are a major focal point of any kitchen, so if they’re starting to look dated or worn out, they can really drag down the appearance of the rest of the room. But completely replacing cupboards with new ones isn’t always an affordable option. In full-kitchen renovations, new cupboards alone cost an average of 30% of the entire project’s budget.

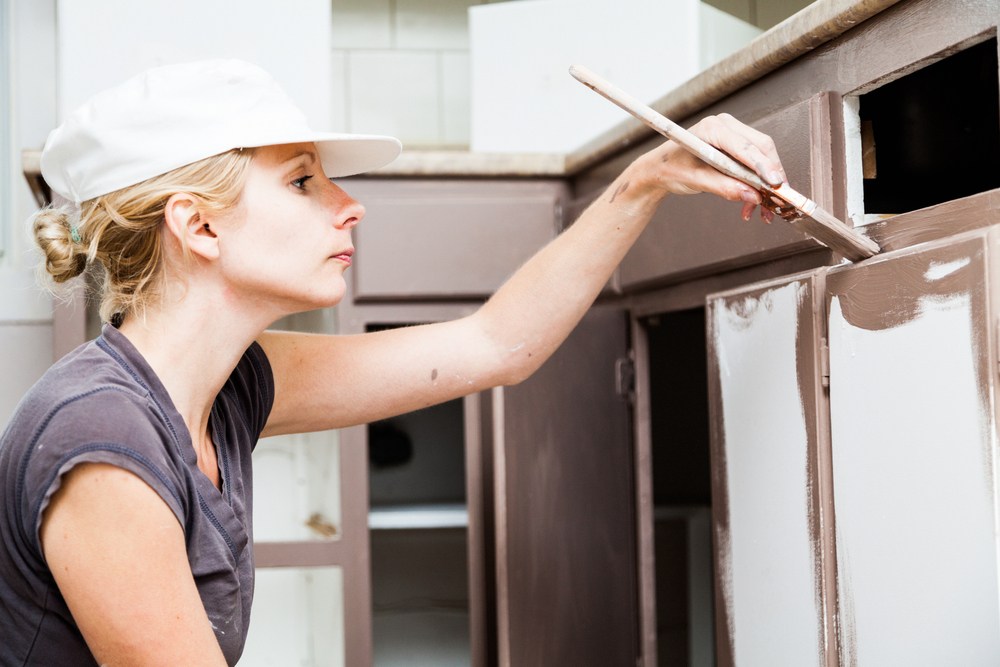
Rather than spending thousands of dollars on brand new cupboards, many homeowners prefer to revamp the ones they already have and one of the most popular ways to do so is by painting them. Although painting your cupboards may seem like an easy project in theory, many people have learned the hard way that it’s not quite as simple as it sounds. Before you grab a paintbrush and get to work, here are a few tips to make the process as easy as possible.

Give Yourself Plenty of Time

First and foremost, be sure you have plenty of time to do the job properly. Painting your cupboards is a more time-consuming project than many people realize, so it’s not the sort of thing you’ll want to start doing if you’d need to have it done within a couple of days. The exact amount of time it will take depends on how many cupboards you have and how much time you have to dedicate to the project, but with all steps considered, it can easily take anywhere from a week to several weeks.

Don’t Skip the Prep Work

As tempting as it may be to skip the prep work and get right to painting, prep work is extremely important when it comes to painting kitchen cabinets. Cabinets can easily accumulate a layer of grease and oils from being near the stove and if you don’t clean your cabinets before painting them, that grease will make it impossible for paint to dry properly. Don’t just clean the cabinet doors, either, be sure to get the frames of the cabinets, too. For the best possible finish, fill in any nicks and dents your cupboards have and sand down all the surfaces you’ll be painting, then use a vacuum and a tack cloth to remove debris from the surfaces. Lastly, don’t forget to prime your surfaces before you start painting. All these steps may seem like a hassle, but they will pay off in the end.

Label Everything

Removing your cupboards for painting will make your job a lot easier, but as you do so, don’t forget to keep track of where everything originally came from. Label each door, where each door came from, and keeping the hardware for each door in a labeled bag. Once you’re done painting, the last thing you’ll want is to be stuck trying to guess where everything was in the first place.

Choose the Right Paint

Matte finish paints may be less expensive than glossier finishes, but when it comes to cabinets, spending a little more for a satin, gloss, or semigloss paint is worth it. The glossier the paint finish, the more durable it is and the easier it is to clean, which are exactly what you need in a room like a kitchen.

Don’t Rush to Hang Them Up

Once your cupboards have been painted, it’s totally understandable that you’d be very eager to get your cabinets hung back up again. But make sure to give your cupboards plenty of time to fully dry, at least a day or two, before you try putting them back. Even if they seem dry, they might not be completely dry yet and if you’re in a hurry to put them up, your paint job could get messed up and you might have to repaint that cabinet all over again.