Blog

Great Ways to Use Your Tax Refund Around Your Home

Great Ways to use Your Tax Refund Around Your Home Now that the deadline for filing your taxes has passed, you might be trying to think of ways to put your refund to good use. While some people like to use their tax refund to go on vacation, buy new electronic devices, or splurge on another big ticket luxury item, many people like to use their refunds to tackle some of those home improvement projects they’ve been wanting to take care of.

Using your tax refund to improve your home is one of the smartest ways to use it, especially if you’re considering selling your home in the near future. Not only can improving your home make it more comfortable and enjoyable to live in, certain improvements can help to add value to your home. Not all improvement projects have a high return on investment, so if you really want to boost your home’s value, you have to be careful to choose the right projects. Here are a few projects that can help you make the most of your tax refund!

New Steel Doors

If you’re considering selling a home, a new steel front door is a great way to give your home’s curb appeal an extra boost. According to the 2015 Remodeling Impact Report by the National Association of the Remodeling Industry (NARI), new steel doors can recover 75% of the total cost of the project when the house is sold.

Not ready to sell? New steel doors are still an excellent investment. If it’s been a long time since your home got new exterior doors, they might be starting to look a bit worn or show signs of damage. Older doors are also likely not as energy efficient as newer doors are, so replacing your doors could help you save money on your energy bills.

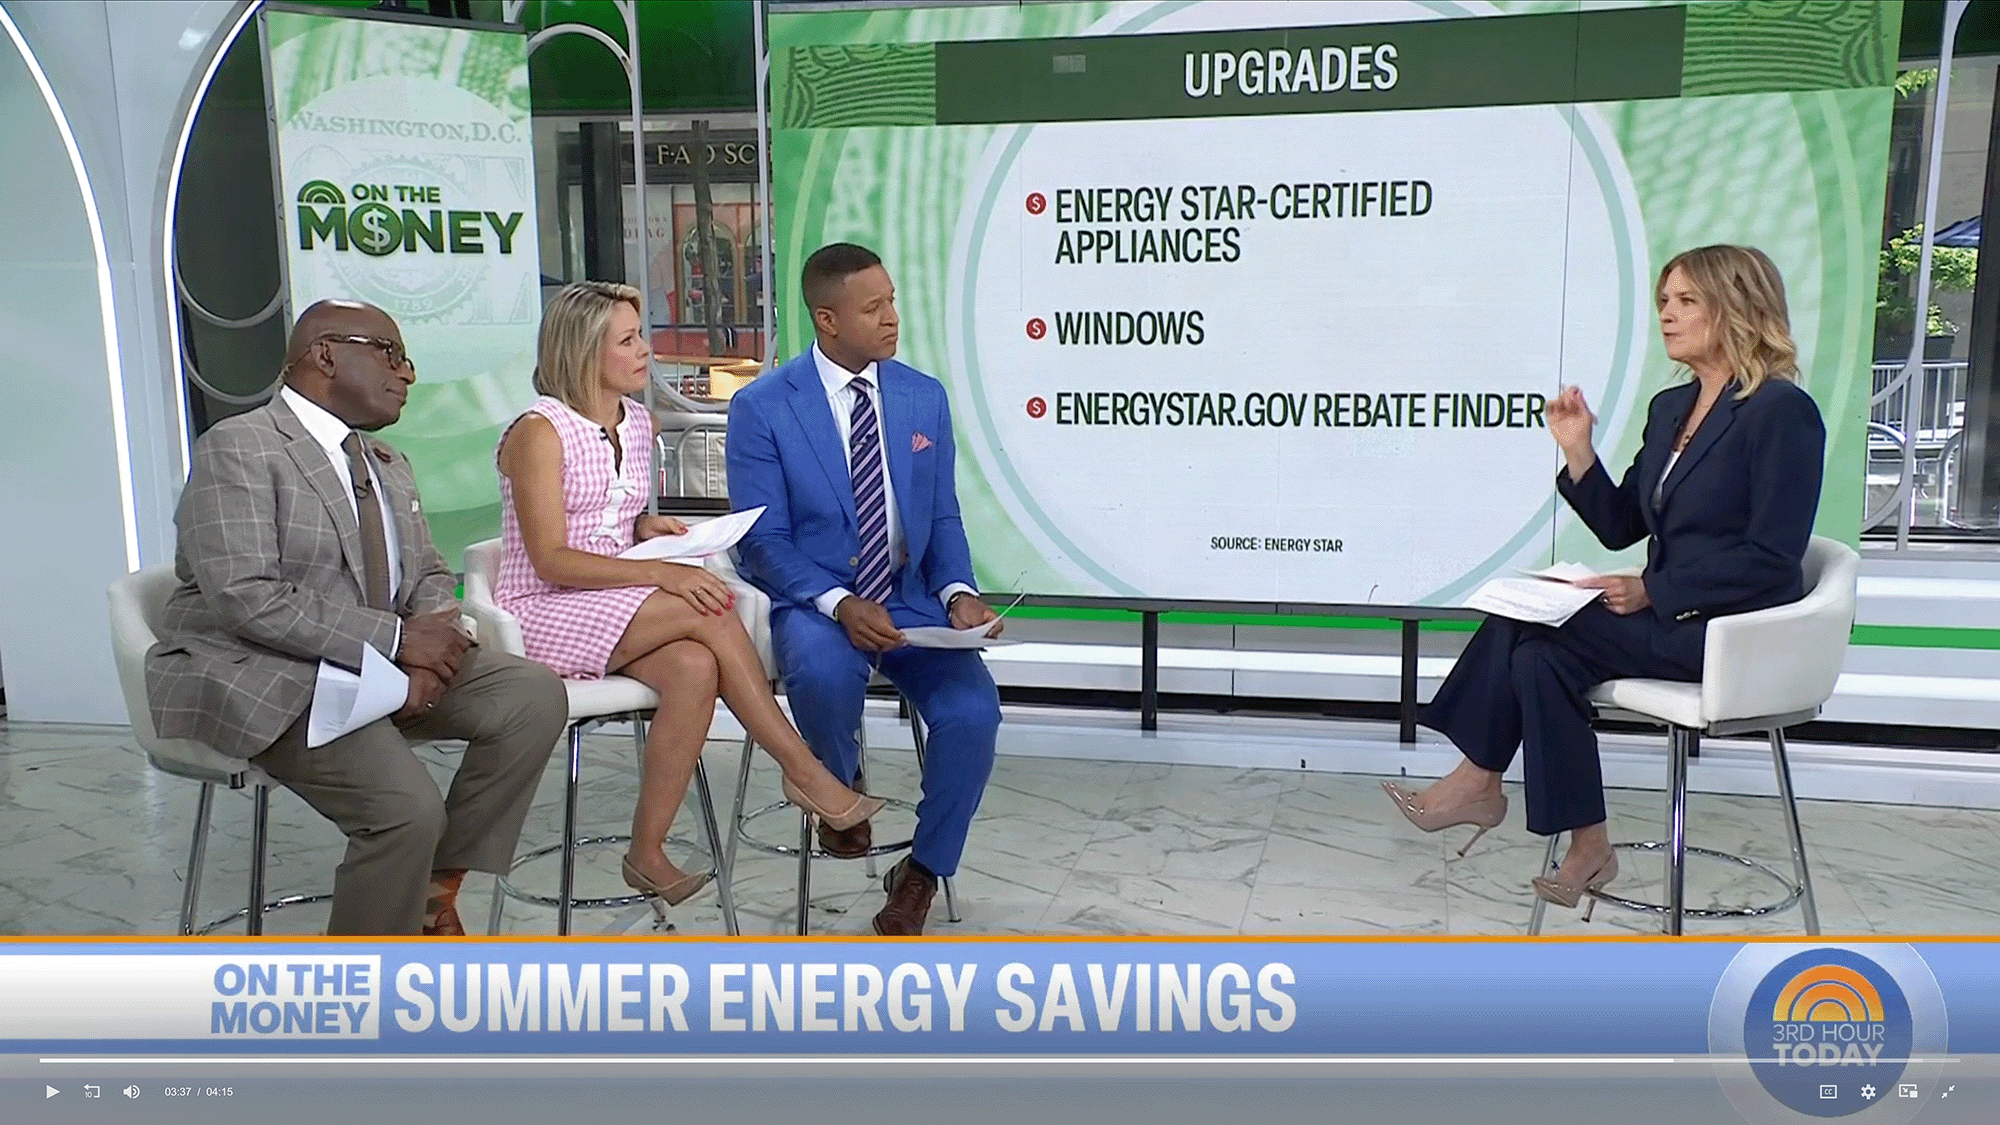
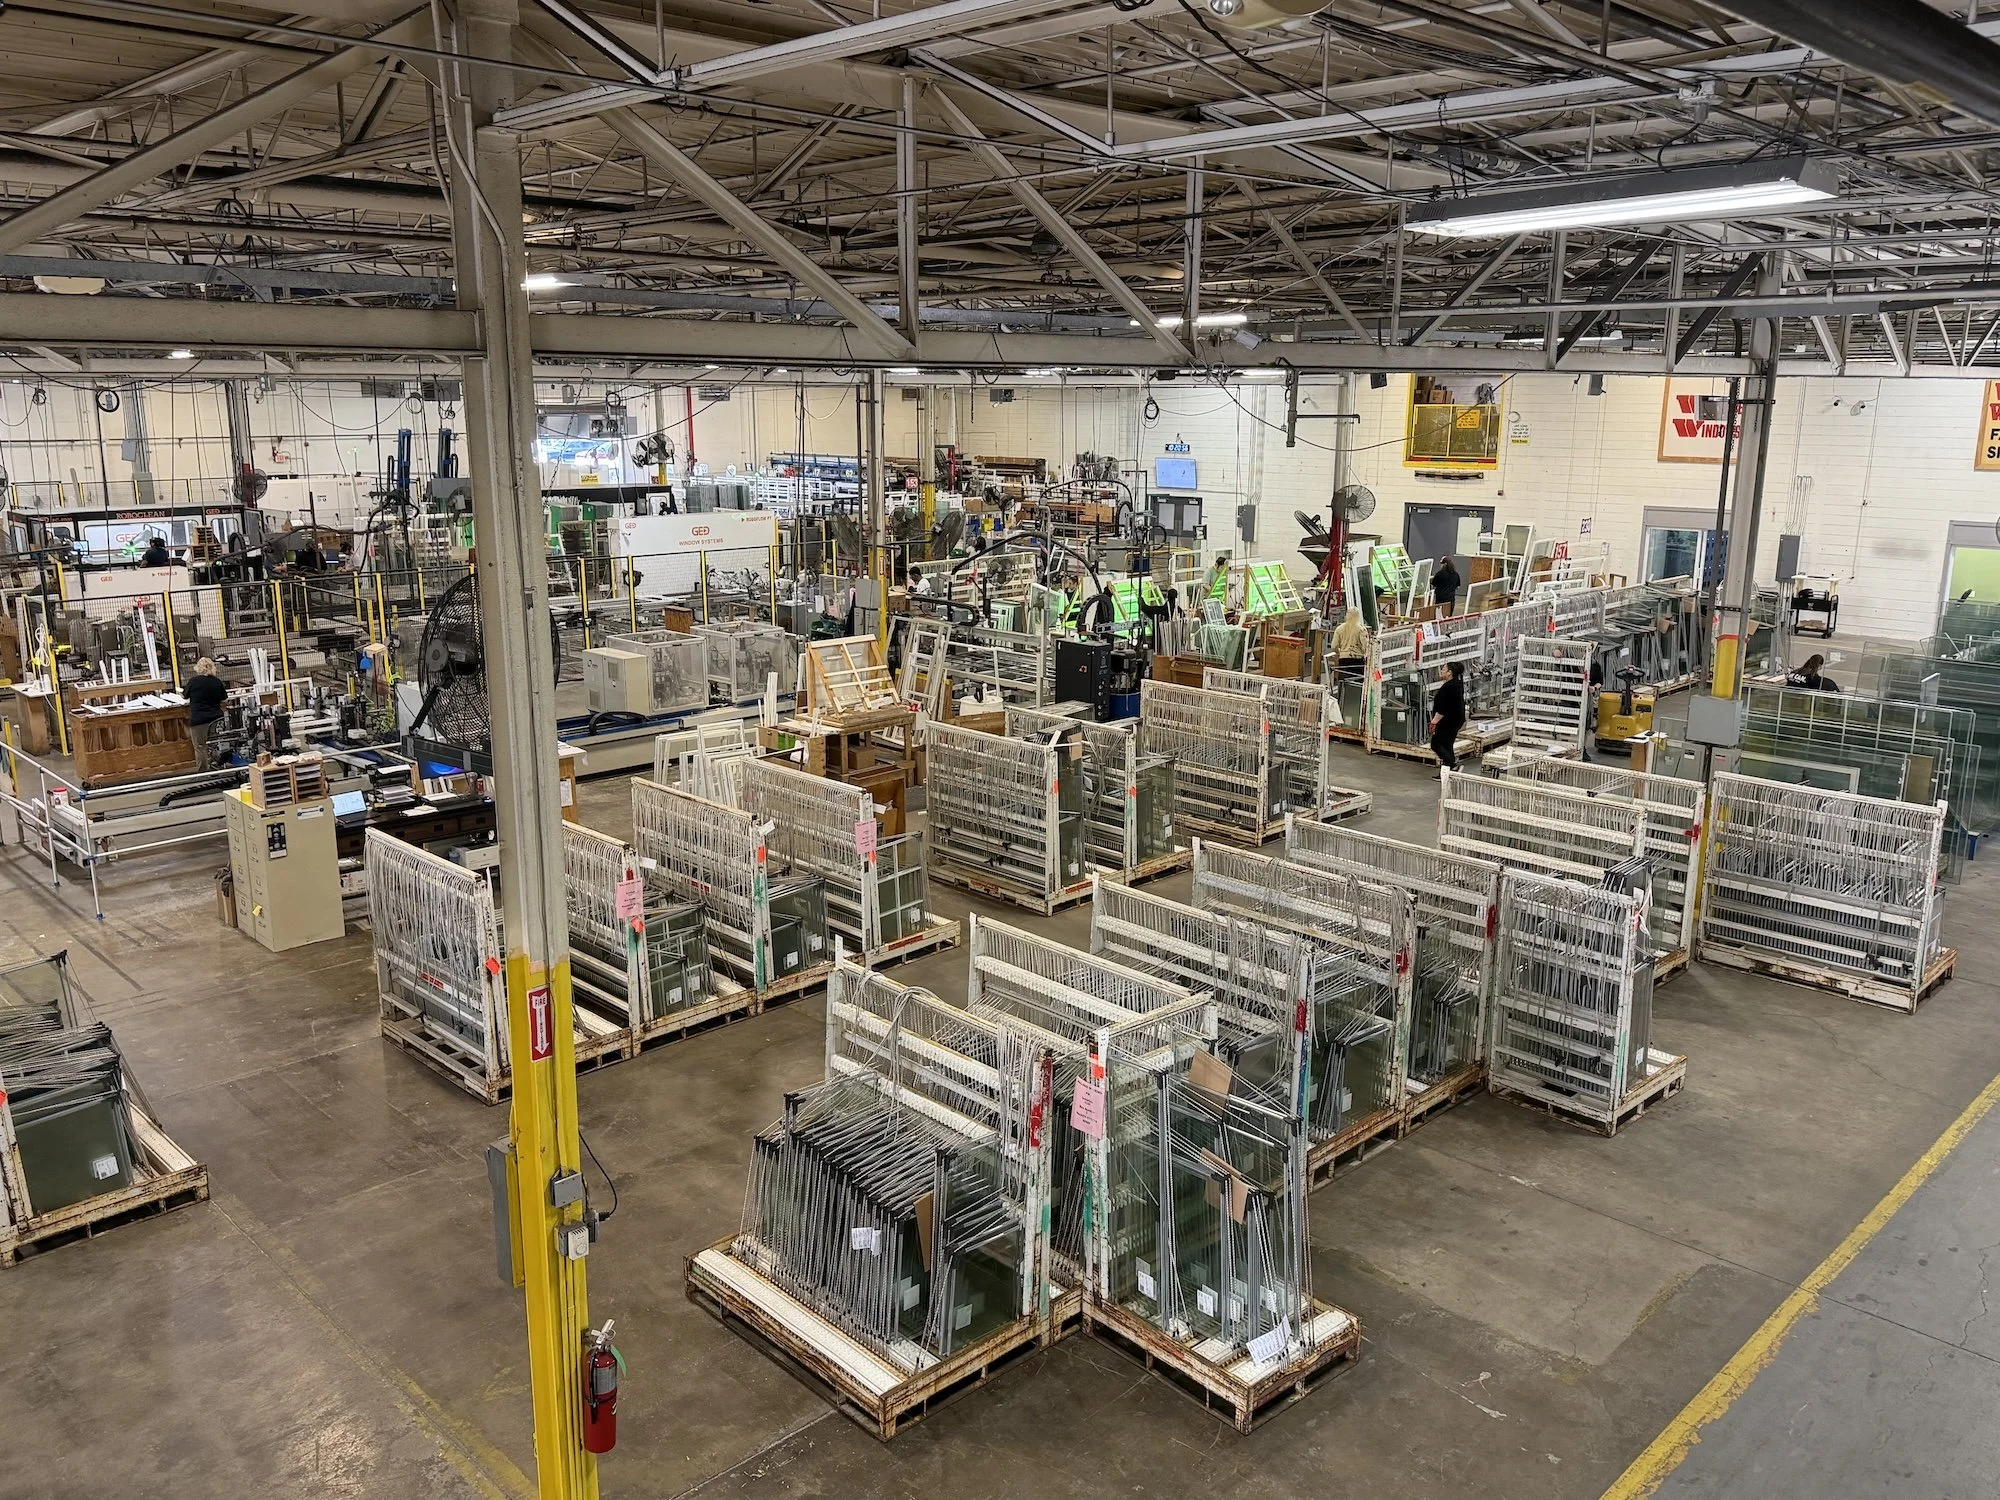
Vinyl Replacement Windows

Vinyl replacement windows are another great way to spend your tax refund regardless if you’re planning on selling your home or staying put for a while longer. Older windows that are damaged or have outlived their useful life can really drive up your energy bills and make your home quite uncomfortable. The 2015 Remodeling Impact Report listed new vinyl replacement windows as being the second most appealing project to buyers, ranking only behind a new roof.

New Garage Door

Whether you’re looking for a way to make your home more appealing to potential buyers or you just want to change up the look of your home’s exterior, a new garage door can make a big difference. Best of all, replacing a garage door has consistently been a home improvement project that recoups a large percentage of its cost. In 2015, new garage doors had an average of an 87% return on investment.

Insulation

Anything that improves your home’s energy efficiency is a great way to spend your money. If your home could stand to use more insulation, an insulation upgrade will help bring down your home’s heating and cooling costs and make your home a lot more comfortable in general. Since so many homebuyers are looking for energy efficient features in homes, a home with plenty of insulation will definitely be very appealing!

Understanding Energy Efficient Window Terminology

Understanding Energy Efficient Window Terminology When you start looking for new vinyl replacement windows for your home, you might think it will be a pretty simple task. After all, windows don’t seem like terribly complicated items. But if you’re specifically looking for energy efficient windows, some of the vocabulary associated with them can be a little overwhelming. We want to help take some of the guesswork out of buying your new energy efficient windows! Let us explain some of the terms that are very commonly used when talking about energy efficient windows.

Low-E/Low-Emissivity Glass

As the sun shines in through your window, some of the heat from the sun will naturally come in along with it. While getting a little extra heat without having to turn up the thermostat can be nice during the winter, it can also heat your home up on hot, sunny summer days. Low-E or low-emissivity glass windows have a very thin, barely visible metallic coating on them that works to reflect heat back to its source. During the summer, this would be toward the sun and during the winter, this would be the inside of your home. This way, the heat in your home stays in during the winter and your home stays cooler during the summer.

When heat from the sun can transfer into your home, the amount of heat that transfers through the window is called solar heat gain. If you’re looking for the most energy efficient windows, you’ll want ones with a low solar heat gain coefficient.

U-Factor

A window’s U-factor refers to the amount of heat that is conducted through a window. Unlike solar heat gain, a U-factor does not specifically deal with heat from the sun. The U-factor is the rate that heat is transferred from the inside of a home to the outside, so this would also apply to heat from your furnace. The lower a window’s U-factor, the more energy efficient it is.

R-Value

Since it’s very important that energy efficient windows don’t conduct heat very well, you’ll want to look for windows with a high R-value. A window’s R-value refers to how well it conducts heat and you’ll want windows with a high R-value.

Insulated Glass

When you have double or triple pane windows, there will be a small gap between each pane of glass. With insulated glass windows, this gap is filled with argon, an inert gas that insulates better than regular air, making the window more energy efficient.

Warm Edge Spacer

Have you ever touched your windows on a cold winter day and noticed that they felt colder along the edges ? Or maybe you’ve looked at them and noticed condensation on the glass along the edge. In some types of windows, panes of glass are separated by aluminum, which is a very conductive material. Warm edge spacers, on the other hand, are made of less conductive materials and prevent heat from being transferred along the outer edges of windows.

Choosing the Right Flooring for Your Kitchen

Choosing the Right Flooring for Your Kitchen No matter what room you’re working with, choosing the right type of flooring is a very important decision. But if you’re thinking of replacing the flooring in your kitchen, there are a lot of special factors that come into play. Kitchens are typically one of the most heavily trafficked rooms in a home and the floors are very likely to be spilled on or have pots and pans dropped on them, so you need to find something that’s both comfortable to stand on, but is also very durable. And, of course, you’ll also want to find an option that fits in your budget, but still looks nice. There are lots of different types of flooring out there, so which ones work best for kitchens?

For a flooring option that’s affordable, attractive, and durable, ceramic tiles are a great choice. Ceramic tile has a very nice, classic look and not only is it pretty budget friendly, you might even be able to install it yourself if you’re a big DIY-er. It can be cleaned easily and withstand lots of activity, but the grout will need to be sealed every now and then to prevent staining. Unfortunately, ceramic tile can be cold and uncomfortable to stand on for significant amounts of time, so you’ll want to have mats to stand on.

Vinyl and linoleum are other very popular and affordable choices. Both vinyl and linoleum are extremely versatile and come in a very wide variety of colors and finishes. Although many people think vinyl and linoleum are the same things, they are two different materials. Vinyl is the more affordable option of the two and homeowners can install it themselves. Linoleum is made of natural substances, so it’s a great option if you’re looking for an eco-friendly flooring material. However, linoleum is not as easy to work with as vinyl, so you’ll most likely need to hire a professional to install it. Vinyl tends to be a little more durable than linoleum, but many people prefer the look of linoleum.

Many homeowners absolutely love the look of hardwood floors and they can absolutely be used in the kitchen if you want. However, it’s more expensive and a little more high maintenance than many other types of flooring. It can also be scratched and prone to staining if you don’t clean up spills fast enough. If you love the look of hardwood floors, engineered wood and laminate flooring offer the look of natural wood, but are less expensive, are easier to care for, and can be installed without the help of a professional. Just be aware that laminate and engineered wood can dent easily.

A newer trend for kitchen flooring has been to use cork. Since it’s a softer material, it’s very comfortable to stand on and if you drop a plate or glass onto the floor, it’s less likely it will break. Unlike other types of flooring, if the floor gets a little bit of damage, minor bits of damage can actually heal themselves. Cork floors do need a little bit of maintenance, though. In addition to needing to be routinely swept and vacuumed, they’ll also need to be resealed every now and then.

Many homeowners also like the look of concrete or natural stone floors in their kitchens. Natural stone floors can be beautiful and concrete floors are extremely durable. As long as a concrete floor is sealed to resist stains, you really won’t have much to worry about in terms of maintenance. However, stone and concrete are both some of the most expensive kitchen flooring options. Stone floors can be very high maintenance and some types of stone can be damaged easier than others. Both concrete and natural stone floors can be difficult to install, so you’ll need to hire someone to install them for you.

Important Questions You Should Always Ask Your Contractor

Important Questions You Should Always Ask Your Contractor You don’t have to be a long-time homeowner to know that home renovations and other improvements don’t come cheap. If you need to hire a professional contractor for a job, you’re going to have to pay quite a bit for their expertise. All too often, homeowners are eager to save money and end up making the mistake of hiring the contractor who quotes the lowest price without asking many questions. Unfortunately, these homeowners often end up regretting that decision. If they had asked more questions up front, they may have been spared a lot of frustration.

Depending on the size of the job, you might have spent years saving up the money you need to pay for it. When you’re finally able to have the improvement made, don’t make the mistake of hiring the wrong contractor. Before you hire someone to do a job, be sure to talk to a few different contractors first and never be afraid to ask lots of questions. A good contractor will understand how important this project is to you and won’t be bothered at all by answering them. Here are just a few of the most important ones you should always ask before signing on the dotted line.

Are You Licensed and Insured?

Out of all the things you could ask, this is definitely one of the most important. Hiring an unlicensed contractor might save you a little money upfront, but it can cost you a lot more in the long run if they don’t do the job correctly. A good contractor should also have the proper insurance to cover the costs if one of his subcontractors is injured on the job or if there’s an accident that damages your home. And, of course, don’t forget to ask to see proof that they’re licensed and insured. You may even want to do a little research yourself to make sure they really are licensed.

How Long Have You Been Doing Business Locally?

The longer a business has been doing business in a certain area, the more likely it is they’ll have a good reputation they’ll be dedicated to upholding. They’ll also have had plenty of time to build good relationships with local material suppliers and people they hire as sub-contractors. A contractor who works locally will also be familiar with all the local building codes.

Will You Be On Site During the Job?

In many cases, when you hire a contractor, the person you talk to might not necessarily be the person who will actually be doing the work on your house. The person you talk to will at least be in charge of overseeing the people who actually do the labor on your job. If the contractor you talk to has a lot of other jobs going on at the same time, they might not be able to spend all of their time at your house. At the very least, they should be able to come by and check on the progress at least once a day. If they can’t be there themselves, ask who will be there.

Are Permits Required and Will You Pull Them?

Not all home improvement jobs require building permits. But if they’re needed for your project, they can be pulled by either you or the contractor.  A good, trustworthy contractor should gladly offer to pull the permits for you. When a contractor tries to get permits, they must be able to show proof of being licensed and insured. Homeowners don’t need to be licensed or insured to get permits to work on their own home. If a contractor tries to pressure you into getting the permits for them, it might be a sign that they aren’t actually licensed or insured.

When Will You Be Able to Start Working and How Long Will it Take?

Good contractors are often very busy and might not be able to start on your job right away. If you need to have a project completed by a certain date, a contractor’s schedule might not be a good fit for you. While there are many reasons why a job might end up taking a little longer than expected, but a reliable contractor should give you a pretty clear timeline of how long they expect the project to take.

Could You Give Me An Itemized Bid?

When many people talk to contractors about getting an estimate, they typically mostly want to be quoted an exact price. But it’s very smart to ask for an itemized list of everything that’s included in that price. If a contractor gives you a quote that’s a bit less than another contractor’s, there’s a good chance that the lower price doesn’t include some aspect of the job, like trash removal. By asking for this, you can avoid some unwelcome surprises later on.

How to Paint a Window So it Doesn’t Get Stuck Shut

How to Paint a Window So it Doesn’t Get Stuck Shut Windows can get stuck shut for a multitude of reasons. Sometimes it’s because a house’s foundation has shifted, making it difficult, if not impossible, for a window to move on its track anymore. Other times, a wood window might swell on a humid day, making it difficult to open. But in many cases, windows end up getting stuck shut because they weren’t painted properly and when the paint dried, the paint effectively sealed the window shut.

The nice thing about vinyl replacement windows is that they’re so low maintenance; there’s no need to worry about painting the frames on them. But other types of windows, particularly wood windows, need a little more maintenance. Wood windows need to be painted or stained every now and then to prevent being damaged by water. Painting windows can be a challenge, but it’s very important to take the time to do it right so your window doesn’t get stuck shut. If you’ve ever tried opening a window that’s been painted shut, you know how difficult they can be to open again. Here’s what you can do avoid this problem!

When painting a window’s sash, be very careful. This is where many people end up accidentally painting their windows shut. The sash is the movable part of the window and consists of the window pane’s horizontal and vertical frames. If you have double-hung windows, raise the lower sash and lower the upper sash. If you have single-hung windows, you’ll only have to open the operable pane. They don’t necessarily have to be wide open, but they need to be open just enough so that you’re able to reach the exposed part of the sash with your paintbrush.

Once you’re done painting the exposed part of the sash, move the panes of your window a little bit, but don’t shut them all the way. Be sure to leave the windows open a little bit while the paint dries. If you shut them while the paint hasn’t dried, the paint will basically glue the window shut as it dries. It’s important to move your window a little bit after you’re doing painting so that any paint that may have seeped into the cracks won’t have a chance to dry while your window is in one place. Once the sashes have been moved, paint the rest of your sash.

While your windows are open, go ahead and paint your window’s casing and sills. Give the sills time to dry before you shut the window again. After you’re done painting, be sure to open your window sashes at least once a day for a week to make sure it doesn’t get stuck in place.

If you’ve tried your best to avoid painting your windows shut, but your newly-painted window still gets stuck, there are ways to fix it. Try sliding something like a putty knife, utility knife, or a paint zipper along areas where paint may be forming a seal.