Blog

Choosing the Right Fabric to Make Your Own Curtains

Choosing the Right Fabric to Make Your Own Curtains 
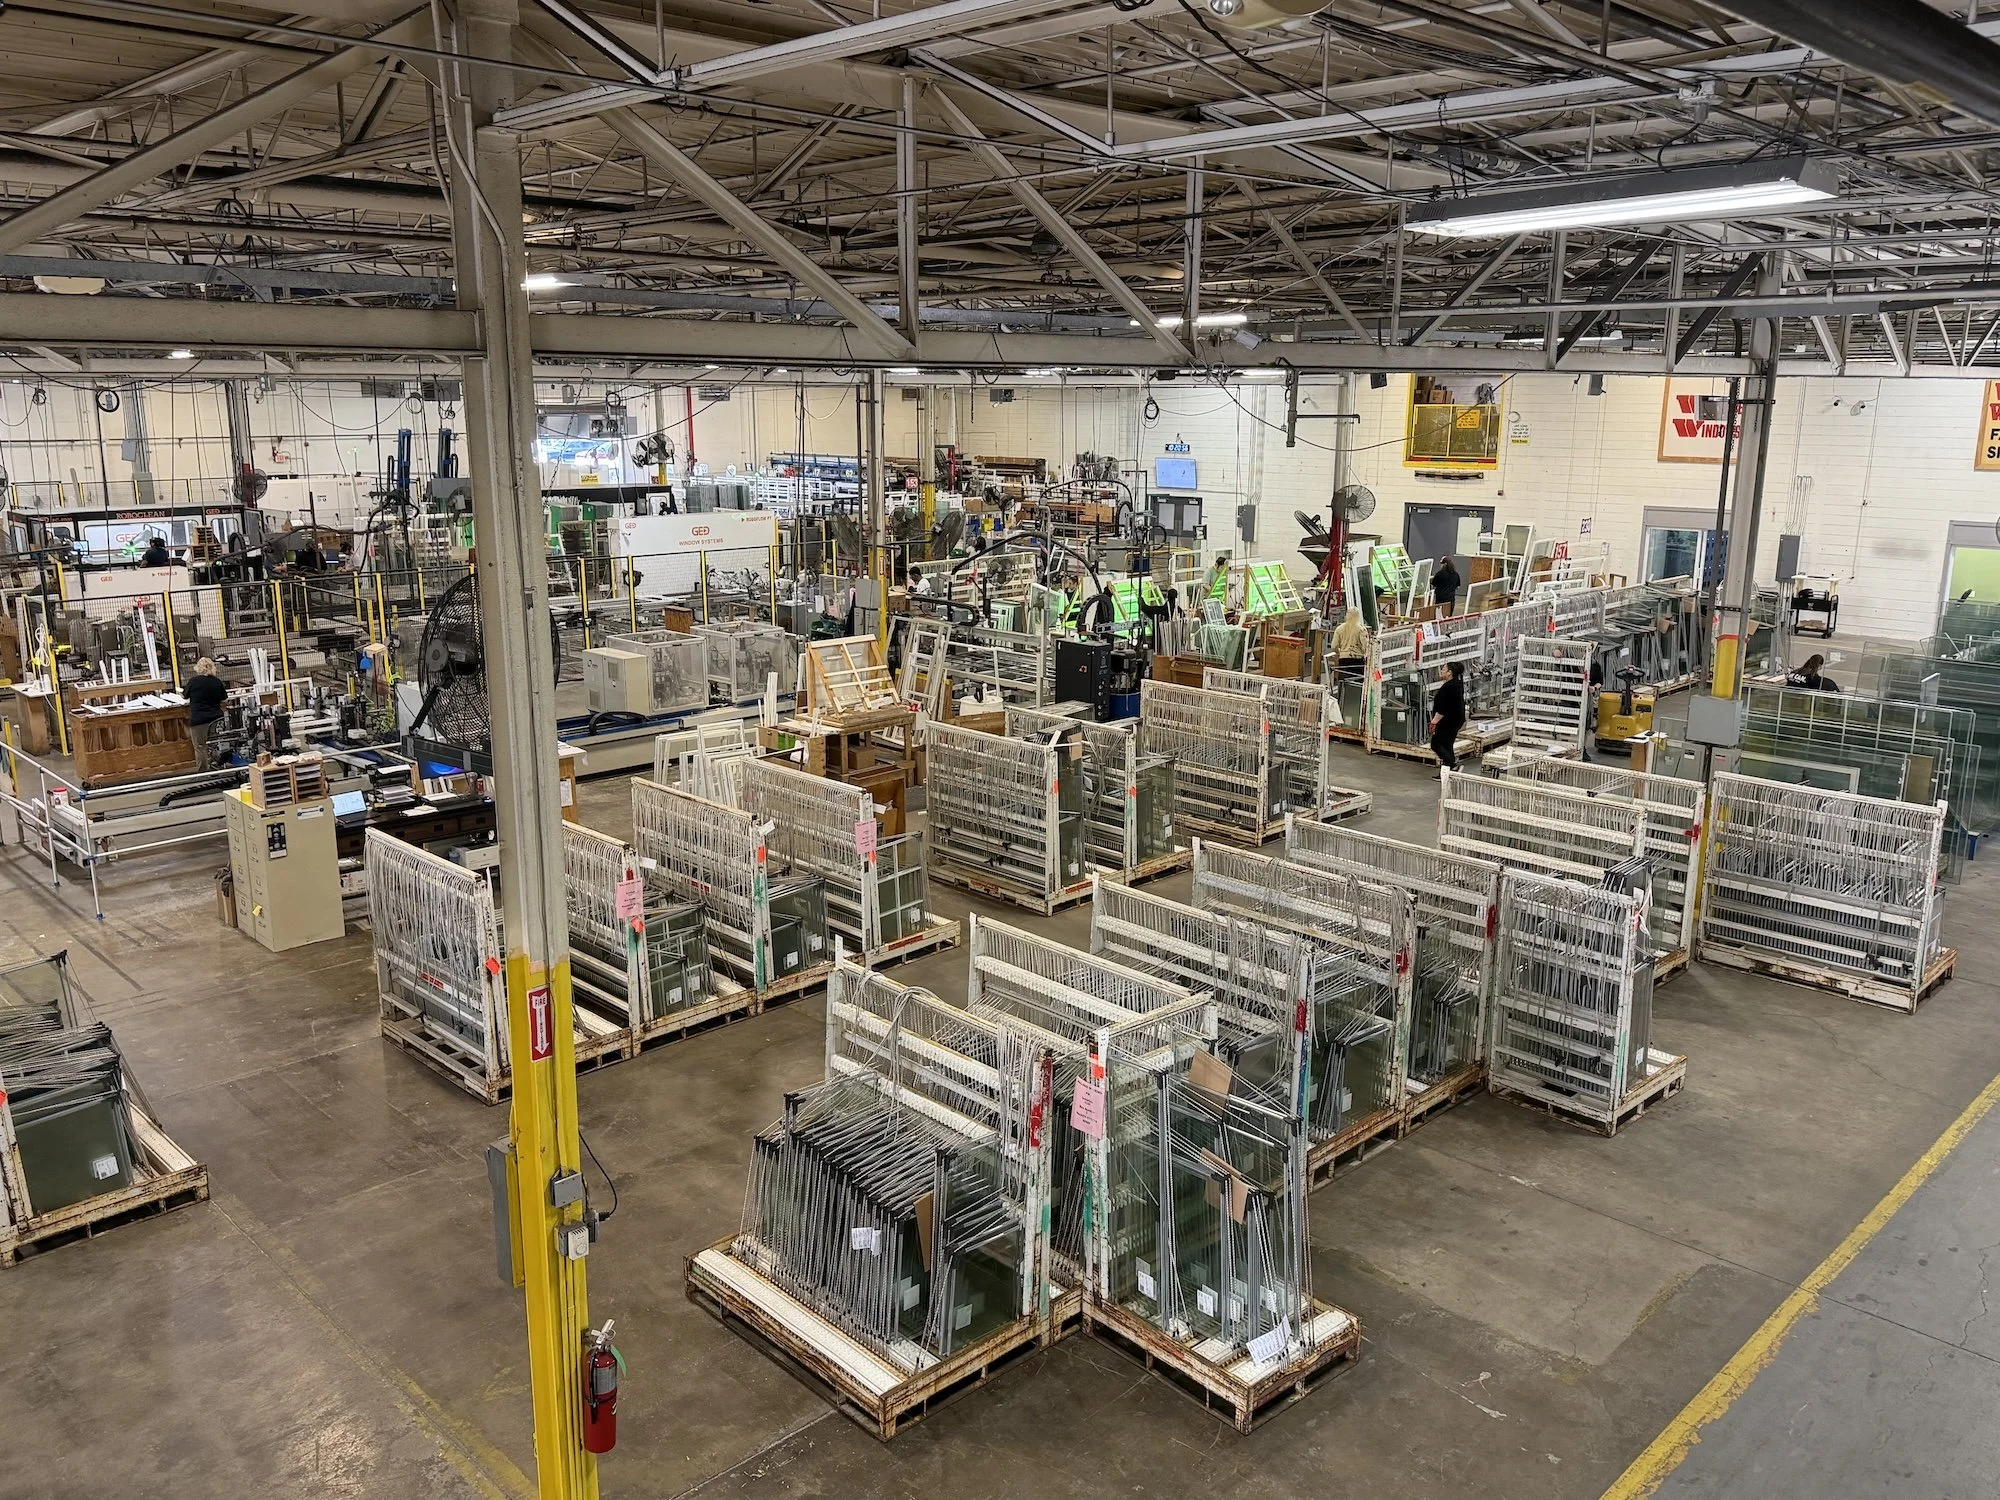
If you’ve recently switched out your old windows with nice, new vinyl replacement windows, or if you’re thinking of getting new windows soon, you might also want to consider getting some new curtains. New windows can help improve the look of a room and having new window coverings to go with them can make a room look even nicer.

Of course, you can always buy new curtains, but if you like being able to make things yourself, you might want to try sewing your own curtains. Curtains can be a relatively simple sewing project, so even if you just have some basic sewing skills, you might be able to make some curtains yourself. But sewing the curtains is only half of the challenge. First, you’ll have to choose the right fabric.

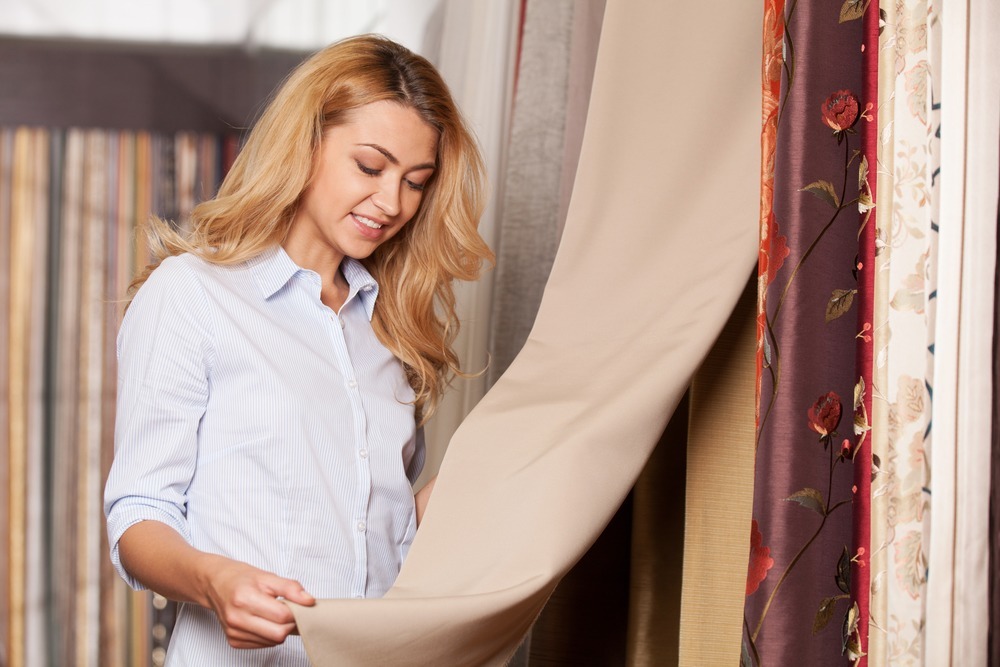
When you walk into a fabric store, you’ll be faced with so many fabric options it can be hard to know where to begin. It’s important to remember that not all fabrics are created equally, so you can’t just choose the fabric that looks the nicest.

To get started, ask a store employee to point you in the direction of the decorator fabrics. Decorator fabrics tend to have higher thread counts than the types of fabrics you’d use for quilting or making clothes. Because of their higher thread count, decorator fabrics are heavier and more durable than other types of fabrics, so they’re ideal for a project like making curtains. But there are still more questions to consider when choosing the right fabric.

Are you looking for curtains that provide more coverage or let more light in? If you want to allow for the most light, you’ll want a sheer fabric, but remember that many sheer fabrics are more delicate and can be more difficult to work with than other types of fabric. If you want lots of coverage, velvet has long been a popular fabric choice for curtains. If you want to help keep a room as warm as possible, a heavier fabric will not only help keep light out, they can help keep rooms warmer, too.

Since curtains get exposed to a lot of direct sunlight, you might want to consider lining your curtains. When fabric is exposed to a lot of direct sunlight, the colors and patterns can fade over time, so lining the side of the curtain that faces the window pane can help prevent that from happening. You can line your curtains with a simple white cotton fabric, or you can use a different type of material to get extra benefits out of your curtains. If your curtains are going to be used in a bedroom, you might want to consider lining the curtains with a blackout material to prevent light from seeping in. You could also line your curtains with an insulated material if you’re trying to maximize your energy efficiency.

If you’re unsure whether or not a particular fabric would work well for a curtain, you can always ask a store employee.  Fabric store employees are very often fans of sewing themselves and could be able to help make some recommendations.

Getting Organized With Pegboard

Getting Organized With Pegboard When it comes to getting your home organized, there are tons of tools available to help make that happen. Shelving, cabinets, and storage bins are all great ways to help get everything in order, but one tool you might not want to overlook is pegboard.

Pegboard is awesomely versatile. You can use pegboard to cover an entire wall of a room or just a small area. It can be used in just about any room of the house and it’s easy to grab some paint and make it match your decor. You can use it to store all sorts of things and it’s easy to arrange things on it any way you’d like. And best of all, pegboard is fairly inexpensive and can easily be found at stores like Home Depot or Lowe’s. Once you have some pegboard, all you need are some pegs, hooks, or baskets that attach with hooks and you’ve got an instant storage solution.

Want to try using pegboard in your home? Here are a few ideas to help you get started!

Home Workspaces

Whether you’re organizing a home office, a craft room, or a work area in the basement or garage, pegboard is a very popular tool to help stay organized. Since baskets and hooks work perfectly with pegboard, you have endless opportunities to keep all of your tools and other necessities organized and easy to access when you need them.

Bedrooms

Need some extra storage space in a bedroom, but don’t have room next to the bed for a nightstand? Why not paint the pegboard and turn it into a faux headboard? That way, you’ll have an easy way to use hooks, baskets, and floating shelves to create extra storage space above your bed. Here’s a very popular example of how this can be done.

Entryways

When people come inside, the first thing they want to do is take off their coat or jacket and put their things down. You can always use pegboard to create a place to hang coats, scarves, purses, and keys instead of using a typical coat rack or wall hooks.

Kitchens

If you have a lot of large pots and pans, you know how hard it can be to keep them all organized in a cupboard. Many people like to use pegboards to create a wall-mounted pot rack so all of those pots and pans will be out of the way, freeing up space in cupboards and making the pots and pans easier to access. Or if you have other kitchen utensils you use frequently, you can always hang those from your pegboard, too, so they’ll always be easy to grab whenever you need them.

Organizing Cupboards

Since pegboard can easily be cut down to fit different sizes, it can be a great way to line the inside of a cupboard door or along the back or sides of the inside of the cupboard. This way, you can use hooks to hang things on and keep the inside of the cupboard a little more organized.

Jewelry and Accessory Storage

Jewelry and sunglasses can both be kind of awkward to store. If you have a lot of long necklaces, pegboard is perfect for keeping all of them organized and preventing them from getting all tangled up. Or if you have a collection of sunglasses, you can always use hooks or pegs to create an excellent place to store all of your stylish shades.

These are just a few of the ways you might want to consider using pegboard. Since it’s so versatile, there are endless possibilities for how it can be used. Use your imagination and you might be surprised by how many ideas you could come up with to use it.

When You Should DIY and When You Should Hire a Pro for Home Improvements

Home Improvements When to DIY and When to Hire a Pro If you spend enough time watching home improvement shows on TV, it’s easy to find lots of design inspiration and get ideas for projects you’d love to do around your house. But home improvement shows can also make some projects seem easier to accomplish than they really are. While there are many home repair and improvement projects the average person can absolutely handle themselves, there are many projects where it’s best to call a professional. Handling home improvement and repair projects yourself can save you a lot of money, but sometimes, a professional is well worth the money.

Before trying to do a project yourself, ask yourself these questions to figure out if you might be better off calling a professional.

How Dangerous is the Project?

There are a lot of ways you could get hurt working on a project at home. Many people end up taking trips to the emergency room after falling off a tall ladder or because they didn’t use a power tool properly. Professionals are not only trained in how to use things like these as safely as possible, they should have insurance to cover them if they do end up being injured on the job. Generally, if a project is cosmetic and doesn’t require any major tools, you’re probably safe to do it yourself. For example, if you want to paint a room in your house where the highest areas could easily be reached with a stepladder, it’s probably fine to handle it yourself. But painting the exterior of a home or a room with very tall ceilings are better jobs for professionals.  

Could This Project Damage Your Home?

There are many projects that could cause serious damage to your home if it’s not handled correctly. Knocking down walls could potentially alter your home’s structural integrity and could result in even more problems if you run into electrical wiring or pipes you didn’t know were in there. In most cases, projects involving plumbing or electrical wiring should be left to professionals if it’s any more complicated than unclogging a drain or replacing a light switch or faucet. Plumbing projects can cause very expensive water damage if not done correctly and an improper electrical wiring job can pose a fire hazard and can be very dangerous for the person doing the job. Also, anything involving a gas line should be handled by a professional.

Does the Project Require Permits?

A good rule of thumb for deciding whether or not to hire a professional is whether or not a job requires building permits from the city. Unless you happen to be a professional carpenter or contractor, projects that require permits are generally too complicated to do as a DIY project and should be left to the pros.

How Complicated is the Job?

Now, this is where many homeowners get themselves into trouble. A project that might seem simple and straightforward on the surface can easily turn out to be more complicated than it initially seemed. If you’re unsure about whether or not you should hire a professional, get estimates from a few contractors and see if they mention any aspects to the project you didn’t anticipate. It’s also possible a job could require special tools or knowledge, in which case hiring a pro is the way to go. For example, most people don’t install replacement windows on their own.

How Large is the Project?

In many cases, people are only able to work on their home DIY projects on weekends or during evenings after work. If the project you’re thinking of starting is pretty large scale, such as replacing the flooring throughout your entire house, a professional would be able to get the job finished much sooner than you would be able to if you only worked on it in your spare time.

Taking Care of Your Fireplace

Taking Care of Your Fireplace If you have a fireplace in your home, there can be few better ways to spend a cold winter night than sitting around a nice, warm fire and relaxing. Fireplaces might seem like pretty simple objects, but they require some special maintenance to stay in good working order. When fireplaces aren’t properly cared for or maintained, it becomes more likely that the fire could get out of control.

Don’t let that relaxing evening by the fire destroy your home. Taking these steps will help you to safely enjoy your fireplace all winter long.

Annual Inspections

When you have a wood-burning fireplace, the best thing you can do is have your fireplace inspected and cleaned annually. These inspections will take care of many of the most common causes of chimney fires so you’ll be able to relax and enjoy your fireplace.

There are three different levels of chimney inspections. As long as you have your fireplace inspected regularly and haven’t made any changes to your fireplace, a level one inspection will usually suffice. With this, an inspector checks your fireplace and chimney for problems like creosote buildup and other obstructions and sweeps it if necessary. A level two inspection is more thorough and is usually best if you’ve recently moved into a house, if you’ve made changes to the fireplace itself, or if the house has been through a natural disaster. Level three chimney inspections are usually only done when serious hazards are known or believed to exist. A level three inspection involves removing and rebuilding parts of the chimney or walls as needed to get in and fix the problem.

Having your fireplace inspected and cleaned once a year is a minimum recommendation. If you burn more than three cords of wood every year, it’s recommended to have your chimney cleaned twice a year. When looking for a fireplace inspector, look for someone who has been certified by the Chimney Safety Institute of America (CSIA) or is a member of the National Chimney Sweep Guild (NCSG).

Be Careful What You Burn

Fireplaces should only be used to burn seasoned wood or manufactured wood. Do not use fireplaces to burn leftover lumber, treated wood, wooden pallets, painted wood, plywood, particle board, cardboard, driftwood, charcoal, colored paper, charcoal briquettes, rubber, or any other type of garbage. Some types of wood are prone to burning hotter and faster than seasoned or manufactured wood logs do. And if you try burning something that has been painted, treated with chemicals, or has colored ink in it, it could release chemicals into the air.

Fireplace Safety

Before you try starting a fire in the fireplace, make sure you open the damper first. You’ll want to keep this closed when you aren’t using the fireplace to prevent heat from getting out of the house, but opening it while a fire is burning will direct smoke up through the chimney, keeping it out of your house, and will help you to control the intensity of the fire.

If your fireplace has glass doors, make sure they’re kept open while you have a fire going. If you have a mesh guard, use it to make sure it to prevent embers from popping out and damaging your rug or anything else in the room.

When you use your fireplace regularly, make sure you have functioning smoke detector and  carbon monoxide detectors in your home.

Allow fires to burn out on their own. Throwing water on a fire to put it out can damage the firebox. Once a fire has burned out, give the ashes ample time to cool down completely before trying to discard them. Embers can stay hot for upwards of three days after the fire has gone out. Never use a vacuum cleaner to remove ashes from your fireplace. When you do try removing them, transfer them into a metal container and open the damper to help direct airborne ash up the chimney rather than into your home.

Last, but certainly not least, never leave a fire unattended and be particularly sure to keep an eye on children and pets while a fire is burning. By taking these steps, your fireplace will keep your home warm and cozy all winter long!

When is it Time to Replace Your Windows?

When is it Time to Replace Your Windows Whether you realize it or not, windows get a lot of wear and tear. Even though most people don’t spend all day opening and closing their windows over and over again just for the fun of it, windows do get opened and shut on a regular basis (at least during certain times of the year) and are exposed to the elements every single day. If properly cared for and maintained, windows can serve you well for decades. Although vinyl replacement windows are a very worthwhile home investment, many homeowners want to be absolutely certain their existing windows have reached the end of their lifespan before spending the money on new ones. So, how do you know when it’s a good time to replace a window?

When you stand next to a window, do you have an easy time telling how cold or how warm it is outside? Whether you feel a draft or you can feel the cold by simply touching the window’s pane, this is a major sign it’s time to replace that window. Double and triple pane windows do a great job of keeping heat transfer to a minimum, so if you touch a window pane and it feels quite cold, you probably have single pane windows. Upgrading to double pane windows will help make a room much more comfortable and help to keep your energy bills down.

In some cases, you might start seeing condensation or frost on the inside of the window, which is definitely a sign your windows aren’t working as well as they ought to. If you have double or triple pane windows, you might see frost or condensation between the panes, which is impossible to get rid of by rubbing the window with a cloth. This happens when the seal on one of the glass panes fails. Although it might be possible to simply replace the pane and fix the seal, it could also be a sign of a larger problem like the window frame becoming warped.

Are you having a hard time opening or closing your window? A window that’s hard to open can be annoying, but a window that doesn’t shut correctly will let cold air in and drive up your heating bills. Windows can become difficult to open and shut for a multitude of reasons, ranging from being painted shut to the home’s foundation shifting or the frame deteriorating. Depending on what’s causing the problem, you might be able to have it fixed without replacing the whole window. But in many cases, this is a signal it’s time for that window to be replaced.

Is there a crack in the window? Even a small crack can make a room feel awfully drafty, so you’ll want to replace a cracked window as soon as possible.

If you’re planning to put your home on the market soon, you might want to consider replacing some of your windows. Not only can new windows improve your home’s energy efficiency, they can also improve your home’s appearance, helping to boost your home’s value.