5 Smart Hacks to Make Painting Easier

5 Smart Hacks to Make Painting Easier As far as home improvement projects go, few things will give you a big impact for a fairly low price the way painting does. Whether you want to change the look of an entire room or just want to liven up a piece of furniture, a little bit of paint makes a big difference around the house. Generally, painting is something that can be done without hiring a professional, but that doesn’t necessarily mean that painting is easy. Here’s what you can do to help solve some of the most common challenges that come along with painting.

Swiffer Your Walls

Prep work is a very important part of making sure you get the best results from your paint job. Washing your walls before you start painting gets rid of dust and dirt that could interfere with the finish. If you’re not able to start painting the same day you wash your walls or you just want to make sure your walls are as dust-free as possible, simply run a Swiffer Sweeper over your walls to get rid of any dust that’s still hanging around.

Rinse Brushes in Fabric Softener

Not all painting projects can be finished in one day, but trying to keep your brushes in good shape between painting sessions can be tricky. Even if you rinse a used brush out at the end of the day, it can still end up being stiff and very difficult  to work with the next day. To keep your brushes in good condition, all you have to do is rinse them out thoroughly with plain water, then put them in a mixture of warm water and fabric softener and move them around for about 10 seconds or so. This will help keep the bristles soft and functional. Make sure you either hang your brushes up to dry or lay them out flat. If you need to revive a brush that’s already covered in dried, hardened paint, soak them in vinegar.

Dropcloth Alternatives

Sometimes, those extremely lightweight plastic dropcloths you find at hardware stores are more hassle than they’re worth. They’re perfectly fine if you’re trying to protect large pieces of furniture, but when used on the floor, they’re easy to trip over, awkward to move around, and can get blown around when placed near a vent. But there are other ways you can protect your floor without the annoyance. Cardboard works very well, as do plastic tablecloths.

Wrap Your Brushes in Plastic

Painting can really take a lot of energy. If you need to take a break to get something to eat or to run to the hardware store for more supplies, you can keep your brushes and rollers in ready-to-use condition by simply wrapping them in a plastic bag and placing a rubber band around the handle to hold the bag shut.

Raising Individual Items

If you’re trying to paint something like a piece of furniture or a picture frame, you’ll need a way to raise the item off the ground or the surface of a table while you work. For very lightweight items, cut up egg cartons will do the trick nicely. If you’re painting something like a wooden chair, tapping nails into the ends of each chair leg will give you the extra elevation you need. Bed raisers work well, too, especially for heavier pieces of furniture.

Your Guide to Choosing Weatherstripping

Your Guide to Choosing Weatherstripping Anyplace an opening has been cut into a wall can become a source of drafts if it hasn’t been insulated correctly. Doors and windows can be a particularly big source of energy loss, especially if you have older windows and doors that aren’t very energy efficient. But even if you do have newer doors and vinyl replacement windows, adding weatherstripping is a great way to make sure your home stays as comfortable as possible all year long. According to Energy.gov, sealing air leaks can help reduce energy bills by as much as 20%.

If you already have weatherstripping on your doors and windows, you may need to replace it occasionally as it becomes worn over time. But whether you’re replacing your weatherstripping or installing it for the first time, there are many different types of weatherstripping out there and each of them has its pros and cons.

Adhesive Tapes

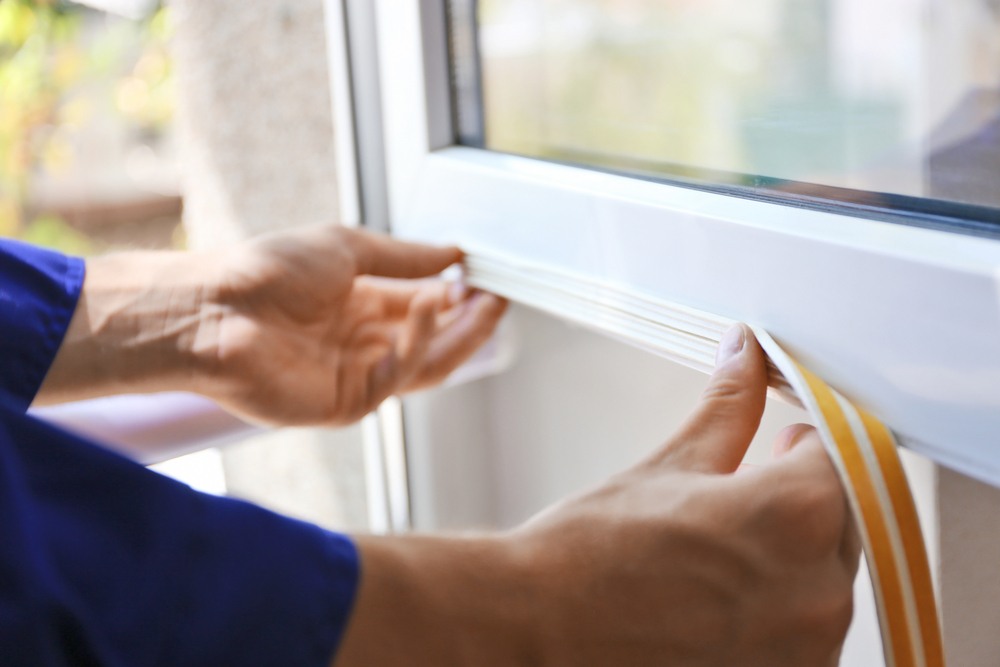
Adhesive tape weatherstripping is one of the most popular types of weatherstripping on the market. Best for use along the bottoms of doors, door and window jambs, and window sashes, this kind of weatherstripping is made of foam or rubber and has a strip of self adhesive strip on the back. You can easily find this kind of weatherstripping at any hardware store, it’s inexpensive, and it’s extremely easy to install. The biggest downside is that it tends to wear out fairly quickly and tends to need to be replaced every one to two years.

Felt

Like adhesive tape styles, felt weatherstripping is very inexpensive and easy to install. However, it requires a little more effort to install than adhesive type styles, often needing to be nailed, stapled, or glued into place. Felt weatherstripping is also the least effective type of weatherstripping available and tends to wear out quickly and get damaged pretty easily.

Tubular Rubber or Vinyl

If you have a door or window with a larger gap along an edge that other types of weatherstripping don’t seem to completely fill, tubular rubber and vinyl weatherstripping gaskets may be just what you need. Tubular rubber and vinyl weatherstripping is typically more expensive than felt or adhesive tape styles, but on the plus side, it’s also more durable and very efficient. You can generally get a few years of use out of this kind of weatherstripping, but over time, it can become brittle or crack.

V-Strips/Tension Seals

This type of weatherstripping is made out of plastic or metal shaped in a “V” formation to help bridge gaps. It works great when placed inside the tracks of double-hung and sliding windows, but also works along the tops and sides of doors. While not quite as easy to install as some of the other types of weatherstripping available, it’s still not too difficult to install. It’s also more expensive than many other types of weatherstripping (the exact price varies depending on whether you use plastic or metal), but it is very effective and durable.

Improving Your Home’s Curb Appeal During the Winter

Improving Your Home’s Curb Appeal During the Winter If you’re thinking of selling your home, you might feel like you have to wait until spring before you put your home on the market. There are plenty of articles out there that will tell you spring is the best time of year to sell you home, but ultimately, there people are looking to buy new homes all year long.

One reason why so many people feel like they should wait for spring or summer to list their home is because that’s when the grass is green and flowers are in bloom, giving the house’s exterior a natural lift. Since the exterior of your home is the first thing potential buyers see, curb appeal is a very important thing to consider, but improving your curb appeal isn’t impossible in winter. Here are a few things you can do to give your home’s exterior a boost, even on the coldest, snowiest day of the year.

Clear Your Walkways

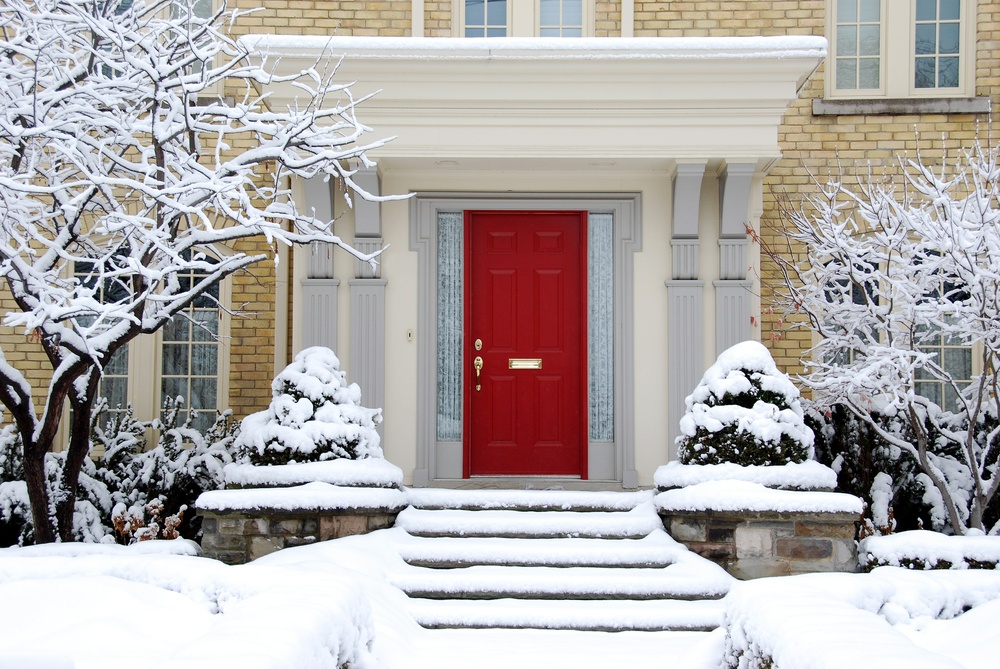
Keeping your sidewalks and driveway clear of snow and ice will go a long way in helping to keep your home’s exterior looking nice. Not only does it show that you’re putting effort into maintaining your home, it makes your home look more inviting and people who are interested in your home won’t have to worry about slipping and falling if they were to make an appointment to look at your home.

Winter Plants and Flowers

Although you are a bit limited about what you can do with your yard during the winter, you do still have options. Many plants and flowers can handle the cold weather. Things like evergreen shrubs, holly, pansies, and camellias all bring a touch of color to the dreary winter landscape. If you don’t have any winter plants or flowers planted in the ground, potted plants will do the trick.

Exterior Lighting

Another challenge to selling your home during the winter is that there’s less daylight. Since many potential homebuyers look at the homes they’re interested in after they’re done with work for the day, that means they’ll most likely be visiting after the sun has gone down for the day. But well-planned exterior lighting can bring a lot of visual interest to your home and improve safety for your visitors. Consider using solar-powered lights to line the driveway and walkway to your home, getting a new porch light, or making sure the lamp post in your yard is in good working order.

New Front Door and Windows

Many people feel like getting a new exterior door or vinyl replacement windows are things that can only be done during the warmer months, but this isn’t true at all. If your exterior doors and windows have seen better days, replacing them is a very effective way to give your home’s exterior a boost. Replacing doors and windows can also help improve your home’s energy efficiency, which is something many people look for in new homes. Best of all, since companies that replace doors and windows tend to be less busy during the winter, they may be offering some great deals during this time of year.

Top Warning Signs You Need a New Furnace

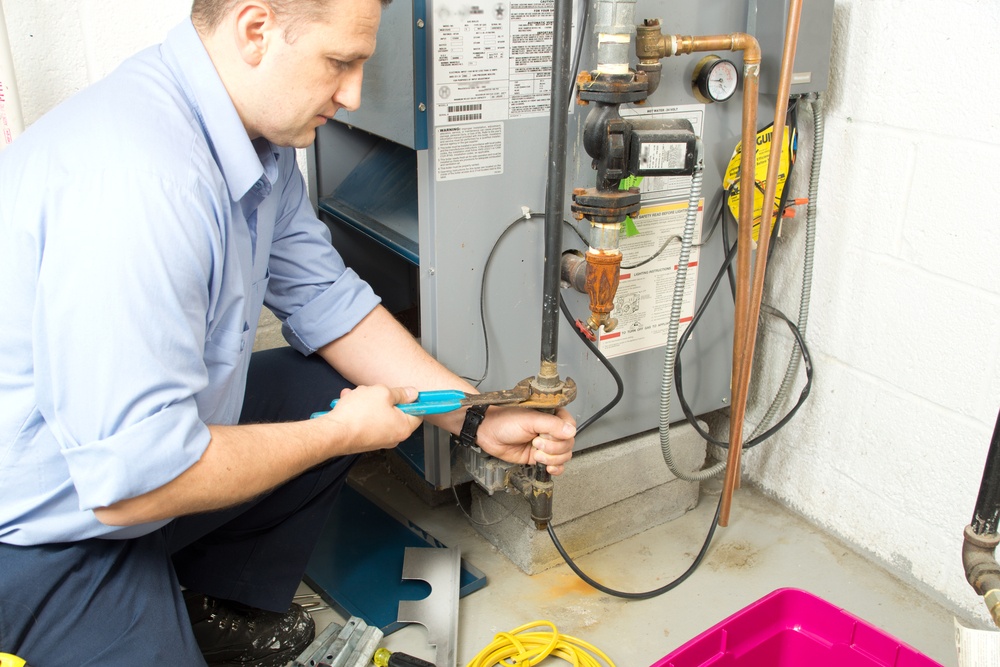
Furnace repairman repairing home furnace When the weather’s cold, you don’t want to be without your furnace. With a little maintenance here and there, your furnace will keep your home warm for a long time. But how do you know when it’s time to get a new furnace? Here are a few of the biggest warning signs that it’s time to think about getting a new one.

Age

How old is your furnace? Like all household appliances and fixtures, furnaces have an expected lifespan. On average, a furnace lasts anywhere from 15 to 20 years, so if your furnace is already in that age range or getting very close to it, it’s time to start planning for a new furnace in the not too distant future.

High Heating Bills

There are many different reasons why your energy bills might be higher than you’d like them to be, such as you don’t have enough insulation in your home or your windows and doors are drafty. But if you’ve gone through your home and taken steps to make your home more energy efficient by adding weatherstripping, having more insulation installed, or getting new vinyl replacement windows, but you still aren’t seeing the results you want, your furnace might be the problem. If you have an older furnace, it might not be as energy efficient as a newer model is. Over time, furnaces also tend to stop operating at their peak performance levels, meaning they have to work harder to produce the same results.

Frequent Service Calls

Over the past couple of years, has your furnace broken down so many times that you’ve gotten to be on a first-name basis with your service technician? While an occasional service call here and there is to be expected, furnaces tend to break down the most frequently in the last couple of years of their useful life. Of course, you can always just keep repairing your current furnace, but after a certain point, it may be easier and more affordable for you to get a new furnace.

Your Home Is Unevenly Heated

When a furnace is running correctly, your house should pretty consistently be the same temperature from room to room. But if you notice that some rooms are considerably warmer or colder than others, there could be an issue that’s preventing your furnace from evenly heating your home. If you’re having this problem with an older furnace, it’s often a sign that it’s time to get a new furnace.

Unusual Sounds

It’s perfectly normal for a furnace to make some noise when it’s running, but noises like rattling, screeching, popping, banging, or grinding are not the kinds of things you should be hearing. Those types of noises are a big red flag that your furnace needs attention and, depending on the problem, may need to be replaced.

Signs of Carbon Monoxide

Old, failing furnaces can leak dangerous carbon monoxide into your home. Since carbon monoxide is colorless and odorless, it’s entirely possible for you to have dangerous levels of carbon monoxide in your home without even realizing it. Your best bet is to keep a carbon monoxide detector by your furnace, but there are other signs that your furnace is giving off carbon monoxide. If you look at the pilot light and the flame is yellow instead of blue, that’s a big sign. You might also see condensation accumulating on walls and windows, soot marks near the furnace or rust on the furnace’s pipes. If you have a fireplace, you might also notice that there isn’t an upward draft in your chimney.

Know Your Styles of Windows

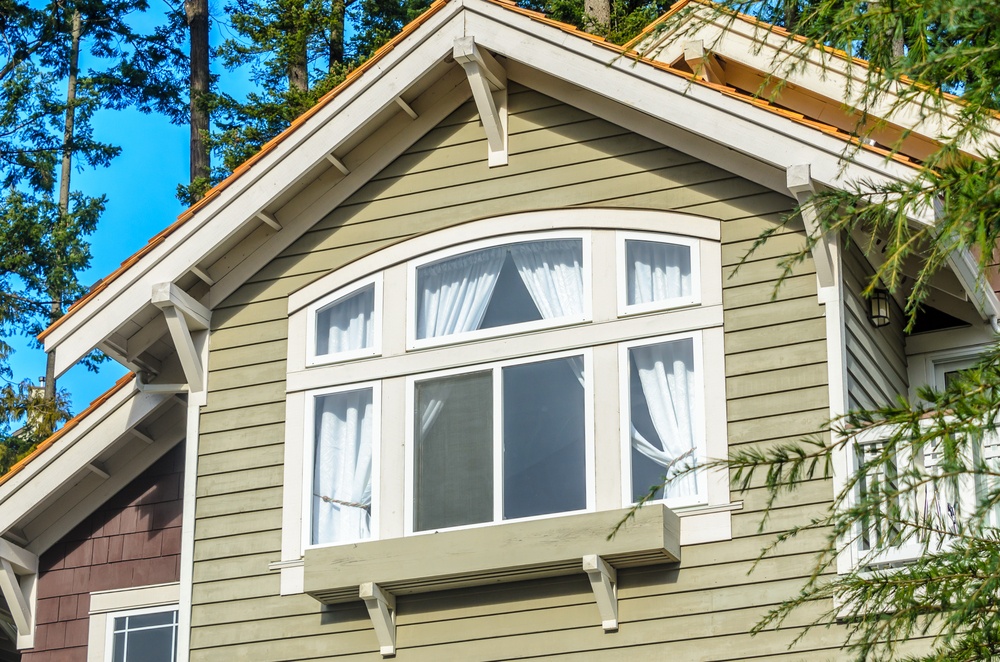
Picture window in upper level of house Well-maintained, high quality windows can easily last for decades, but sooner or later, the time will come for you to think about replacing them. Regardless if it’s been a long time since you last got new windows for your home or if this is a first time project for you, it can be easy to feel a little overwhelmed by all the styles of vinyl replacement windows out there. Don’t worry! Here’s what you need to know about some of the most common styles of windows.

Double-Hung Windows

Double-hung windows are one of the most popular styles of window on the market right now. Unlike single-hung windows where only one half of the window can be opened, both sashes of double-hung windows are operable, giving you a lot of control over the ventilation in your home. Many double-hung windows are designed to tilt inward, making it very easy to clean both sides of the glass.

Picture/Fixed Windows

Picture windows are perfect for any room of the house where you want to let natural light in and enjoy the view. Unlike other types of windows, picture windows do not open, which is why you might also hear them referred to as “fixed windows.” Since picture windows don’t open, they’re very low maintenance since you don’t have to worry about moving parts breaking. The fact that they don’t open also means they’re the most energy efficient style of window.

Picture windows look great by themselves, but many homeowners like to use picture smaller  picture windows to enhance other windows, such as by placing a half-circle shaped picture window over a rectangular window which opens.

Bay and Bow Windows

Bay and bow windows are very similar, but not exactly the same. Both styles of windows extend outward, allowing more light to enter the room and help make a room feel larger and more open. Bay windows typically consist of three main panes of glass and the panes on either side of the center window placed at a defined angle. Bow windows, on the other hand, have more window panes, but form a more softly-curved shape than bay windows.

Bay and bow windows both can create space for a window seat, but since bay windows consist of fewer window panes, they offer a more unobstructed view. Regardless of which style you prefer, both styles suit many different types of architectural styles and help improve your home’s curb appeal.

Casement Windows

If you like to get lots of fresh air in your home, you might be a big fan of casement windows. While many other styles of windows open either vertically or horizontally, casement windows have hinges on the side and open outward like a door, allowing you to let lots of air in. Because of the unique way they open, casement windows are a very energy efficient option since the window sash is pressed flat against the window frame when closed, forming a nice, tight seal. Casement windows are also a very secure style of window because their locks are placed in a way that makes it very difficult for burglars to break into them.

Garden Windows

Do you like to keep plants around your house? If so, a garden window would make a perfect addition to your home. Garden windows are similar to bay windows, but they tend to be smaller in size, have side panes that meet the center pane at a 90 degree angle, and have a top pane which angles downward toward the center pane. The side panes can be opened outward like casement windows to let in fresh air. Since garden windows extend outward, they create a nice shelf on the inside of a room to place plants. Garden windows can be installed anywhere in the home, but are most commonly placed in kitchens above sinks.

Hopper and Awning Windows

Like casement windows, hopper and awning windows are both types of windows that open by moving outward. But while casement windows have hinges on the vertical sides of the windows, hopper and awning windows have hinges on the horizontal sides. Hopper windows have hinges on the bottom of the window while awning windows are hinged at the top.