Blog

Avoid These Common Curtain Mistakes

Avoid These Common Curtain Mistakes Curtains are a wonderful addition to your vinyl replacement windows. They make a decorative statement, add privacy to a room when you need it, and the right types of curtains can even help improve energy efficiency. Curtains are fairly simple household items, but choosing the right ones and hanging them up correctly can be surprisingly complicated. Many homeowners have a hard time finding the right ones and getting them placed just right.

Choosing Curtains Last

When you’re planning to redecorate a room, it can be easy to make choosing the right wall color your top priority. But since paint can be purchased in any color you can imagine, it’s much easier to choose your curtains first and plan your paint colors around them. Many homeowners make the mistake of making curtains one of the last things they buy for a room, thinking they’ll easily be able to find curtains to go with their decor, only to realize it’s not quite as easy as it sounds.

Overlooking Your Curtain Rod

Since curtains are such a large focal point of a room, it can be easy to put all your energy into choosing the right curtains and make the curtain rod an afterthought. However, your curtain rod is very important. The placement, size, and type of curtain rod you use will all make a difference in how your curtains look. When you’re looking for a curtain rod, consider the type of curtain you have. For example, if you have heavier curtains, you’ll need a curtain rod that’s sturdy enough to support the weight of them. Or if you have curtains with grommets at the top, you’ll need a rod that will work well with those.

Unless you’re hanging a valance, curtains should be hung closer to the ceiling than to the top of your window frame. Many designers recommend that curtain rods be placed at about two-thirds of the height between the top of the window and the ceiling. This helps make ceilings seem taller, which can be particularly nice if you’re dealing with a rather small room.

You’ll also want to consider the width of your curtain rod. You curtain rod shouldn’t be the exact width of your window, it should be about 10 to 12 inches wider. That way, your windows will look larger and your curtains won’t block your view when they’re opened.

Measure Carefully

One of the most common mistakes people make when choosing curtains is that they only measure the size of the window the curtain will be covering. While this is certainly something you’ll want to be aware of, the curtain will be covering more than just the area of the window and you’ll need to account for that. Curtains that are too short look awkward and ones that are too long can be a magnet for dirt and pet hair. If they’re too wide, they’ll block your window when pushed to the sides and they’ll look proportionately strange if they aren’t wide enough.

To measure your window for curtains, measure the width of your window and double that number. If you want a little extra fabric to work with, you may want to multiply the width of your window by 2.5 instead. As for length, don’t forget to account for the height of your curtain rod! If your curtains are the right size and your curtain rod is placed correctly, your curtains should come no more than an inch above the floor.

Get Rid of Wrinkles

Once you’ve finally found some curtains you love, it can be tempting to hang them up as soon as you get them home. But brand new curtains will inevitably have some wrinkles when they’re straight out of the package. Don’t just expect the wrinkles to fall after being hung for a while. Unless your curtains have an intentionally crinkled texture to them, iron or steam your curtains first to get rid of the wrinkles. It may not be a particularly fun chore, but it will help your room look much neater in the end. In some cases, wrinkles might interfere with the way your curtains hang.

Taking Care of Your Yard in the Fall

Taking Care of Your Yard in the Fall Now that summer is winding down, you might think that it’s time to cut back on the yard work. On the contrary, the fall months are actually a crucial time of year when it comes to lawn care. The things you do to take care of your lawn now can keep your lawn healthy throughout the winter and help get it ready to look amazing next year.

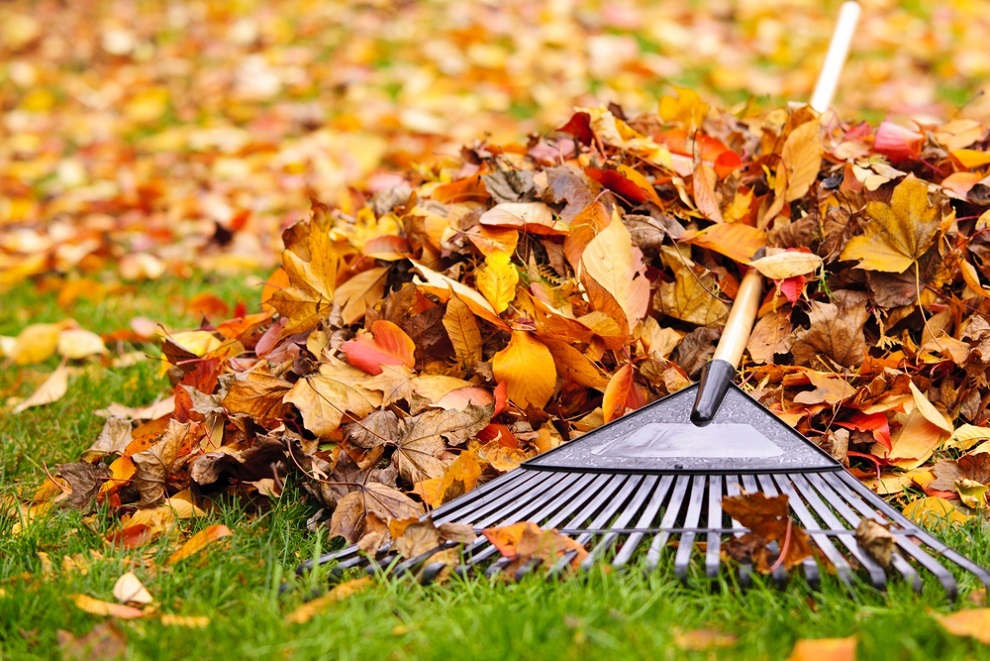
Once leaves start falling, it’s very important that they be raked up regularly. Raking isn’t always a fun chore, especially if you have a large yard full of trees, but getting rid of fallen leaves is essential to keeping your lawn healthy. Fallen leaves will prevent sunlight from getting to the grass underneath and will trap the moisture in that comes from dew and rainfall. If that moisture is left trapped underneath the leaves for too long, it can cause problems like mold and fungus growth.

If your lawn has some spots where the grass is looking a little thin or the soil has become compacted, perhaps a result of spending lots of time in the yard with your family over the summer, now is an excellent time to act. Fall weather is perfect for filling in bare spots around your lawn, whether it’s with seed or sod. Since there tends to be plenty of rainfall and more moderate temperatures, these conditions tend to encourage growth. And if your soil has become compacted, aerating your lawn will help oxygen and other nutrients reach the roots of your grass.

After aerating your lawn, you may want to have your lawn fertilized. Many lawn care experts believe that fall is actually the best time of year to have your lawn fertilized since the roots of your grass are still growing at very strongly, even if the visible grass blades are not growing as quickly anymore. By fertilizing your lawn in the middle or late fall, you’re giving it the extra nutrients it needs to survive the cold winter and come back strongly in the spring.

Don’t be too eager to put away the lawn mower or the sprinkler just yet! If grass is allowed to grow too long, it can get matted down under the weight of fallen leaves and snow, which is another thing that can lead to mold growth on your lawn. But cutting your lawn too short isn’t necessarily healthy for your lawn, either. During the fall months, you want to keep your grass about 3 inches long. Continue mowing your lawn until the first major frost of the year.

As for watering your lawn, how often you should do that depends on how much rain you’re getting. If you’re getting at least an inch of rainfall every week, you don’t need to do anything more. But if you’re dealing with an unusually warm, dry fall, your sprinklers will need to make up for the lack of rain, so keep them around until around Halloween.

When you’re out taking care of your lawn, don’t forget the other things in your yard. Trees and bushes often need to be trimmed back to prevent them from being damaged by snow and ice over the winter. Be sure to go through your garden and get rid of the annual plants that have lived their life and cut back the your perennials so they’ll be ready to grow back next year. And once it’s time to retire the lawn mower and the sprinklers for the year, don’t forget to have them winterized. Make sure you turn off the water going to your outdoor faucets, drain the remaining water from them, and put the hoses away.

6 Home Projects You Should Always Hire a Professional For

6 Home Projects You Should Always Hire a Professional For Home repairs can be expensive and when you’re on a budget, it can be tempting to save some money by doing your own repair work. In many cases, this is a great idea. Plenty of repair projects are simple enough for someone with a little basic knowledge and the right tools to handle on their own. Unfortunately, not all projects are quite so easy. Some types of home repair projects are too complicated or dangerous for even an experienced DIY-er to do.

Demolishing a Wall

Knocking down a wall might not seem like a difficult task and you might even think it looks like fun, but you’ll definitely want to at least consult a professional before you break out the sledgehammer. If you accidentally take out a load-bearing wall, it’s going to cause structural problems in your home that will be much more expensive than it would have been to hire someone to remove the wall for you. Even if a wall isn’t load bearing, you don’t want to start knocking a wall down only to discover the wall was hiding electrical wiring or components of your plumbing system. Accidentally damaging any of these can also easily result in more expensive repairs than you anticipated.

Installing Doors, Windows, and Skylights

Installing an interior door might be easy enough to manage by yourself, but exterior doors, windows, and skylights are another story. Since these things separate your home from the elements, it’s extremely important to make sure they are installed correctly, otherwise you might end up with leaks that drive up your energy bills or cause costly water damage. One of the most common reasons why people decide to get new exterior doors or vinyl replacement windows is to get rid of drafts and doors and windows that aren’t properly installed won’t solve those problems.

Skylights are a particularly DIY-unfriendly project since not only do you run the risk of installing them improperly, the fact that you need to spend time on the roof makes installing them inherently more dangerous. You’ll also have to cut an opening in your roof, which can cause larger, more expensive problems if not done correctly.

Anything That Would Disturb Lead Paint or Asbestos

If you live in a home built before 1978, there’s a good chance you have lead paint or asbestos somewhere in your home. If you’re planning a project that would disturb lead paint, such as knocking a wall down or cutting an opening into a wall, you’ll need to call a professional to make sure the job is properly handled to prevent you and your family from being harmed by the paint.

At one time, asbestos was widely used in many items that went into homes like insulation and flooring tiles. But since we now know asbestos can cause a multitude of health problems if not handled correctly, there are many laws regarding how to safely handle and remove it. If you’re planning a project that could disturb asbestos in your home, leave it to a professional. When asbestos isn’t removed properly, it not only can be harmful to you, it can be dangerous to other people who live in your home, visitors, neighbors, and more.

Major Plumbing and Electrical Wiring Repairs

While some types of plumbing and electrical repairs can easily be done by yourself, like fixing a leaking faucet or replacing a light switch, anything more complicated is probably be best handled by a trained professional. Improper electrical wiring can easily start a fire and plumbing work that goes wrong can easily cause thousands of dollars in water damage.

Removing a Large Tree

Trees can make a great addition to any yard, but if the tree is no longer healthy, it’s best to have it removed. But cutting down a large tree is much easier said than done. You not only have to use power saws while working at a high elevation, falling branches can damage your house, other property, or even injure someone. Your city might even have ordinances about how trees need to be removed. In any case, calling a professional to get rid of that problematic tree will save you a lot of headaches.

Making Changes to the Gas Line

Need to replace your water heater? Want to trade out your electric stove for a gas-powered one? Both of these projects would involve working with your home’s gas line, which can be a recipe for disaster if not done correctly. Rather than facing the risk of explosions or carbon monoxide leaks, leave any chore that involves your home’s gas line to someone who has been trained and is licensed to work with gas lines.

Ways to Save Money on a Home Remodeling Project

Ways to Save Money on a Home Remodeling Project It’s no secret that home remodeling projects can be very expensive. Homeowners often spend years trying to save up the money to do a renovation they’ve always dreamed of. With the high cost involved, it’s only natural to want to find ways to save money if it’s at all possible. But when it comes to home renovations, trying to save money very often ends up being more expensive in the long run. For example, if a contractor gives you a remarkably low estimate, it could potentially be a sign they aren’t licensed or insured, that they use substandard materials, or that they won’t handle something like trash removal. But there are plenty of other ways to save money on renovations without cutting corners on quality and without causing major headaches for you.

Work Around Your Existing Systems

When you’re planning a big home remodeling project, it can be tempting to move absolutely everything around, including things like lighting and sinks. But if you want to keep your remodeling costs down, keep the things that are part of your plumbing and electrical systems where they currently are unless they were very poorly placed to begin with. Making adjustments to your plumbing and electrical systems creates a lot of work and can significantly drive up the cost of the project. You’d be surprised how expensive it can be to move a sink just a couple of feet!

Schedule Projects During Off Seasons

Many types of home improvement projects can be done at any time of year, but summer and early fall are the most popular times of year to have work done on homes. Since demand for contractors is so high during those times, it can be more expensive to have work done then. But if you can wait to have your project done during another time of year, you may be able to save quite a bit of money. For example, vinyl replacement windows can be installed all year round and many companies that install them offer special deals during the cooler months when they aren’t as busy.

Stick to Standard Stock Items

One of the fastest way to drive up the total price of a home renovation is by having things like cabinets and doors custom made for you. Not only are customized pieces more expensive than buying stock peces, it will take longer for you to get them since the manufacturer doesn’t just have them on hand. Unless you have an older house and modern standard-sized pieces just never seem to fit right in your home, sticking to standard-sized stock items will save you a lot of time and money in the long run.

Look for Imitation Materials

When you’re trying to decide which types of materials you’d like to use for a job, do some research to see if there’s a high quality, yet affordable alternative to a more expensive type of material. For example, hardwood floors are extremely popular, but real, natural wood flooring is very expensive. On the other hand, engineered wood offers the same great look as real wood, but is more affordable and isn’t damaged by water as easily as real wood is.

Try to Save the Cabinets

If you’re remodeling a kitchen, completely replacing your cabinets can easily be responsible a large percentage of your total costs. In many cases, homeowners have cabinets that look dated, but are still in good condition otherwise. If this is the case for you, look for other ways to give your cabinets a makeover without starting from scratch. Painting or refinishing cabinets and getting some new hardware can do a lot to give even dated-looking cabinets a whole new look. Another option is to replace the cabinet doors, but leave everything else in place. Or you could try removing the cabinet doors all together and embrace the open shelving trend.

Getting Your Home Ready for Fall Weather

Getting Your Home Ready for Fall Weather Now that the hottest days of the year are becoming a thing of the past and the kids are back in school, it’s time to start planning ahead for colder weather. Although fall weather can still be very nice, it’s an ideal time of year to make sure your home is prepared for the colder weather that lies ahead. By acting now, you can be sure your home will be nice and warm when you need it to be and if you find any issues that need to be addressed, you won’t be stuck dealing with them on an unpleasantly cold day. Here are a few of the best things you can do to get your home ready for cooler weather.

Furnace Inspection

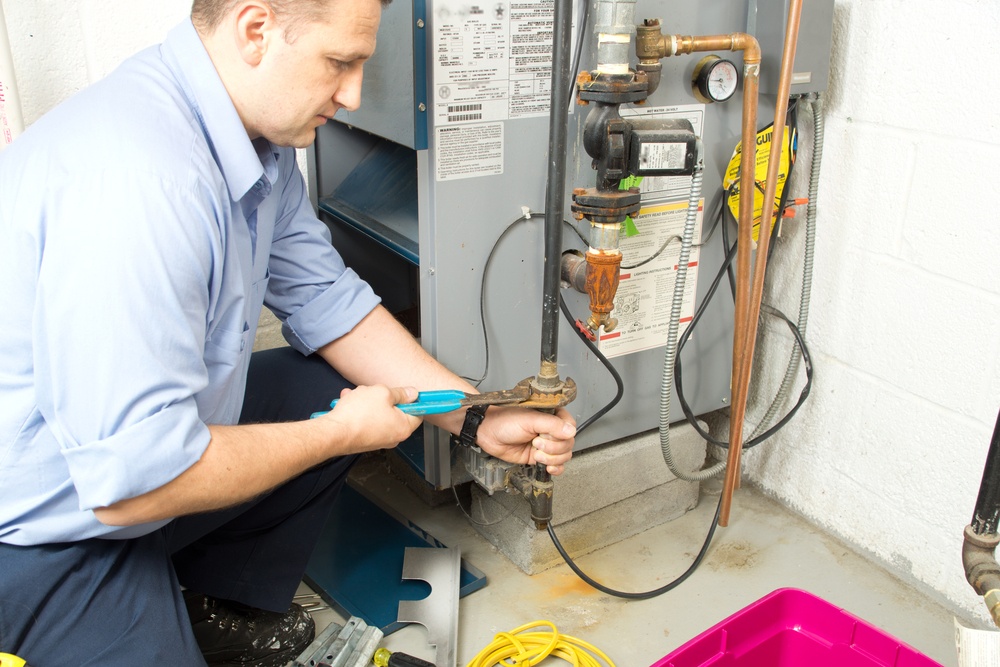
If you want to avoid any unwelcome surprises when the weather turns cold, the best thing you can do is call a professional to give your furnace an annual inspection early in the fall. According to Angie’s List, many furnace repair experts say the majority of emergency calls they get during the winter months could have been prevented with routine maintenance. Not only will routine maintenance help you avoid being left in the cold with a big emergency repair bill, it will keep your furnace running more efficiently.

During a basic furnace inspection, the technician will make sure your furnace can start up properly and that its control system is working, inspect its electrical components, check the burner, make sure its moving parts are in good condition, and check to make sure its drain pipes and vents aren’t blocked. Air filters should be replaced every couple of months and if it’s time for your filter to be replaced, the technician can certainly do that for you, but it’s very easy to change those without the help of a professional.

Make Sure Heating Vents are Clear

Have you made any changes to the rooms around your house over the summer? Maybe you got some new furniture or decided to rearrange things. If this is the case, you may want to look around just to make sure none of your changes are blocking your vents. When vents are blocked, they prevent heat from circulating around the room and force your furnace to work harder, which can increase your energy bills.

Check Windows and Doors

It’s never a bad time of year to check your exterior doors and windows to look for problems like drafts, worn weatherstripping, and caulking that needs to be touched up. The sooner you’re able to catch these sorts of problems, the better off you’ll be because they can make your house uncomfortable and drive up your energy bills if they’re not taken care of. If you have older windows and your energy bills are consistently higher than you think they ought to be, having vinyl replacement windows installed can help bring your heating and cooling bills down.

Inspect Your Chimney and Fireplace

If you have a fireplace, now would be a good time to inspect it and your chimney to make sure it’s safe and ready to be used. Even if everything was perfectly fine last year, birds have been known to build nests in chimneys and branches and leaves can fall in and cause blockages. If you see signs of soot buildup, call a professional to have your chimney cleaned because a buildup of soot can be a fire hazard. Check to make sure the damper on your fireplace is still working properly. From the outside of your home, make sure there aren’t any signs of physical deterioration on the chimney, like missing or crumbling bricks, or flashing between the chimney and your house that has become unsecure.